
Gluten Free Perogies
This post contains affiliate links including Amazon affiliate links.
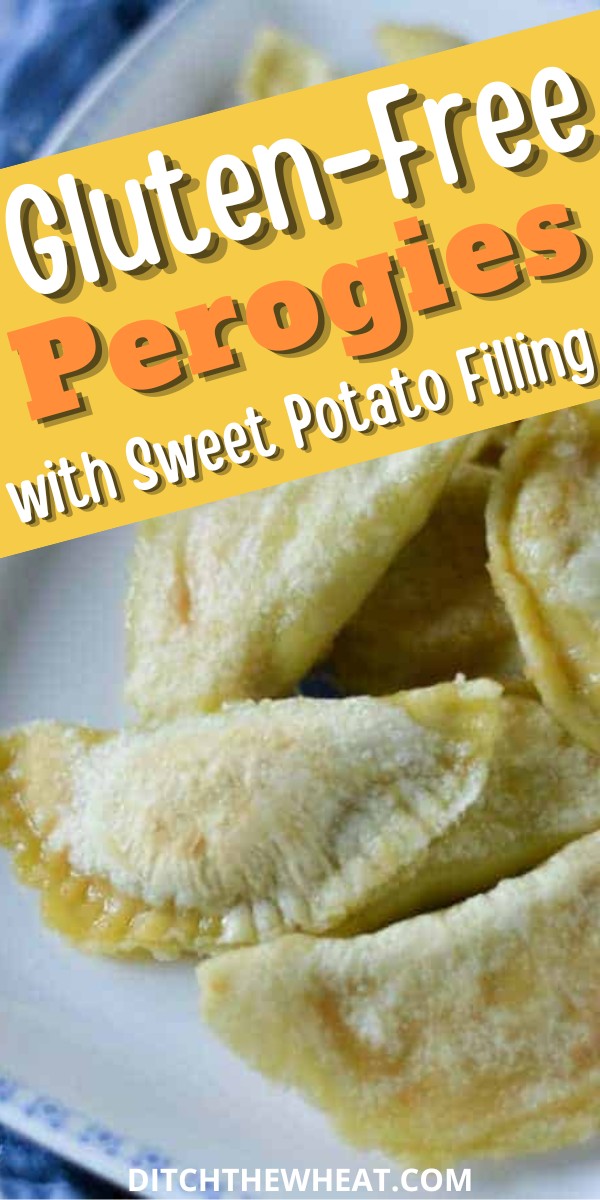
These gluten free perogies are filled with a bacon and sweet potato filling and made with gluten free dough. They are a fun comfort food dinner.
My family was cooking perogies one night and it made me think I should try to make gluten free perogies.
I’ve been playing around with tapioca flour and I love how it resembles “dough.” You can knead it, stretch it… it’s very versatile.
I used to be a snob towards tapioca flour because I couldn’t see past the high starch factor. In reality just because you make something with tapioca flour doesn’t mean you’re going to consume it daily and that’s the case for me.
It’s a neat flour to work with that expands gluten free baking for me and some people see it as a “junk” flour to be avoided because it contains a lot of carbs but I see it as a treat that will be used once in a while to provide something that almond flour and coconut flour cannot do.
I felt it was best to give you a visual tutorial on how to make the perogies. I photographed my mother walking you through the steps.
I hope you enjoy it.
Gluten Free Perogies Ingredients
- a sweet potato
- onions
- bacon
- grass fed ghee/butter/or preferred fat
- sea salt
- some tapioca starch (also known as tapioca flour)
- egg
- olive oil
How to Make Gluten Free Perogies
Begin by making the filling.
Cook bacon in a skillet. Set the cooked bacon aside and saute the onion in the bacon fat until translucent.
In a medium-sized pot. Place the sweet potato cubes. Cover the sweet potatoes with water and bring to a boil. Boil until a fork can easily go through the sweet potatoes.
Drain the water from the pot.
Chop the bacon into small pieces.
Place the bacon, cooked onions, ghee, and salt in the pot with the sweet potatoes and mash until smooth.
Set aside.
Next, make the gluten free perogies dough.
Place all the ingredients for the dough into a small mixing bowl. Using a spatula, mix the ingredients together.
Once the dough resembles large crumbs, knead with your hands. Continue kneading for about 5 minutes. At first, the dough will look too dry.
Do not add extra oil.
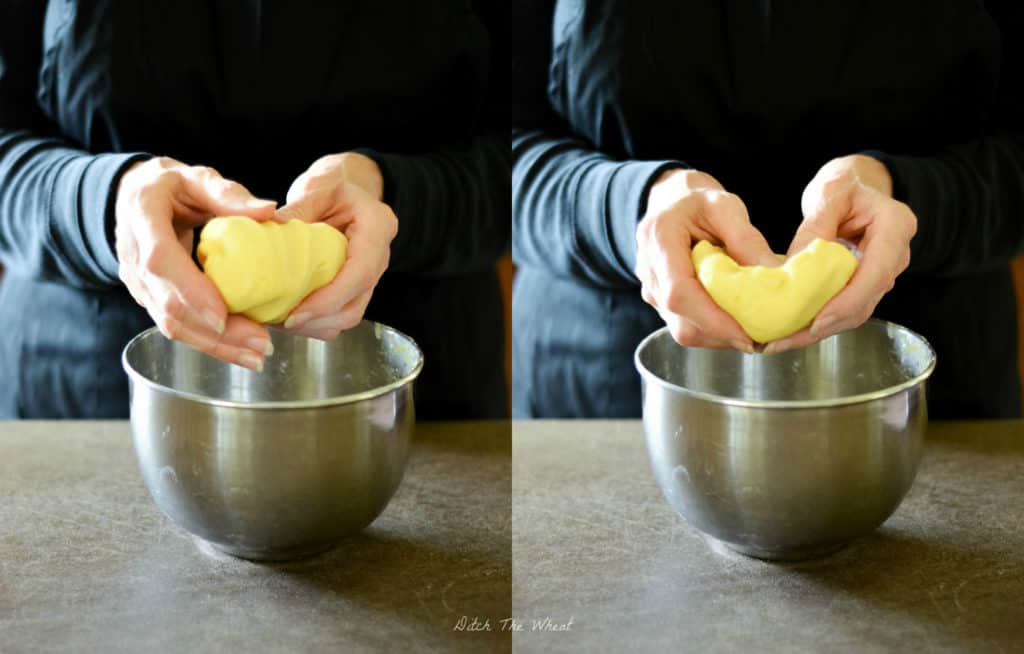
Continue kneading until the dough looks like playdough. The dough should not be sticky. ***I’m highlighting this part because many people have commented that their dough was crumbly but you need to keep kneading it, and it will come together.
Bring a large pot of water to a boil.
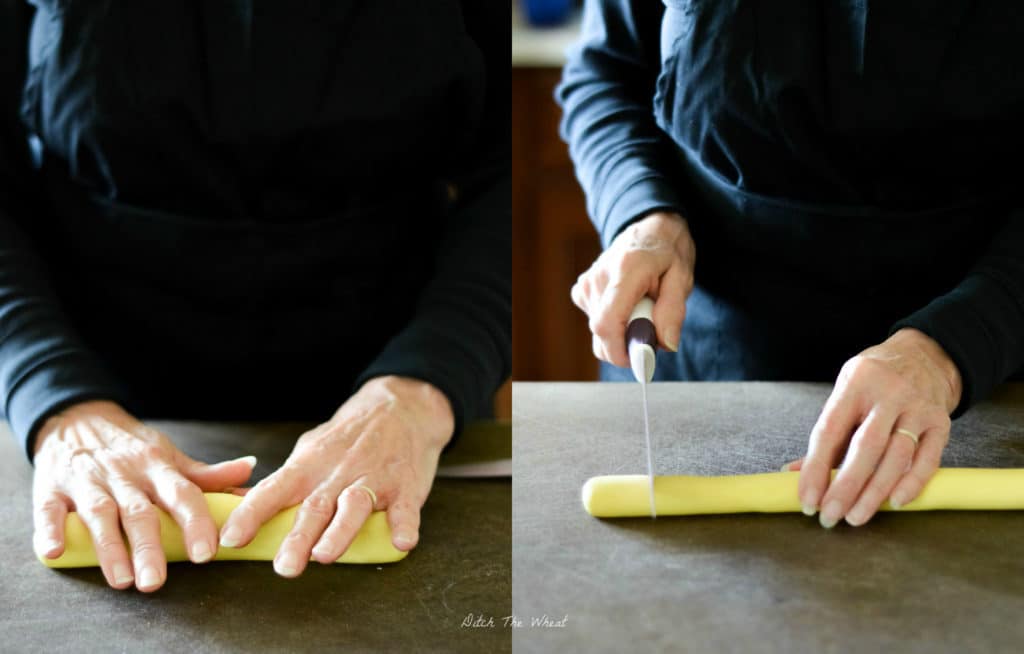
Roll the dough into a large tube. Cut pieces that are about 1″. Cover all of the pieces with saran wrap.

Take one piece at a time and roll it into a small ball.
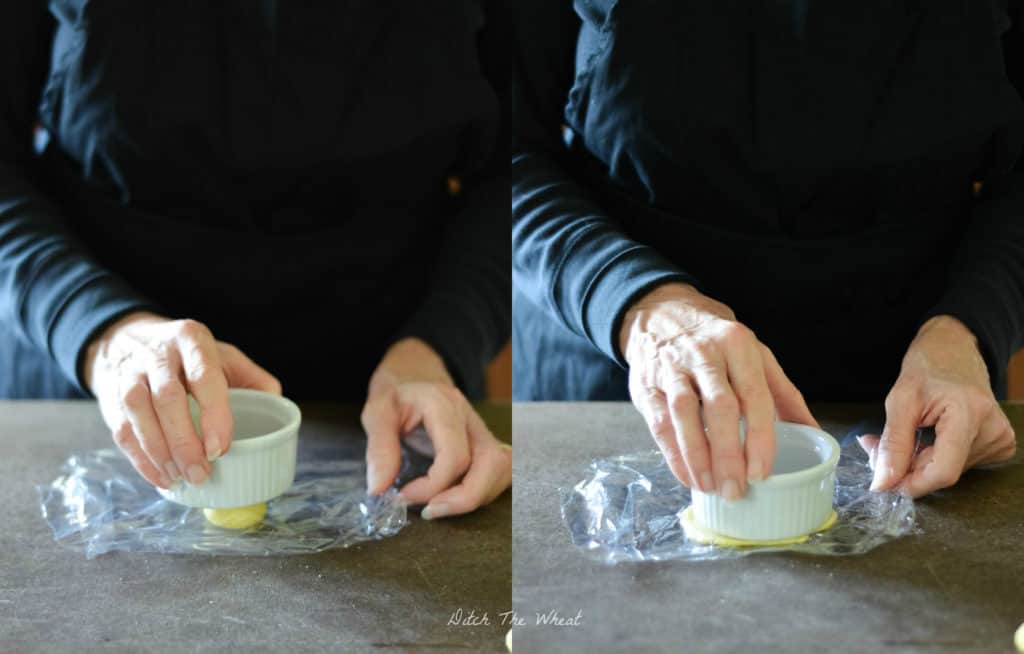
Place the ball between saran wrap. Using the bottom of a ramekin or other object, push down, until the dough is a flat circle, about 3″ wide.
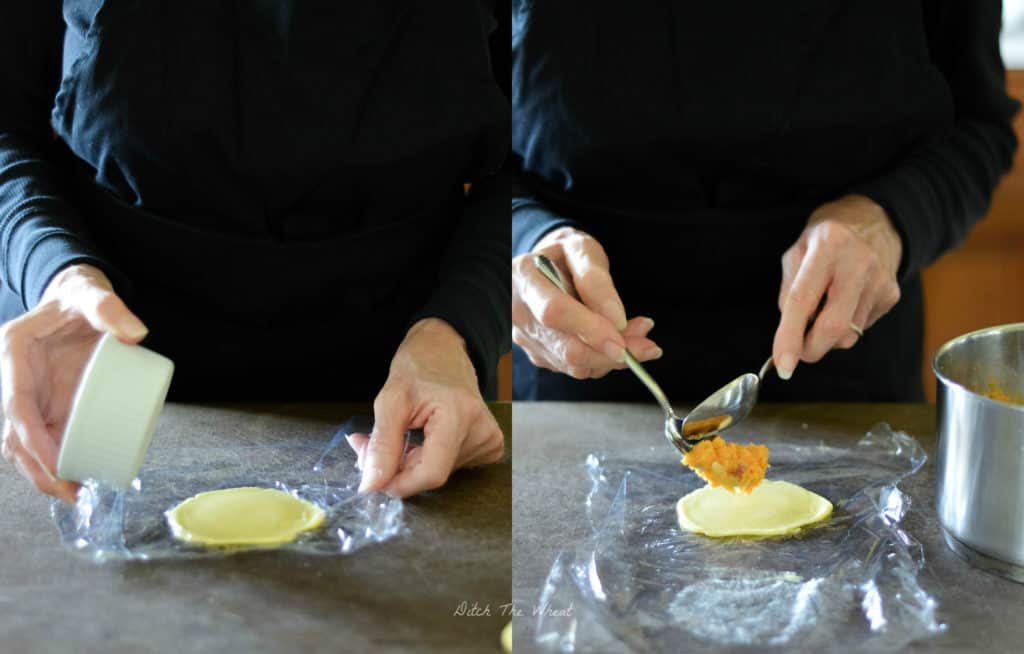
Place about 1 tbsp of filling on one side of the dough, keeping it towards the center.
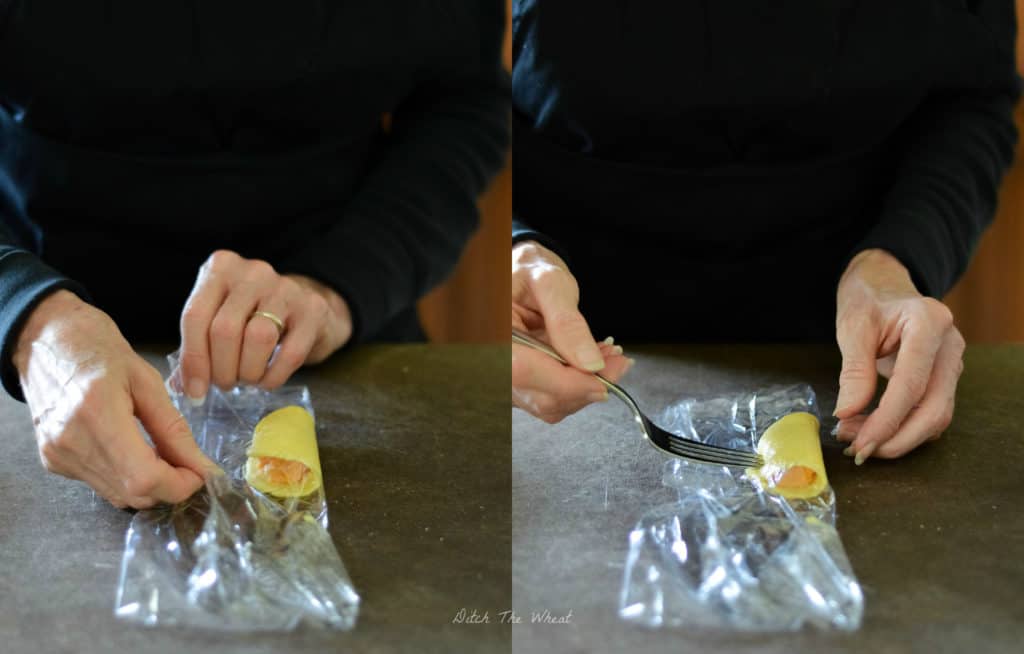
Lift the other side of the dough over the filling and seal with a fork pressing down on the edges working from the middle outwards.

Place the uncooked perogies in batches into the boiling water. If any appear to be sticking to the bottom, use a spoon to gently lift them from sticking.

The perogies are done when they float to the top of the water. Allow them to float for a few minutes.
Take the perogies out and place them on a plate.
Place ghee/butter/bacon fat, etc in a skillet and turn to medium-low heat.
Place the boiled perogies into the heat pan flipping once.

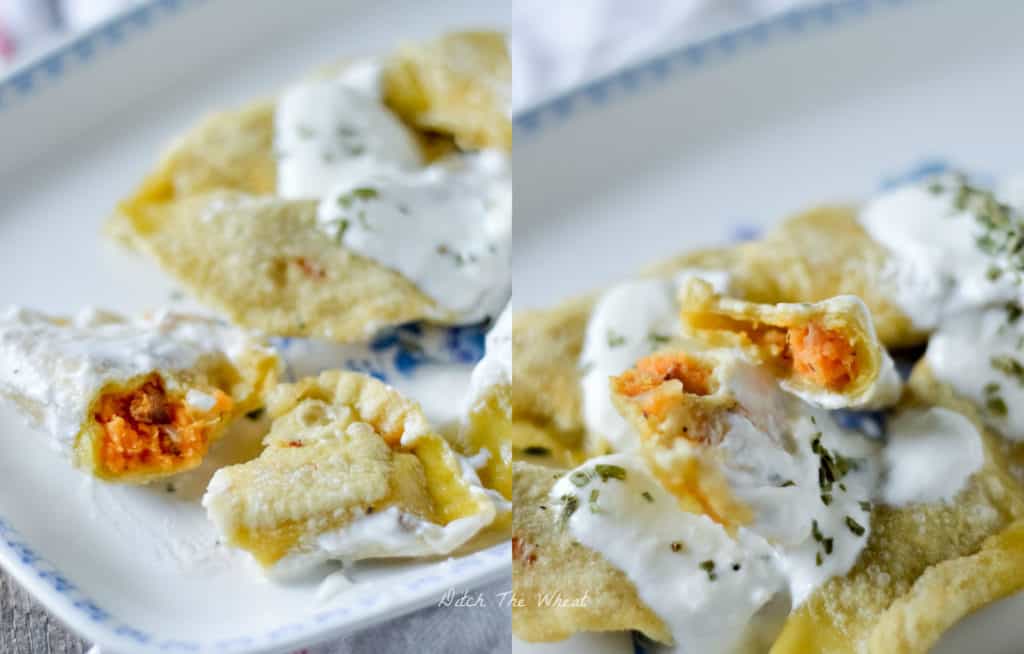
Serve with some sour cream and a sprinkle of parsley.
How to store gluten free perogies
You can store gluten free perogies in your refrigerator for up to 5 days. Reheat by refrying them or baking them until heated through. You can also store them in an airtight container in your freezer for up to 3 months.
Paleo Perogies
These perogies are Paleo approved because they use tapioca as the flour. They are grain free.
Can I use another flour?
This recipe was developed using tapioca starch (also known as tapioca flour). It is best to only use tapioca starch to make these perogies. I did not test using arrowroot starch.
More Gluten Free Dinner Recipes
- Paleo Meatloaf
- Paleo Shepherd’s Pie
- Honey Lemon Chicken
- Chorizo Pulled Pork
- Keto Cabbage Rolls
- Slow Cooker BBQ Ribs
- Instant Pot Turkey Chili
If you love snacks, here are more Paleo desserts and Paleo snacks! Make sure to check out my huge collection of gluten free dinner recipes.
If you loved this recipe, I would be really grateful if you can rate the recipe card and share any photos you took on Instagram using #ditchthewheat and tag me in your post or story.
Gluten Free Perogie Recipe
Gluten Free Perogies
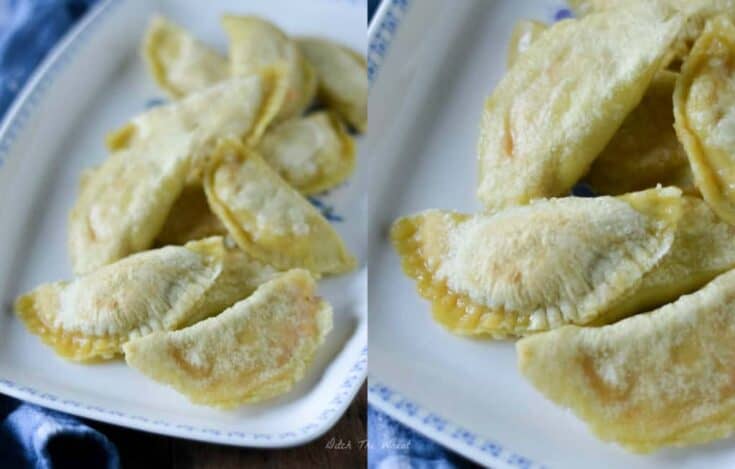
These gluten free perogies are filled with a bacon and sweet potato filling and made with gluten free dough. They are a fun comfort food dinner.
Ingredients
Filling
- 3/4 cup sweet potato, cubed
- 1/4 cup onions, finely diced
- 1 slice of bacon
- 1 tbsp grass fed ghee/butter/or preferred fat
- 1/8 tsp sea salt
Dough
- 1 cup tapioca starch
- 1 large egg
- 3 tbsp olive oil
- 1/8 tsp sea salt
Instructions
- Begin by making the filling. Cook bacon in a skillet. Set the cooked bacon aside and saute the onion in the bacon fat until translucent.
- In a medium-sized pot. Place the sweet potato cubes. Cover the sweet potatoes with water and bring them to a boil. Boil until a fork can easily go through the sweet potatoes.
- Drain the water from the pot.
- Chop the bacon into small pieces.
- Place the bacon, cooked onions, ghee, and salt in the pot with the sweet potatoes and mash until smooth. Set aside.
- Next, make the gluten free perogies dough. Place all the ingredients for the dough into a small mixing bowl. Using a spatula, mix the ingredients together.
- Once the dough resembles large crumbs, knead with your hands. Continue kneading for about 5 minutes. At first, the dough will look too dry. Do not add extra oil.
- Continue kneading until the dough looks like playdough. The dough should not be sticky. ***I'm highlighting this part because many people have commented that their dough was crumbly but you need to keep kneading it, and it will come together.
- Bring a large pot of water to a boil.
- Roll the dough into a large tube. Cut pieces that are about 1". Cover all of the pieces with saran wrap.
- Take one piece at a time and roll it into a small ball.
- Place the ball between saran wrap. Using the bottom of a ramekin or other object, push down, until the dough is a flat circle, about 3" wide.
- Place about 1 tbsp of filling on one side of the dough, keeping it towards the center.
- Lift the other side of the dough over the filling and seal with a fork pressing down on the edges working from the middle outwards.
- Place the uncooked perogies in batches into the boiling water. If any appear to be sticking to the bottom, use a spoon to gently lift them from sticking.
- The perogies are done when they float to the top of the water. Allow them to float for a few minutes.
- Take the perogies out and place them on a plate.
- Place ghee/butter/bacon fat, etc in a skillet and turn to medium-low heat.
- Place the boiled perogies into the heated pan flipping once.
- Serve with some sour cream and a sprinkle of parsley.
Nutrition Information:
Yield:
2Serving Size:
1Amount Per Serving: Calories: 592Total Fat: 31gSaturated Fat: 8gTrans Fat: 0gUnsaturated Fat: 22gCholesterol: 115mgSodium: 440mgCarbohydrates: 72gFiber: 3gSugar: 8gProtein: 7g
DISCLOSURE: Not intended for the treatment or prevention of disease, nor as a substitute for medical treatment, nor as an alternative to medical advice. Use of recommendations is at the choice and risk of the reader. Ditch the Wheat is a participant in the Amazon Services LLC Associates Program. As an Amazon Associate I earn from qualifying purchases. I may receive monetary compensation or other types of remuneration for my endorsement, recommendation, testimonial and/or link to any products or services from this blog. I only endorse products that I believe in.
Carol Lovett is the founder of Ditch the Wheat and a Globe and Mail bestselling author of the cookbook, Ditch the Wheat. She has been eating gluten free since 2010. She loves all things food, natural living, and spiritual. She's also a reiki master and crystal healer.
Gluten Free Resources
Do you need help with gluten free meals?
I recommend this meal-planning app. It makes cooking gluten free dinners extremely easy and family-friendly.
What gluten free snacks can I eat?
Lots! I have a ton of practical gluten free snack recipes in my cookbook.
How can I eat dessert on a gluten free diet?
You can 100% eat dessert while eating gluten free. Try my dessert cookbook for easy gluten free dessert recipes.
How do I know what is gluten free and what isn’t?
I have a whole section is it gluten free?
How do I make substitutions?
If you need substitution advice I created a ton of resources here.
Omg I love perogies!!! Would arrowroot work in place of the tapioca?? Only asking because that’s all I have on hand and I just went to the store today…want to make these now!!!
I don’t know. I have never tried.
Yes, arrowroot should work the same as tapioca flour. Try it and report back 🙂
What is the sauce that is with them in the pictures?
They look amazing!
do you think the raw perogy’s could be frozen?
Help!! I was super excited to make these on the weekend, and the filling was DELISH – but, I couldn’t for the life of me get the dough to work. No matter how long I kneeded it, it wouldnt stay together and just crumpled apart. I followed your receipe to a T. What could have went wrong. I need to make these again!
I have never had that issue.
Sabrina, same thing happened to me, I did add one egg because it was dinner time and that’s what we were having!
Kind of work out – all fell apart in the boiling water and seemed very uncooked. won’t be making these again
I was wondering is tapioca starch the same as tapioca flour? I am in Australia and am having a little difficulty finding tapioca flour.
It’s the same in Canada and the USA.
I suspect the issue with crumbly dough was that your egg may not have had enough water content. My dough wouldn’t come together either. I added just a tiny bit extra water and got perfect texture.
You need to work the dough with your hands until it forms a dough. It takes at least 5 minutes. Once it is a dough it’s flexible, stretchy etc.
My dough was way too crumbly as well, so I added 2.5 tsp and it turned out perfectly. Thanks for this awesome recipe!
What about replacing the olive oil with coconut or palm oil. I do not like heating olive oil at all.