How to Dry Herbs: Herb Drying Made Easy
This post contains affiliate links including Amazon affiliate links.
How to Dry Herbs from the Garden
Drying herbs is a simple and effective way to preserve their flavor and aroma for future use. Here’s a step-by-step guide on how to dry herbs using 4 methods.
Easy, you say?
Well, actually it’s extremely easy and I’m annoyed it took me so many years to start doing this with fresh herbs.
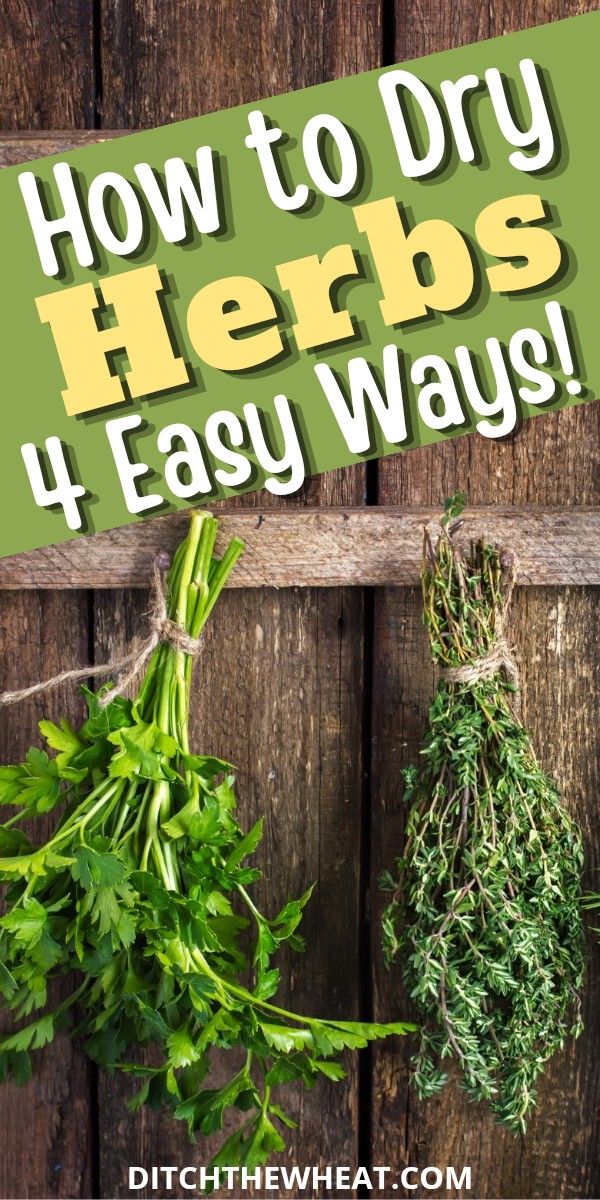
In a nutshell, you take the herbs, tie them with a string, hang them in a dry, cold room for a few days, and voila you have dried herbs.
Below I break down all of the methods you can use to dry your herbs.
How to Dry Fresh Herbs
Step 1: Harvesting
The best time to harvest herbs for drying is in the morning when the oils are at their most concentrated.
Use clean, sharp scissors or pruning shears to snip off healthy branches or leaves.
Avoid harvesting more than one-third of the plant to ensure it continues to grow.
Step 2: Cleaning
Gently shake or tap the harvested herbs to remove any dirt, insects, or debris.
You can also rinse them quickly with cold water if needed, but be sure to pat them dry with a clean towel afterward.
It’s important that the herbs are as dry as possible before drying them.
Step 3: Choose the Drying Method
There are several methods to choose from when drying herbs. Some of the methods are easy and some require special equipment. Three of the methods dry herbs without a dehydrator.
Drying Herbs by Hanging
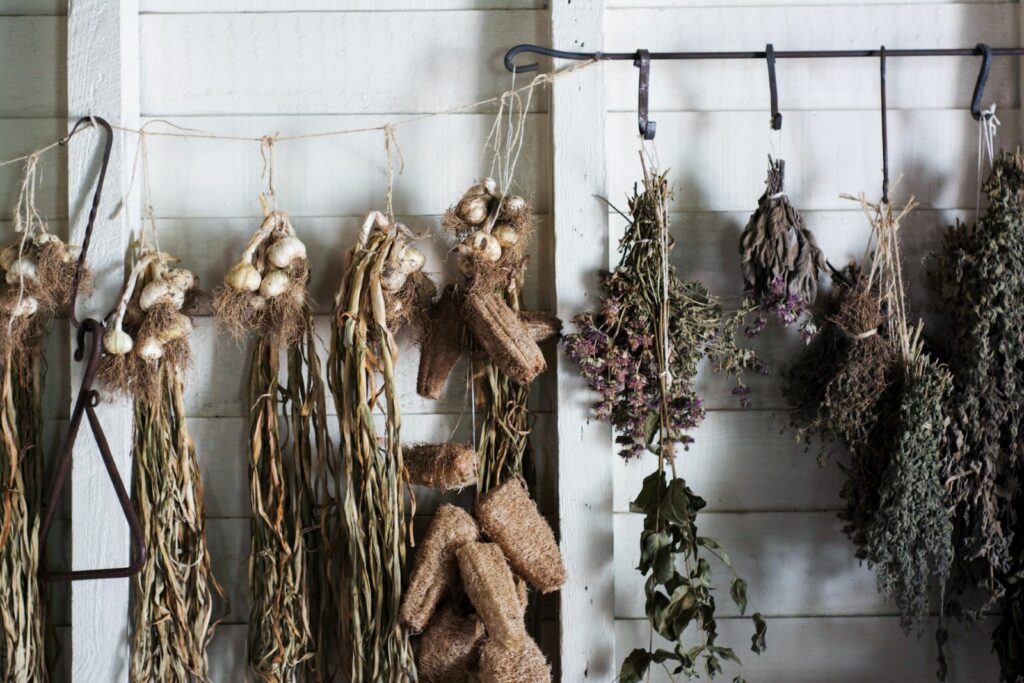
This is the most traditional, easy, and cost-effective method. Bundle 4-6 stems together with string or a rubber band, and hang them upside down in a well-ventilated, dry, and dark place.
It may take 1-2 weeks for them to fully dry, depending on humidity levels. I’ve been able to fully dry my herbs even living in a humid environment.
How to Dry Herbs in an Oven
This a a quicker and cost-effective way if you don’t have a dehydrator. Preheat your oven to its lowest setting (usually around 170°F or 75°C). Place clean, dry herb leaves on a baking sheet in a single layer.
Leave the oven door slightly ajar to allow moisture to escape. Check the herbs regularly, as they can dry within 1-4 hours.
How to Dry Herbs in a Dehydrator
If you have a food dehydrator, follow the manufacturer’s instructions for drying herbs.
Generally, you’ll set the temperature to around 95°F (35°C) and allow the herbs to dry for several hours.
How to Dry Herbs in a Freeze Dryer
This is the most expensive option but it really preserves the color and flavor of the herbs on a whole other scale compared to the other options.
Follow your freeze-dryer’s instructions. Arrange the herbs on trays and begin the process, which can take several hours to days.
Ensure the herbs are fully freeze-dried. When they are fully freeze-dried they will be brittle with no moisture left.
Freeze drying maintains herbs’ flavor, color, and aroma effectively, although it requires a large investment in equipment.
Step 4: Check for Dryness
Herbs are considered fully dried when they crumble easily when crushed. Be aware, they really shrink!
Remember that different herbs may have varying drying times, so it’s a good idea to monitor them closely during the drying process.
Step 5: How to Store Dried Herbs
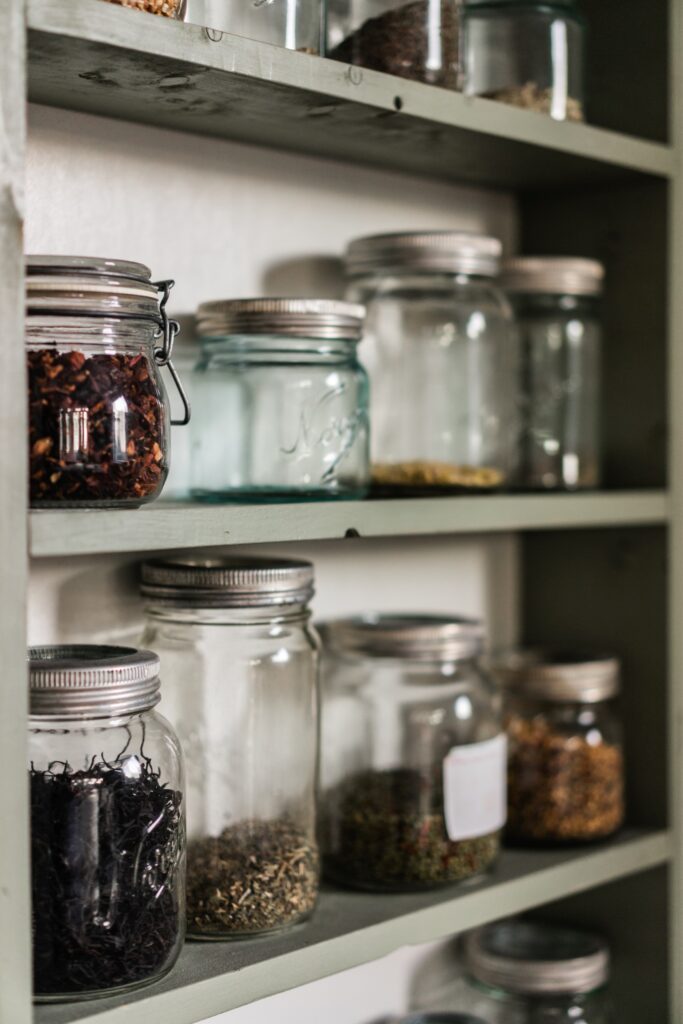
Once the herbs are dry, remove the leaves from the stems and store them in airtight containers.
You can use glass jars, plastic containers, or vacuum-sealed bags. Be sure to label the containers with the herb type and date of drying.
Step 6: Store in a Cool, Dark Place
To maintain the best flavor and potency, store your dried herbs in a cool, dark place away from direct sunlight and heat.
Properly dried and stored herbs can last for several months to a year or more, depending on the type and quality of the herbs.
Step 7: Usage
When you’re ready to use your dried herbs, simply crumble or grind them as needed and add them to your dishes.
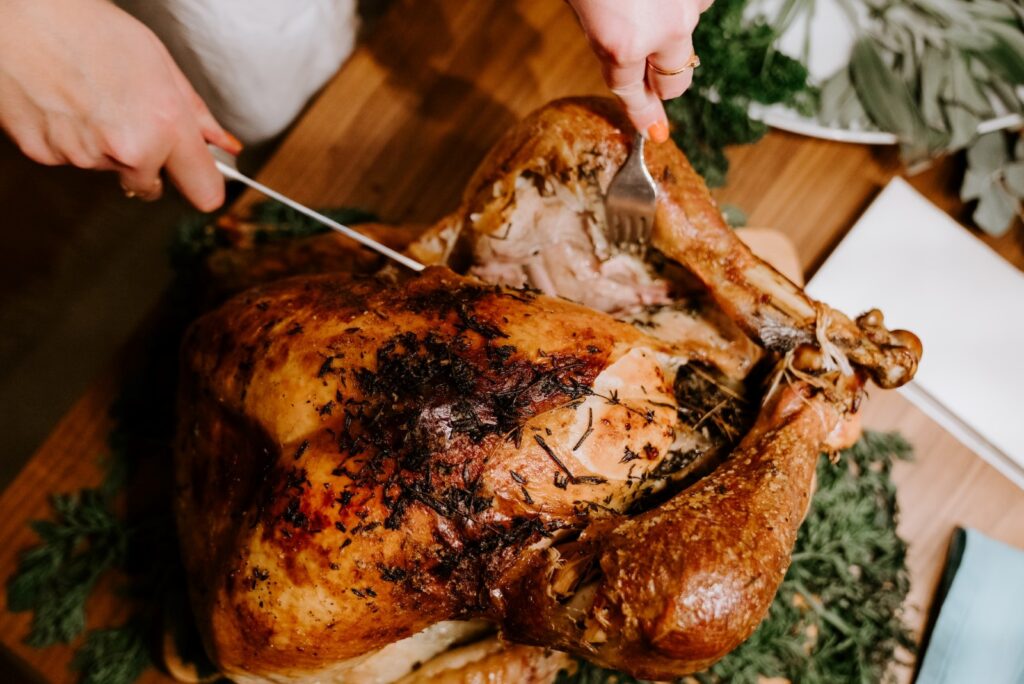
Dried herbs are more potent than fresh, so you’ll need less to achieve the desired flavor. I love using my herbs when I roast chicken! I use dried sage, tarragon, and parsley.
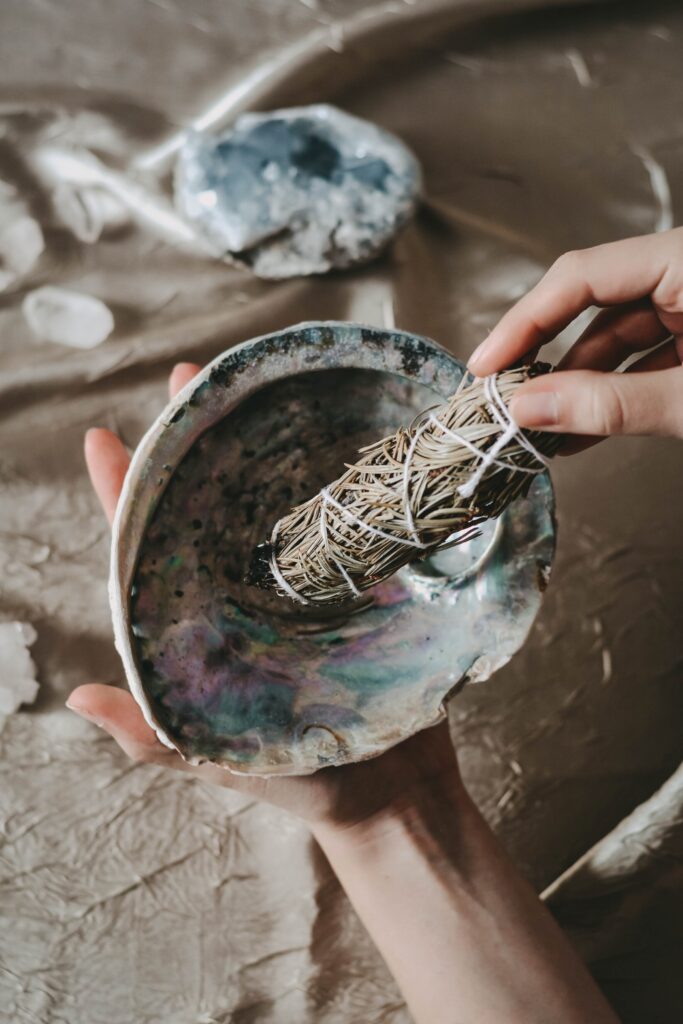
I also love using dried herbs to energetically cleanse my home. I suggest leaving them on their stem and tying a few different ones into a bundle. I use sage and rosemary.
DISCLOSURE: Not intended for the treatment or prevention of disease, nor as a substitute for medical treatment, nor as an alternative to medical advice. Use of recommendations is at the choice and risk of the reader. Ditch the Wheat is a participant in the Amazon Services LLC Associates Program. As an Amazon Associate I earn from qualifying purchases. I may receive monetary compensation or other types of remuneration for my endorsement, recommendation, testimonial and/or link to any products or services from this blog. I only endorse products that I believe in.
Carol Lovett is the founder of Ditch the Wheat and a Globe and Mail bestselling author of the cookbook, Ditch the Wheat. She has been eating gluten free since 2010. She loves all things food, natural living, and spiritual. She's also a reiki master and crystal healer.
Gluten Free Resources
Do you need help with gluten free meals?
I recommend this meal-planning app. It makes cooking gluten free dinners extremely easy and family-friendly.
What gluten free snacks can I eat?
Lots! I have a ton of practical gluten free snack recipes in my cookbook.
How can I eat dessert on a gluten free diet?
You can 100% eat dessert while eating gluten free. Try my dessert cookbook for easy gluten free dessert recipes.
How do I know what is gluten free and what isn’t?
I have a whole section is it gluten free?
How do I make substitutions?
If you need substitution advice I created a ton of resources here.







i love this idea! we have a bay leaf tree, and i still buy dried bay leaves when a recipe calls for it. love your pictures!
LOL I always did that too even when we had the plants! I thought drying them would be so complicated:P