Crispy Garlicky Kale Chips
This post contains affiliate links including Amazon affiliate links.
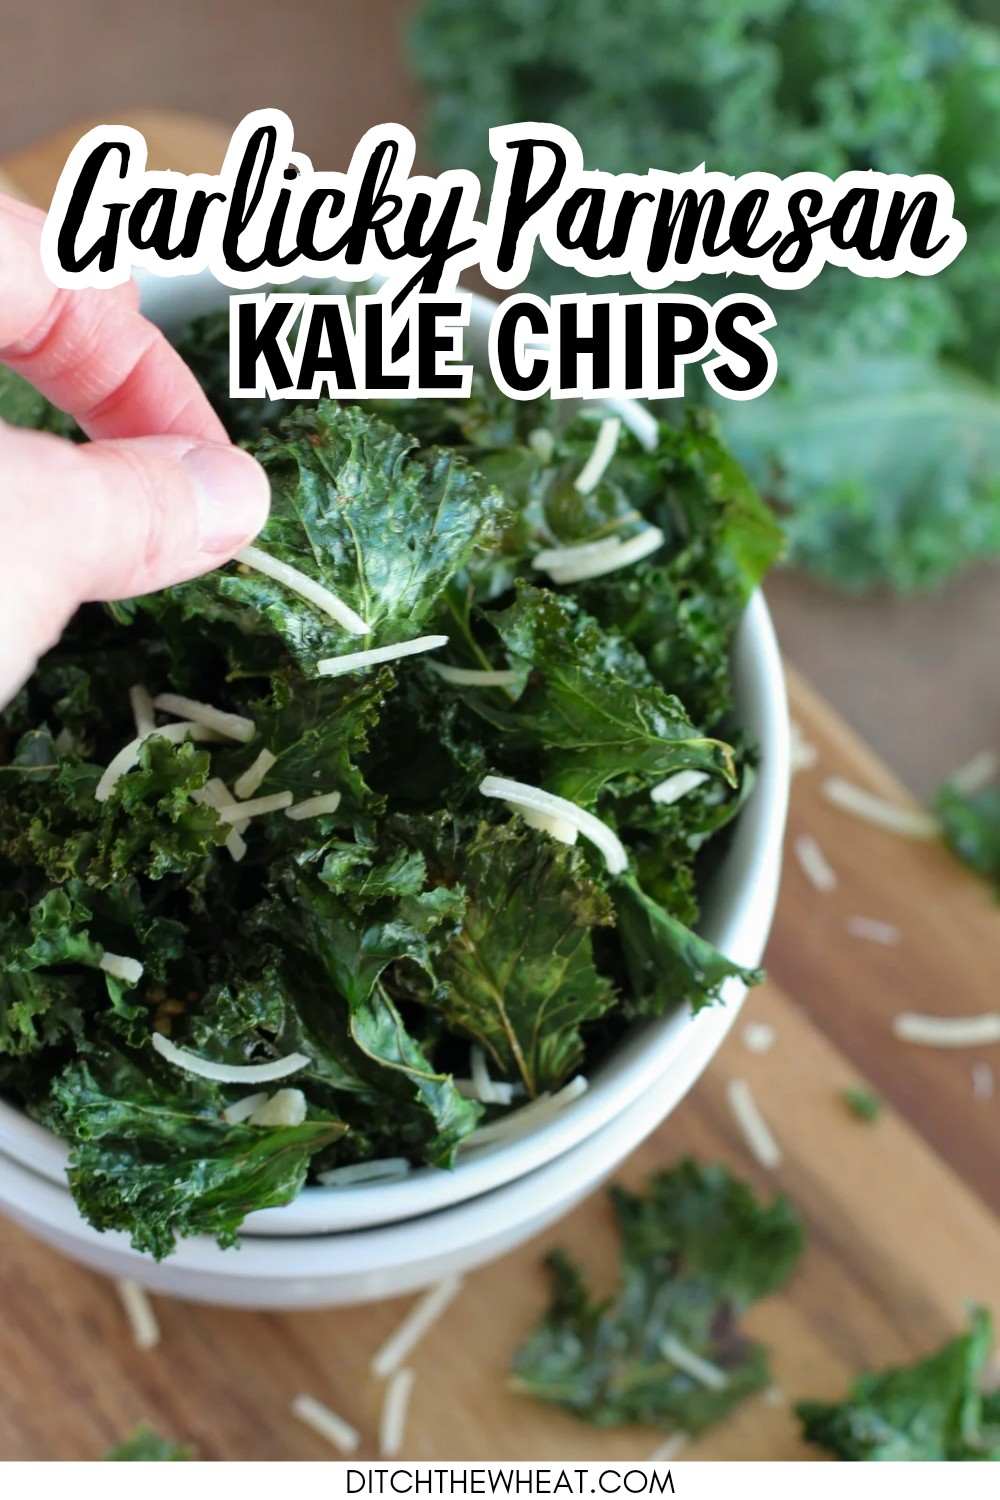
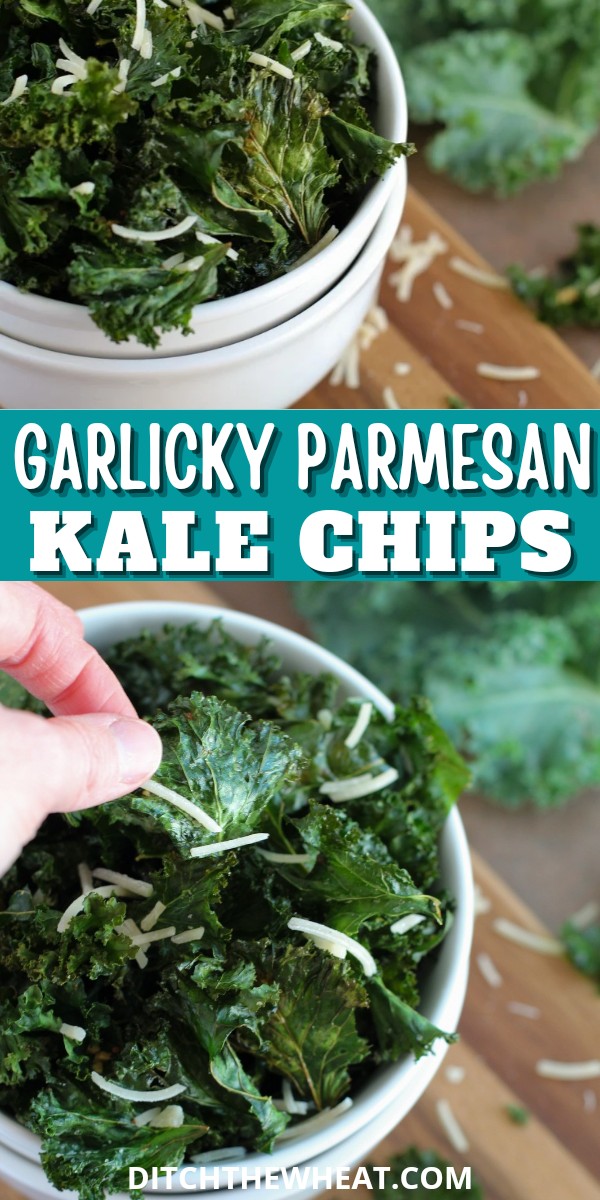
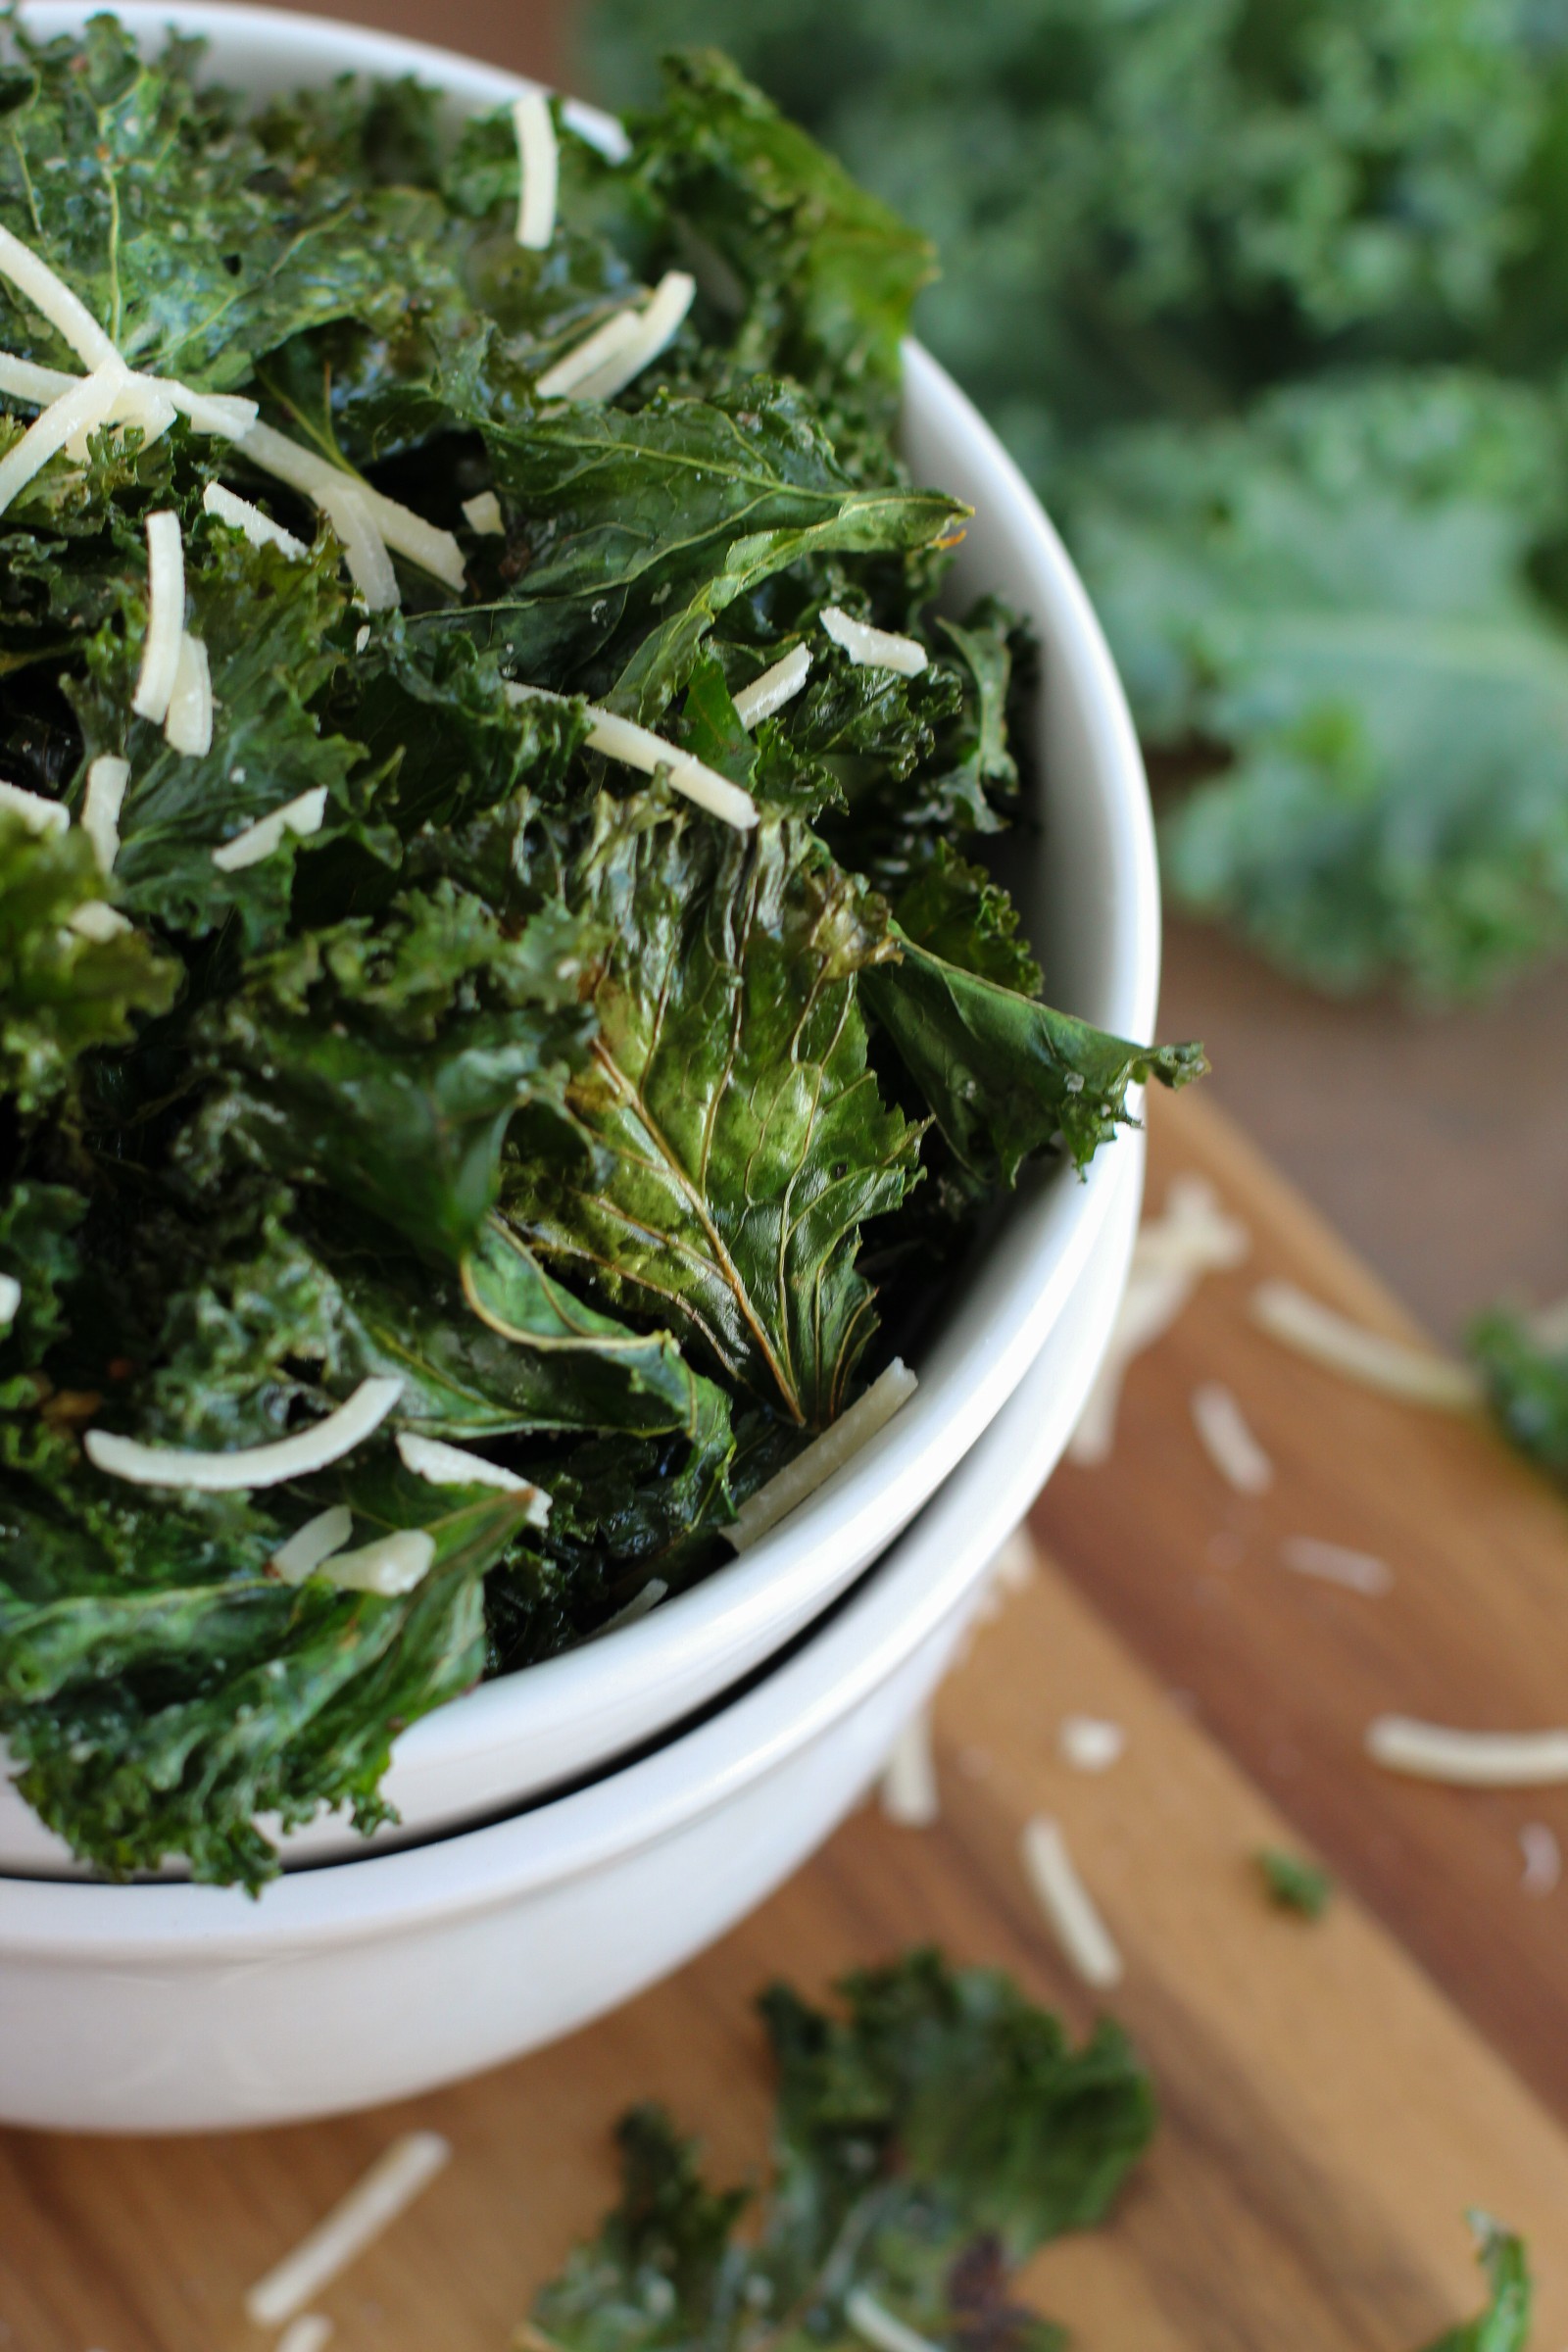
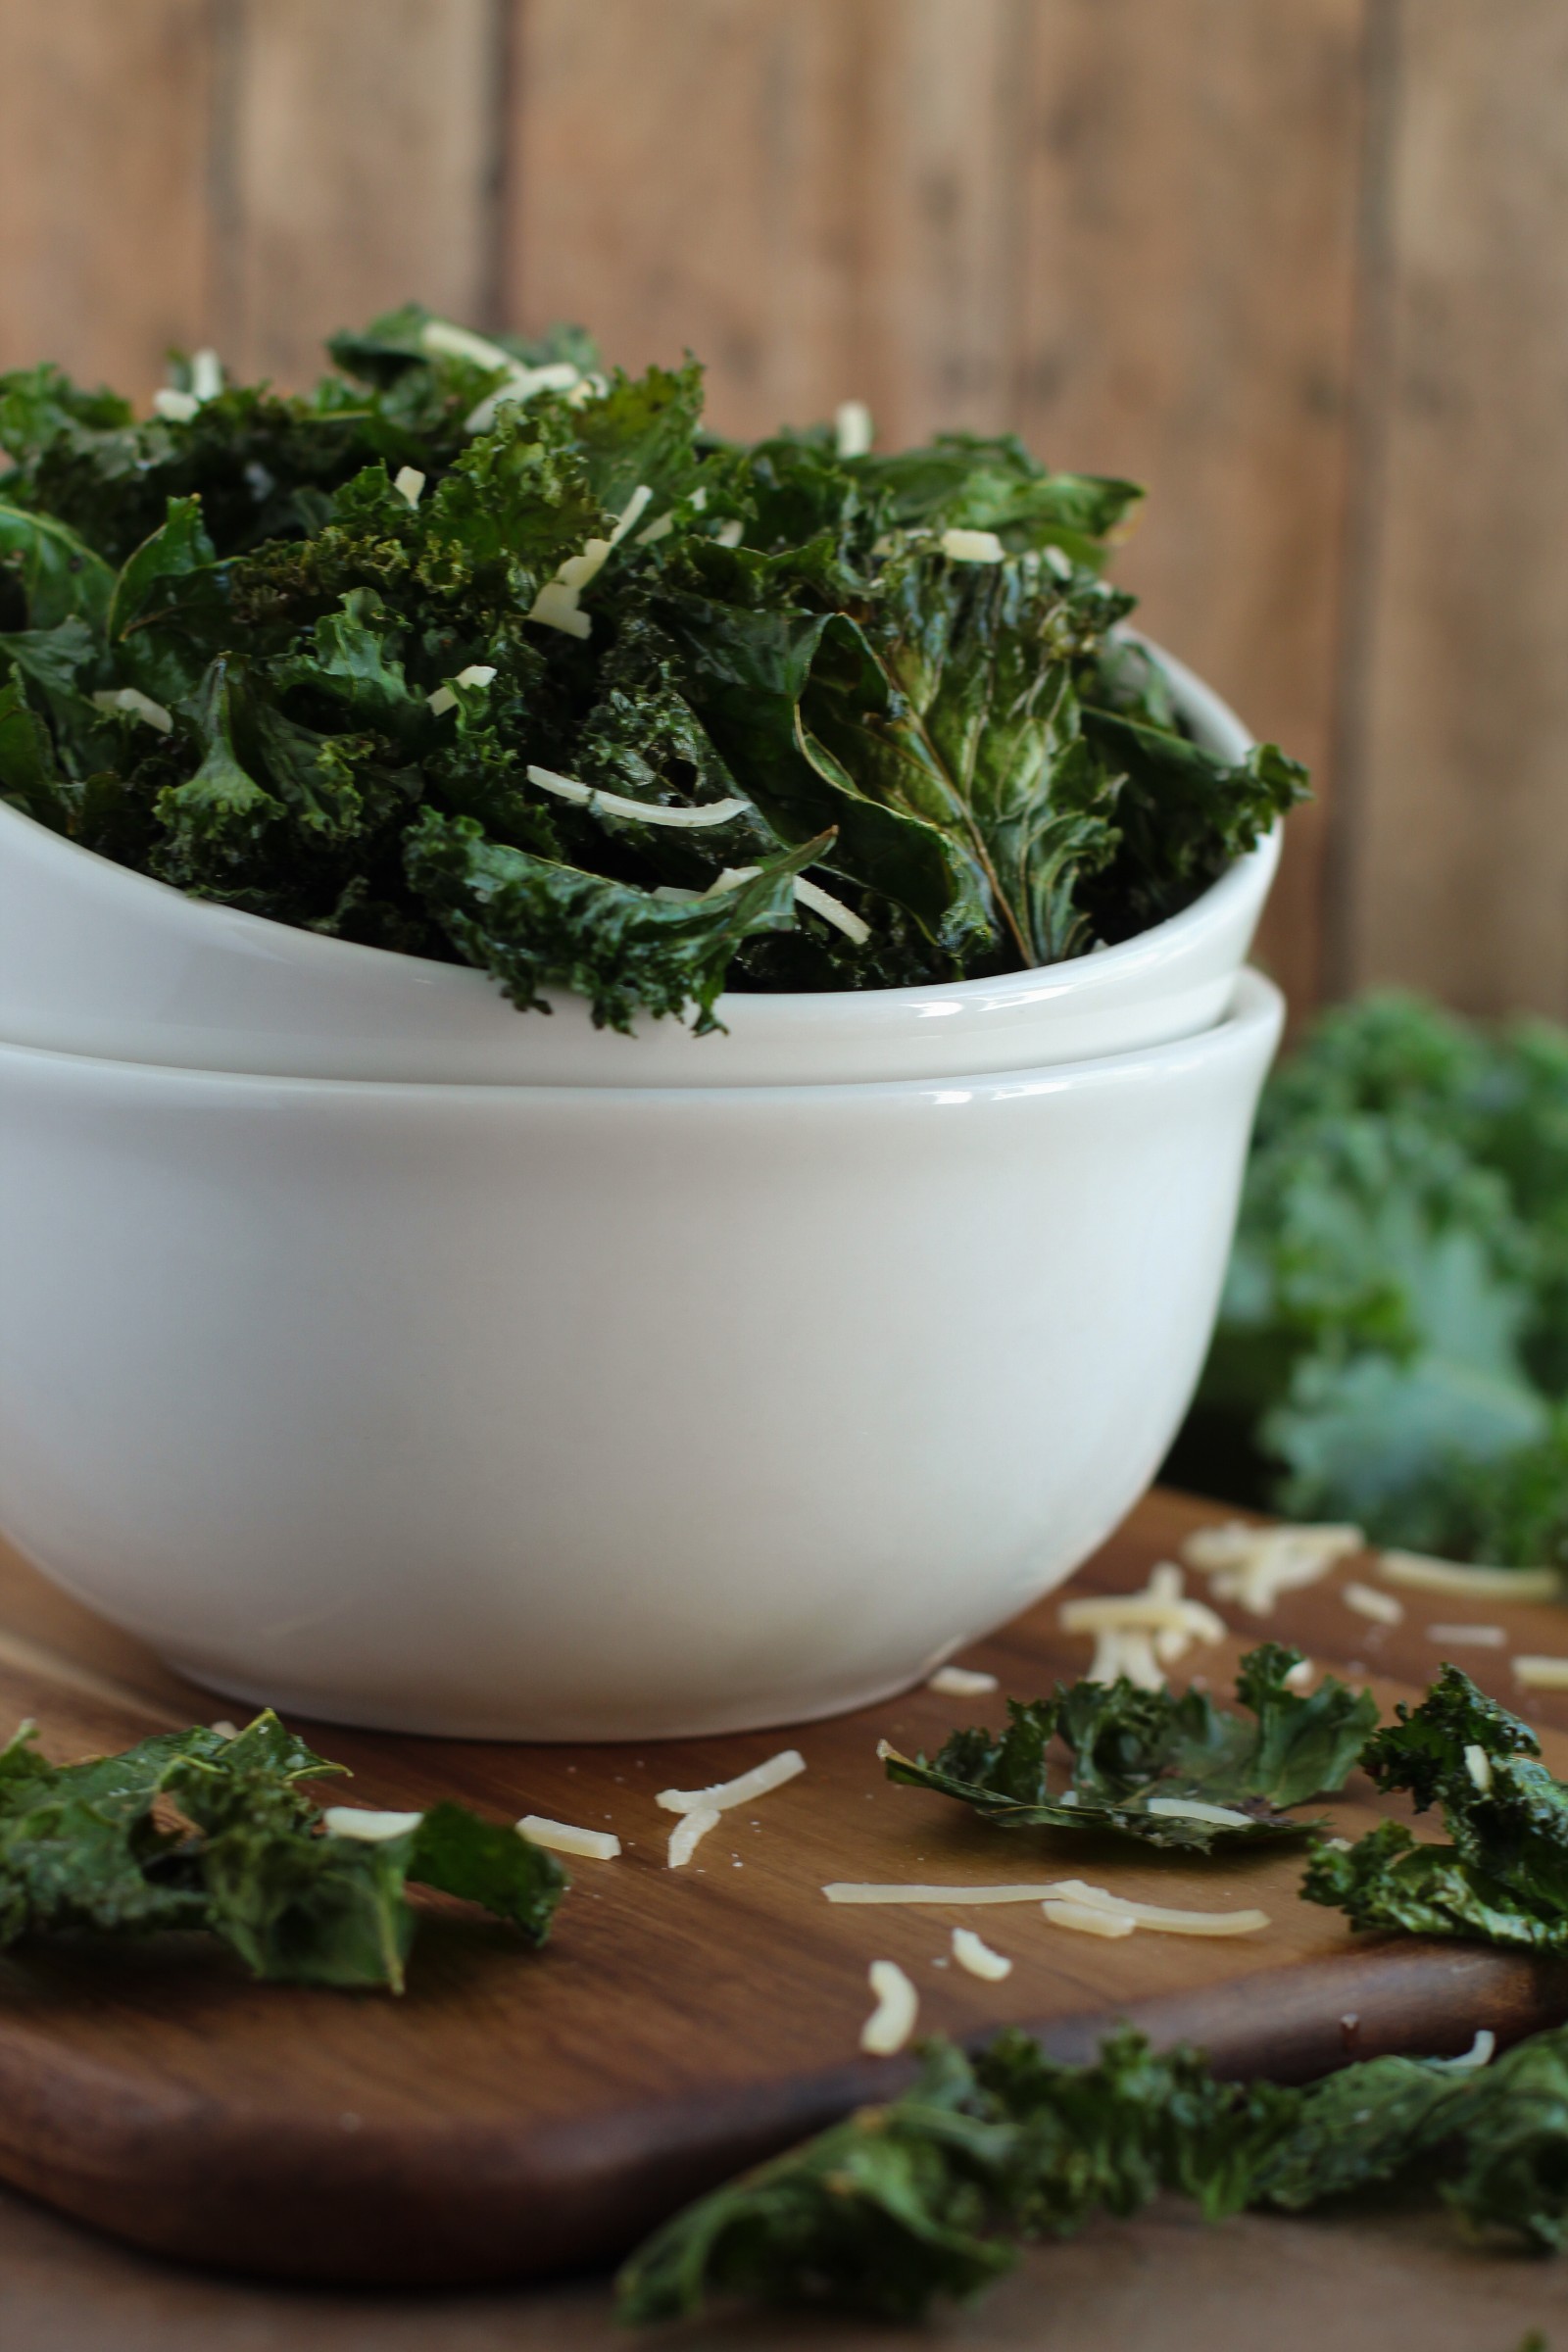
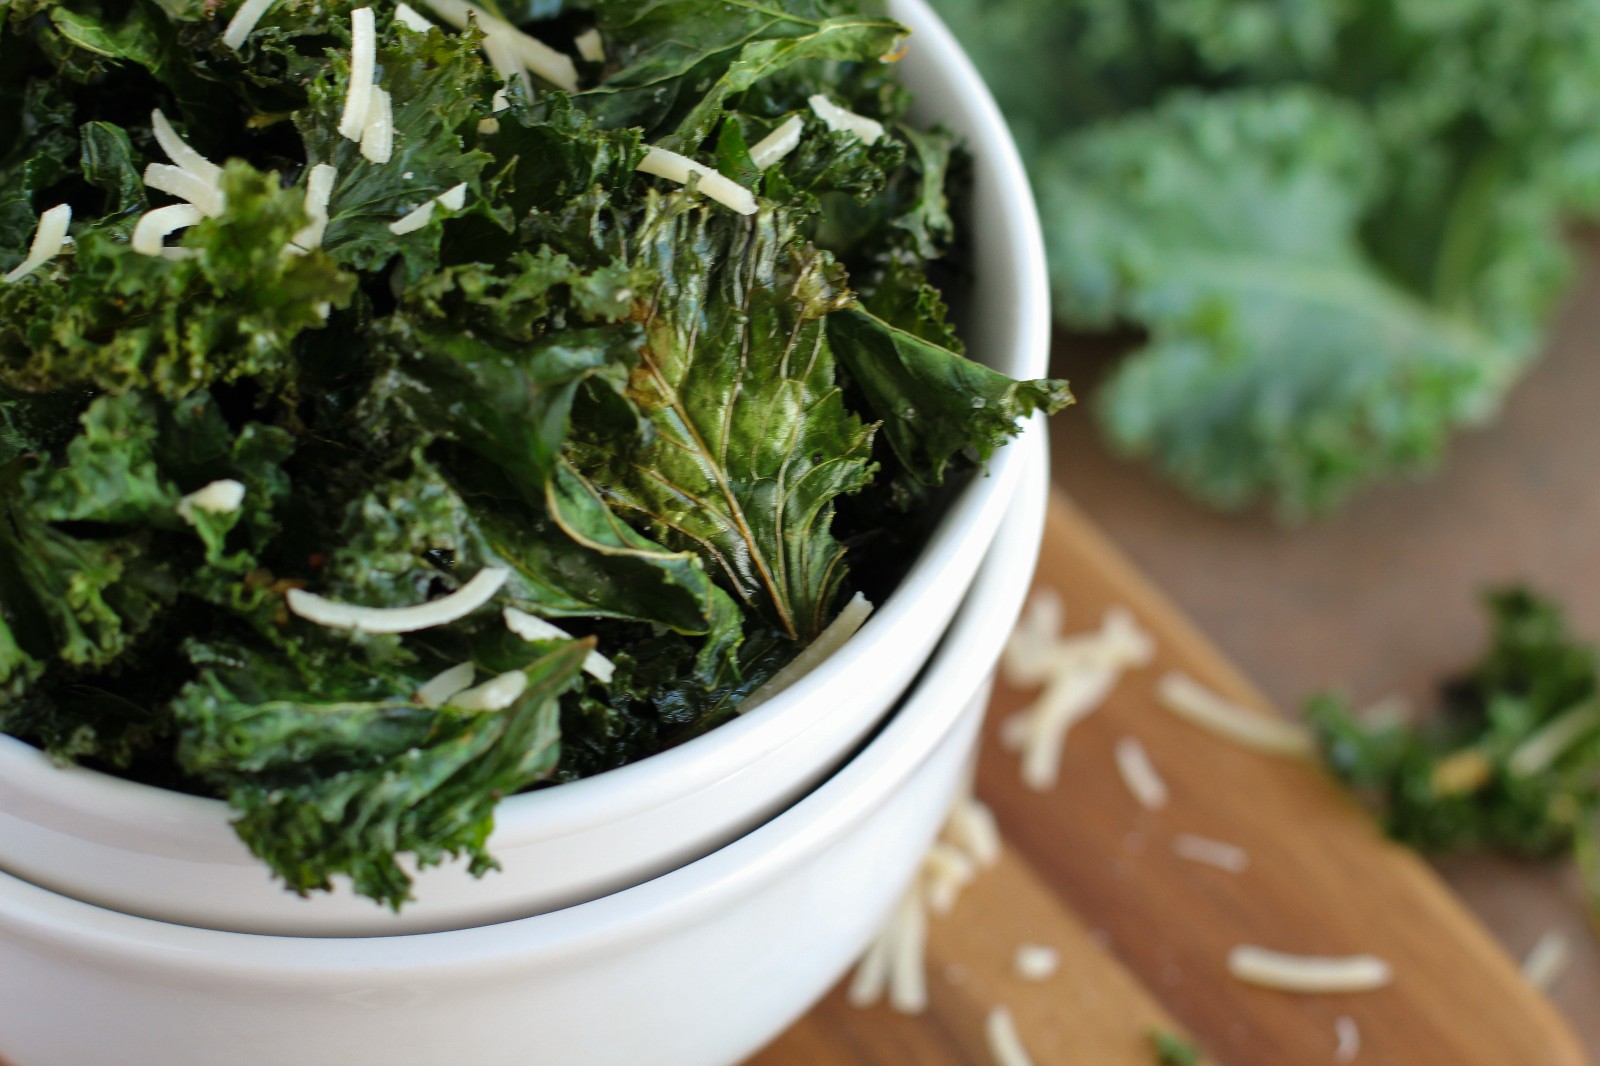
Crispy Garlicky Kale Chips are coated in Parmesan cheese and garlic. They’re an easy snack that’s ready in 15 minutes and perfect for movie nights.
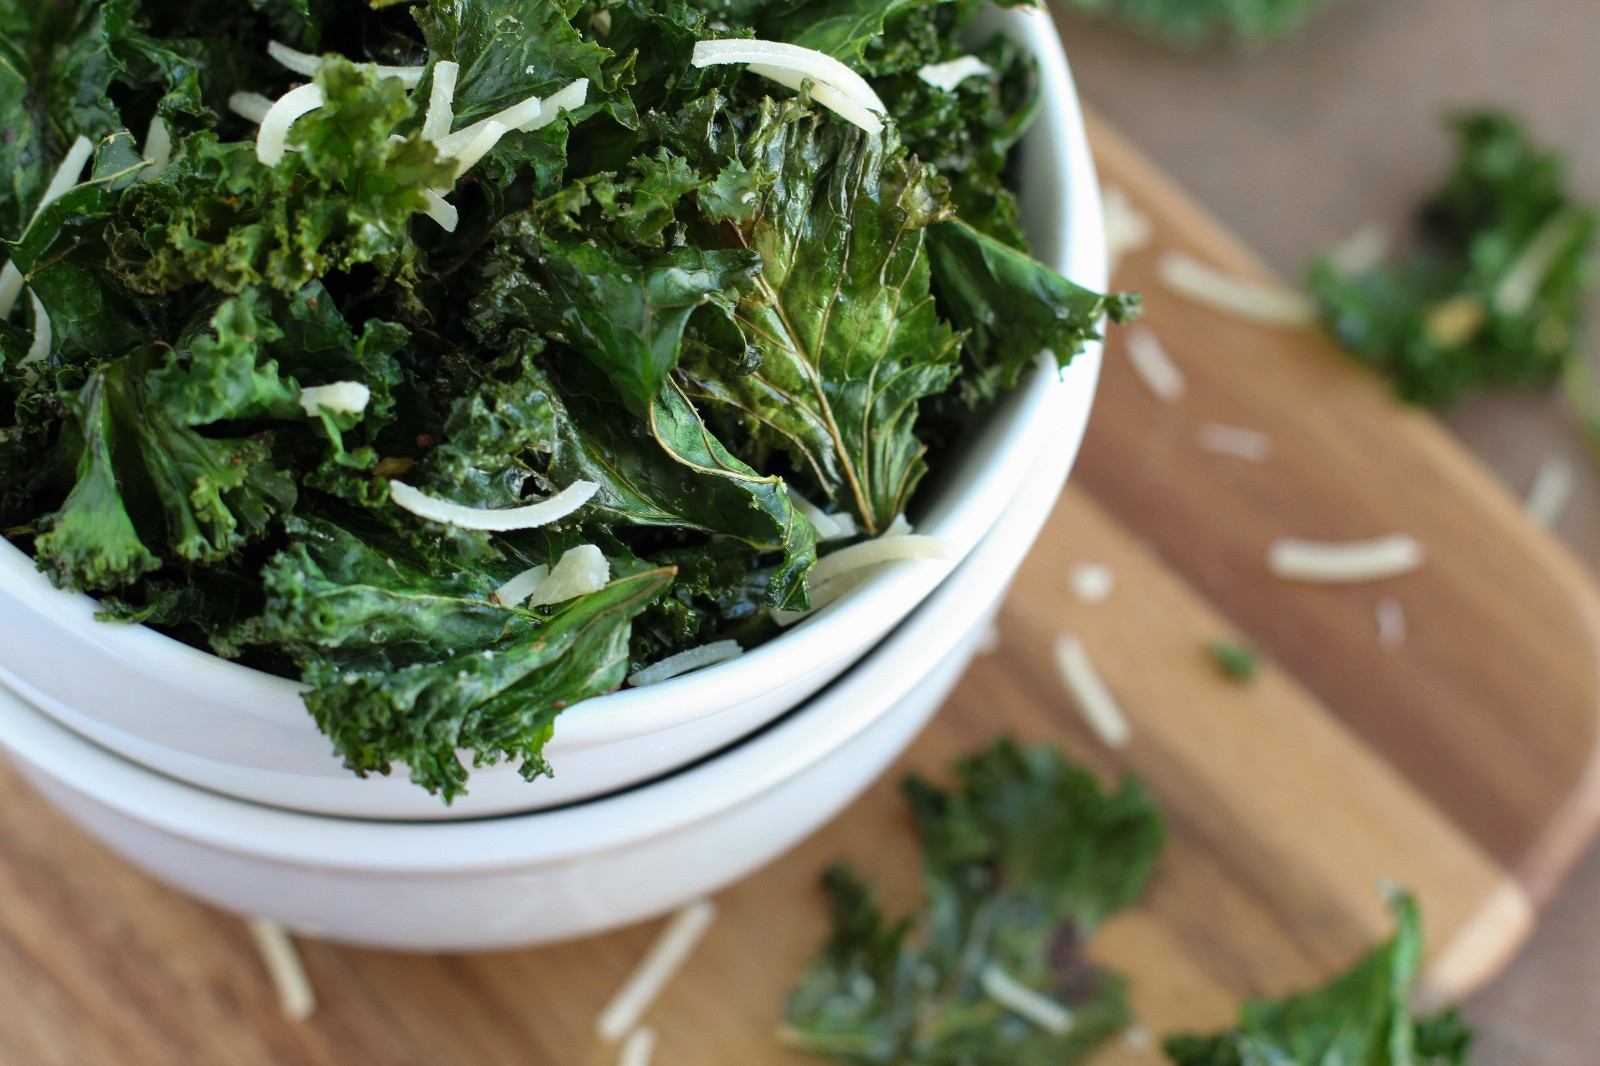
To me, kale chips are a fantastic potato chip substitute. They’re crispy and salty and oh so delicious! I used to eat them all the time when I ate keto because they’re so low in carbs.
Over the years I’ve made lots of kale chips like regular kale chips with just salt, and these all dressed kale chips. Is all dressed seasoning a Canadian thing? I’ve never seen a bag of all dressed chips in the USA or Mexico.
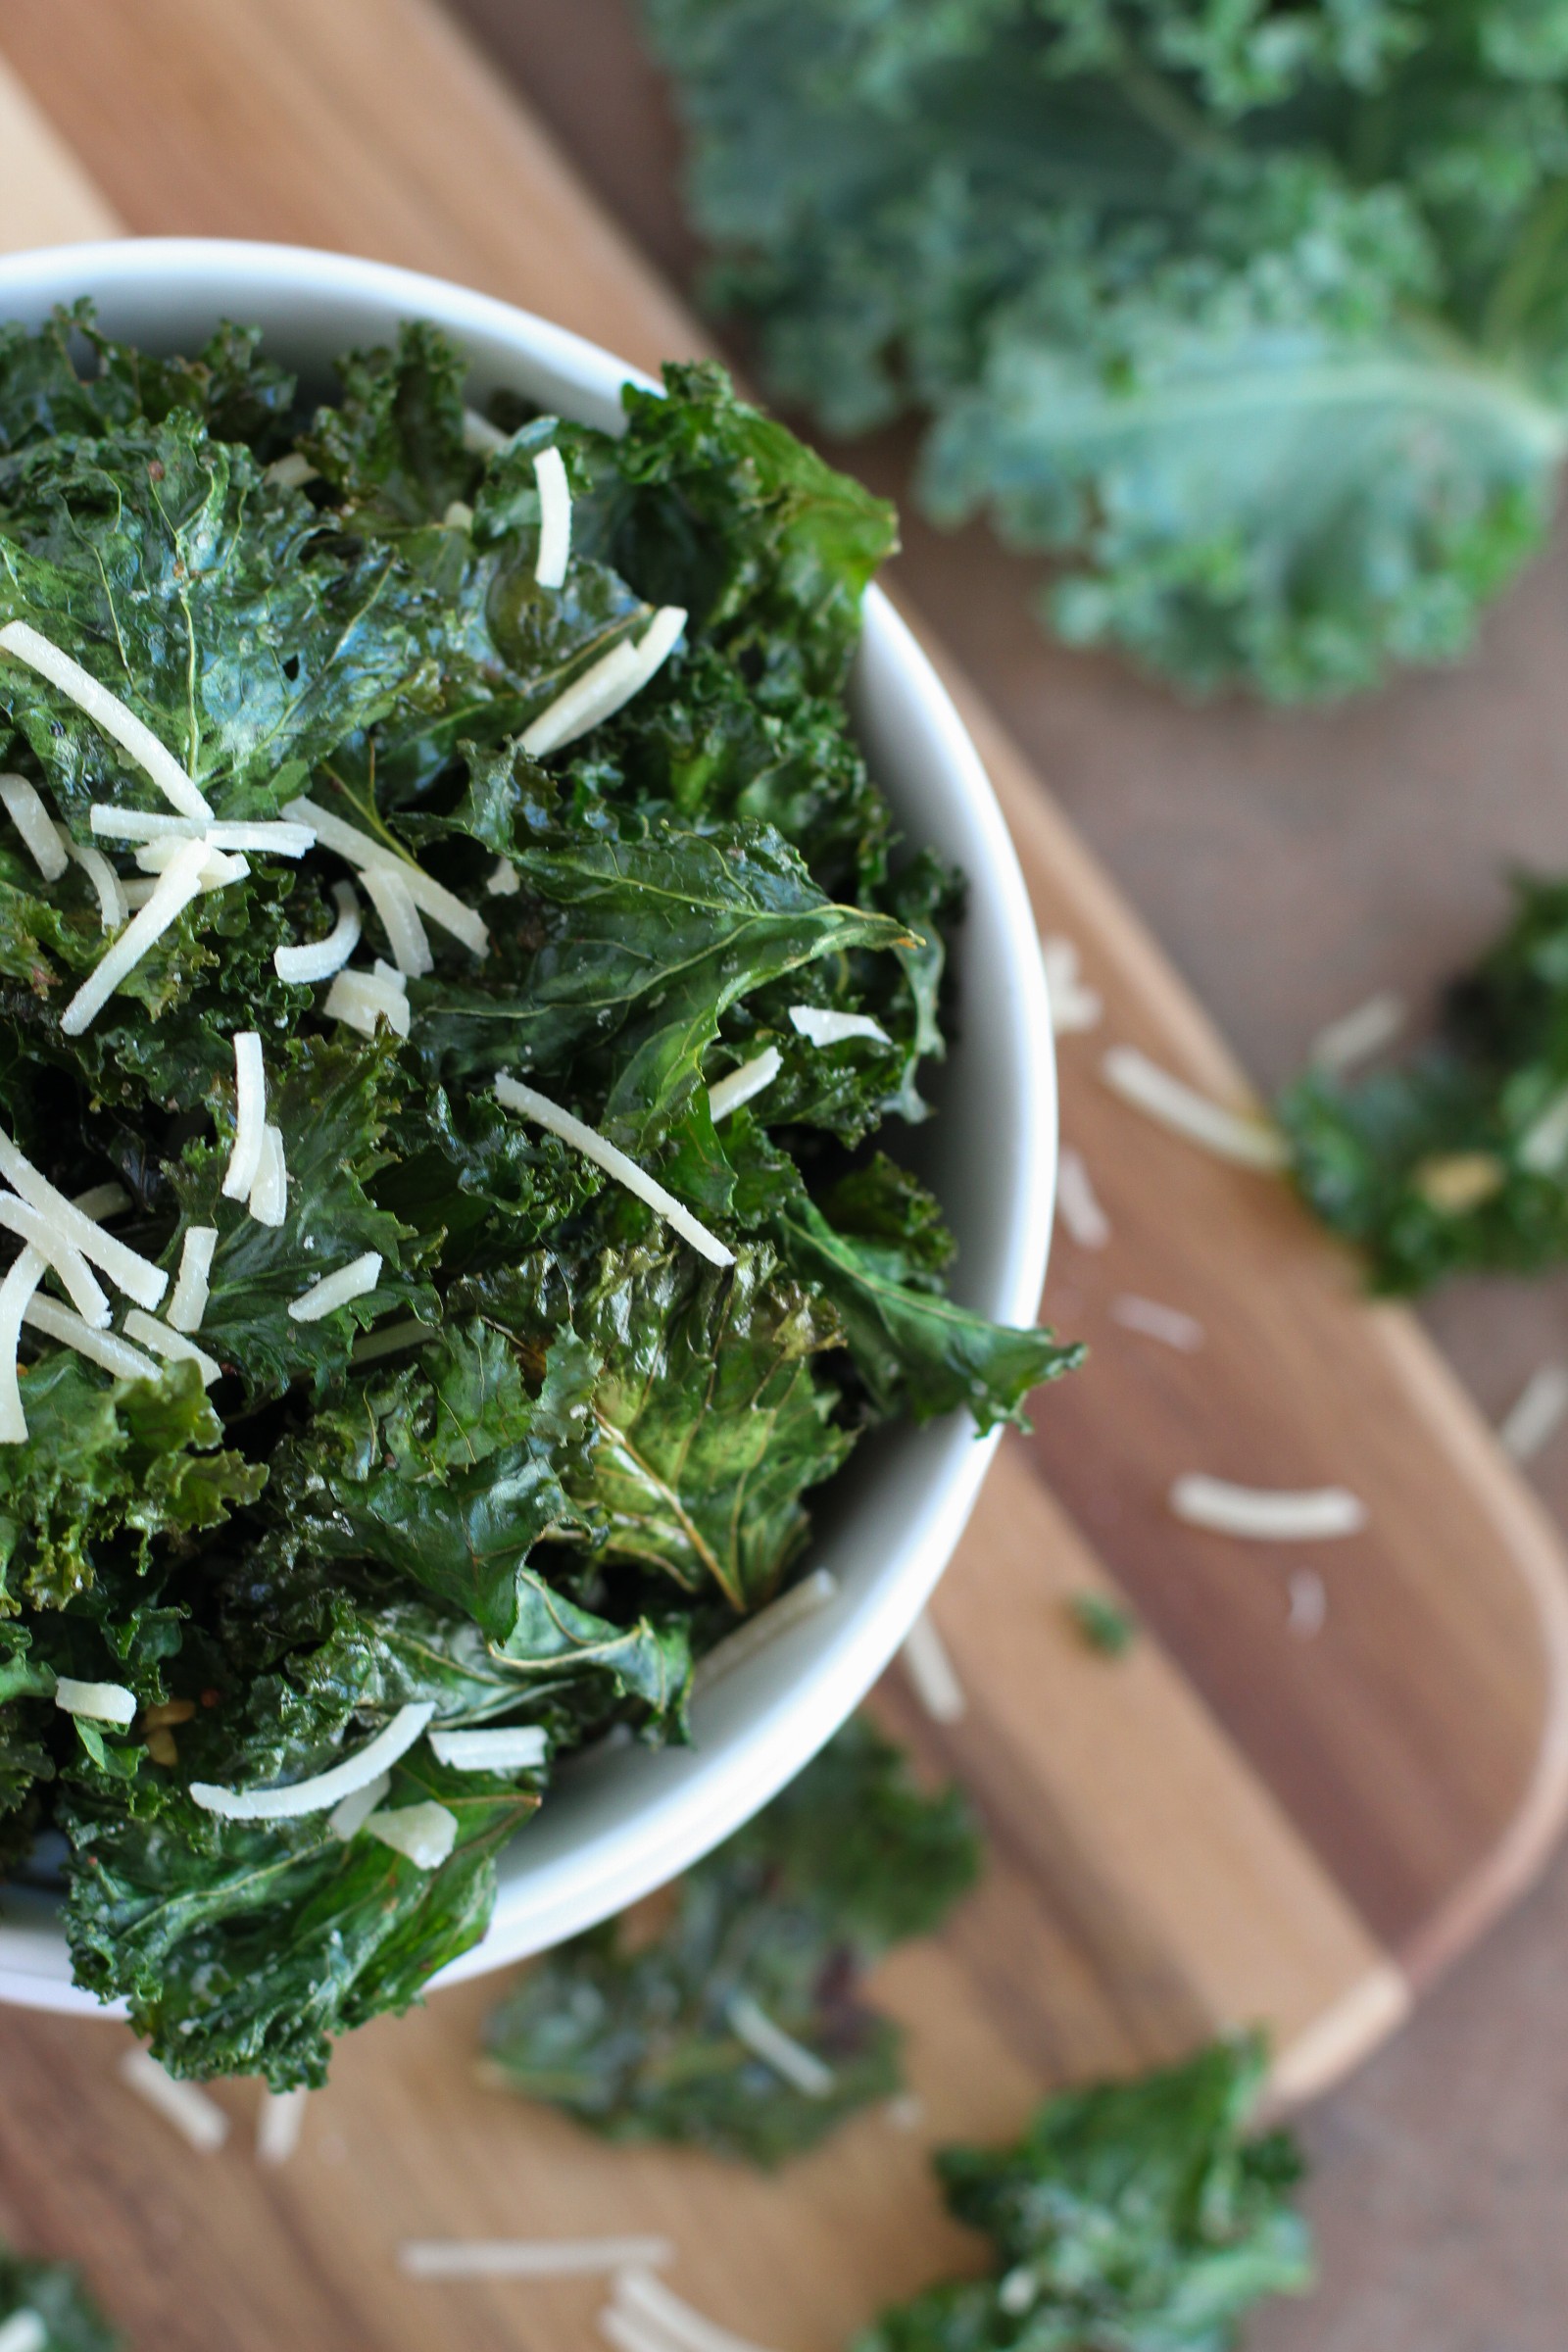
These kale chips are a step above regular ones. They’re coated in Parmesan cheese and freshly minced garlic making them perfectly crispy and extremely garlicky. If you’re not a fan of garlic these chips are not for you.
Tools to use for this recipe
For this recipe you will need:
Garlic Kale Chip Ingredients
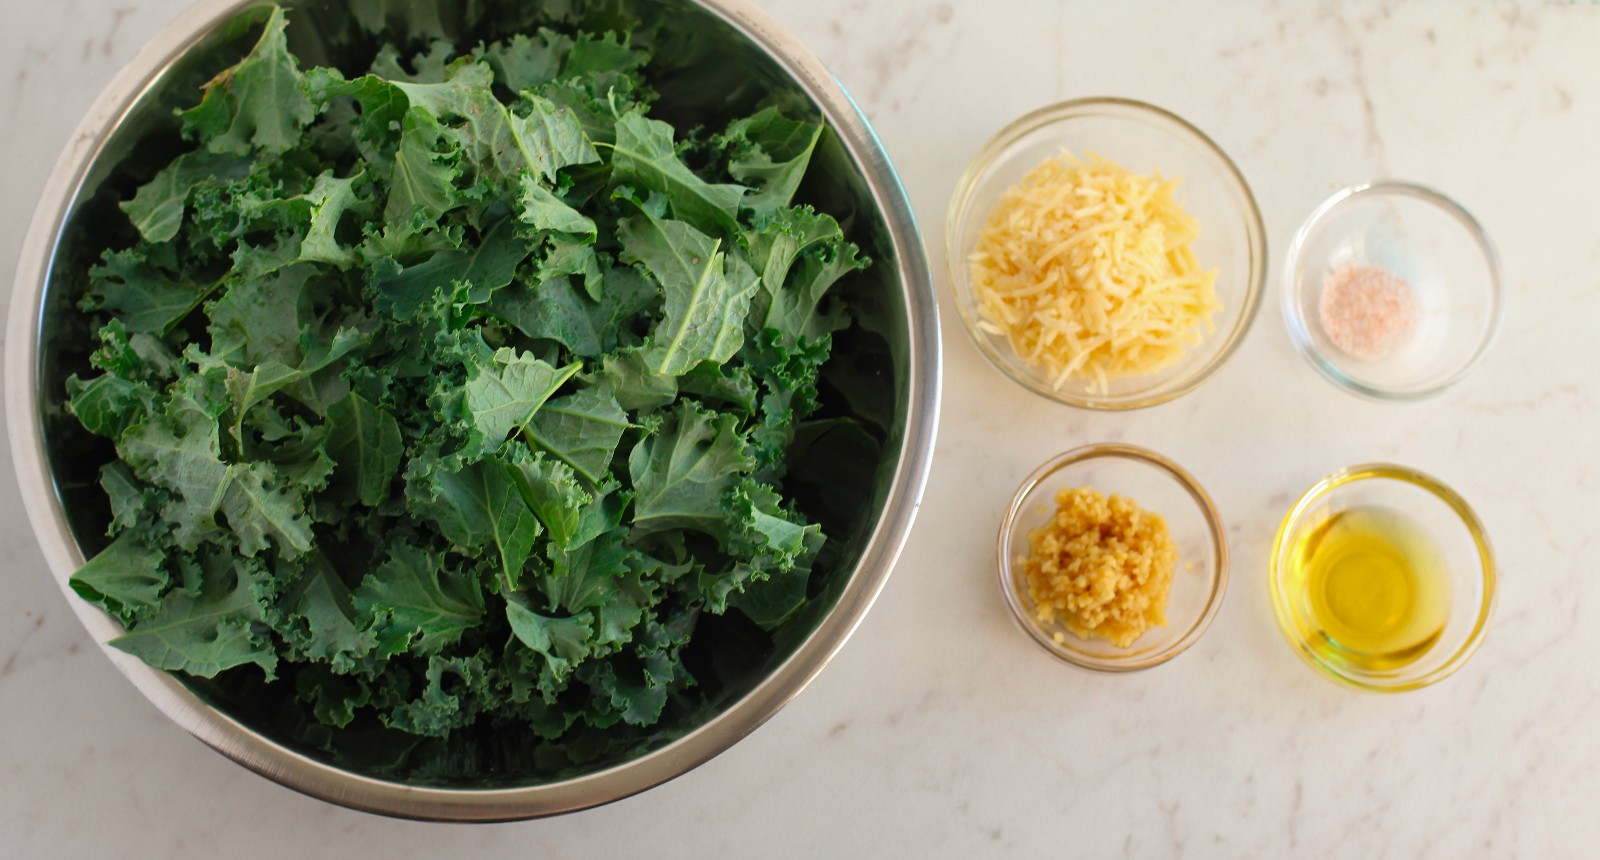
- fresh kale
- avocado oil
- a few garlic cloves
- sea salt
- Parmesan cheese
How to Make Garlicky Kale Chips
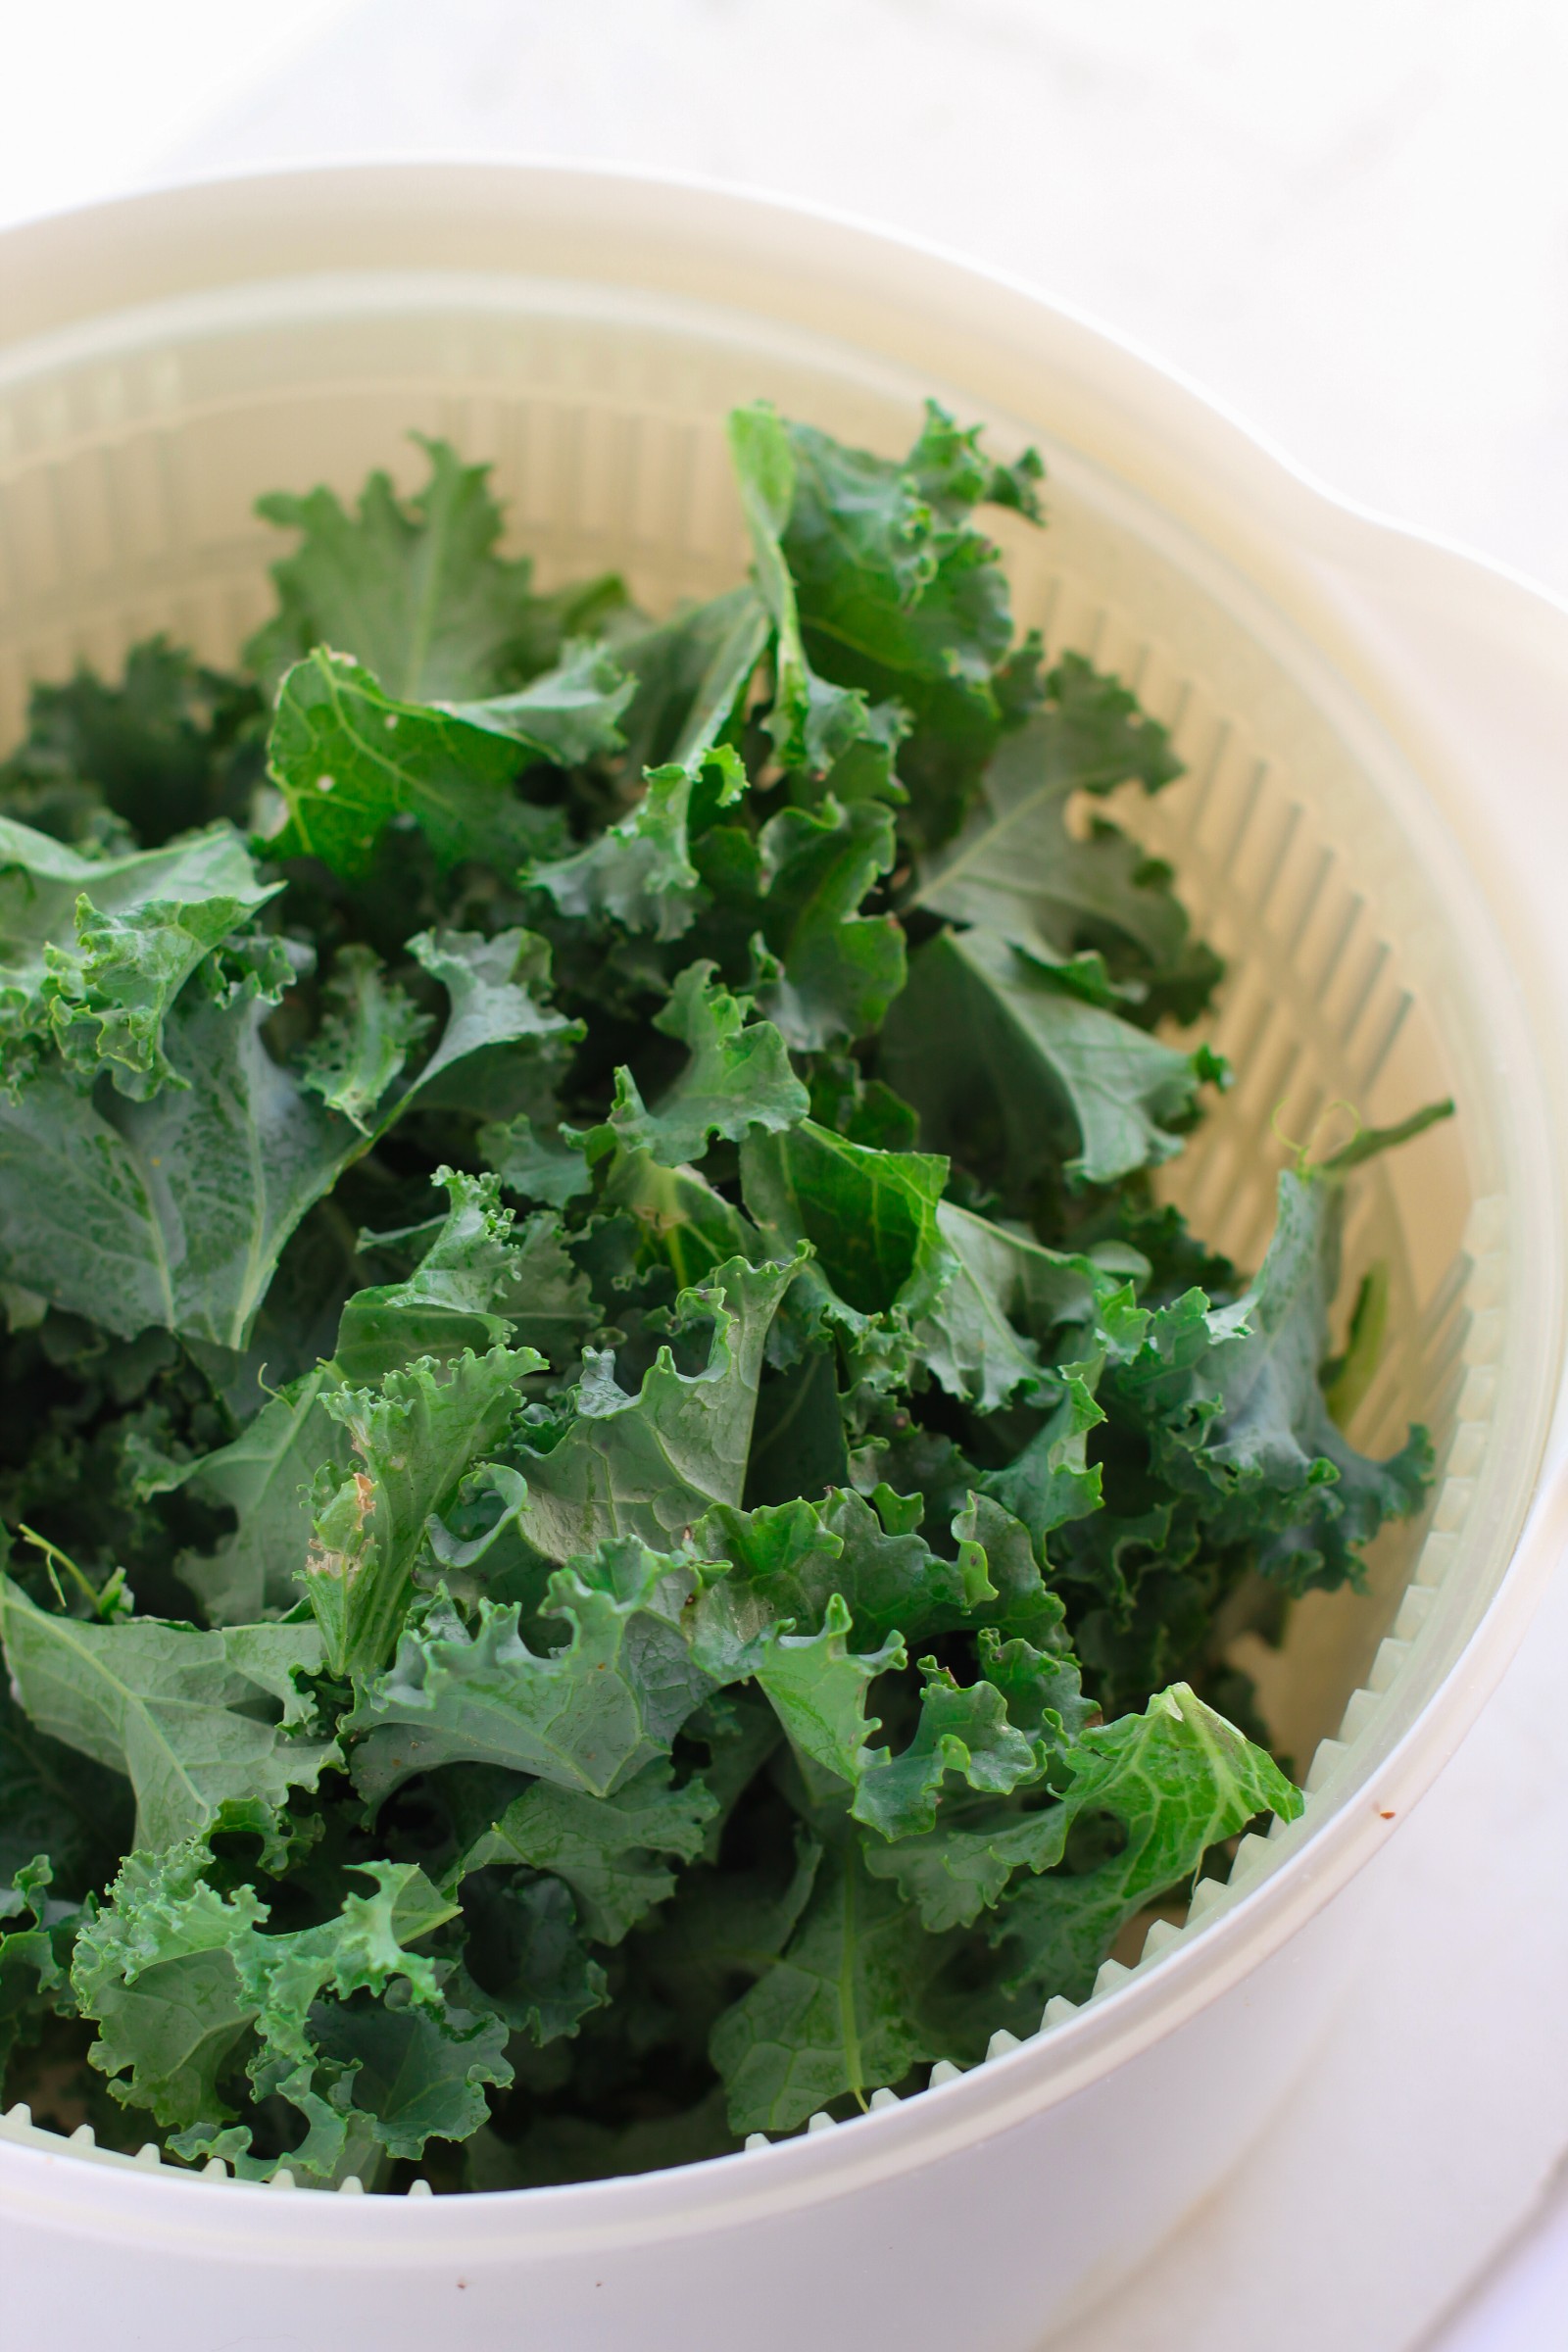
Step 1: Prep. Preheat the oven and remove and discard any large stems from the kale. Tear the kale leaves into large bite-size pieces. Rinse the kale and dry thoroughly. I suggest using a salad spinner because it works well to help remove most of the water from the kale leaves. Add the kale to a large bowl.
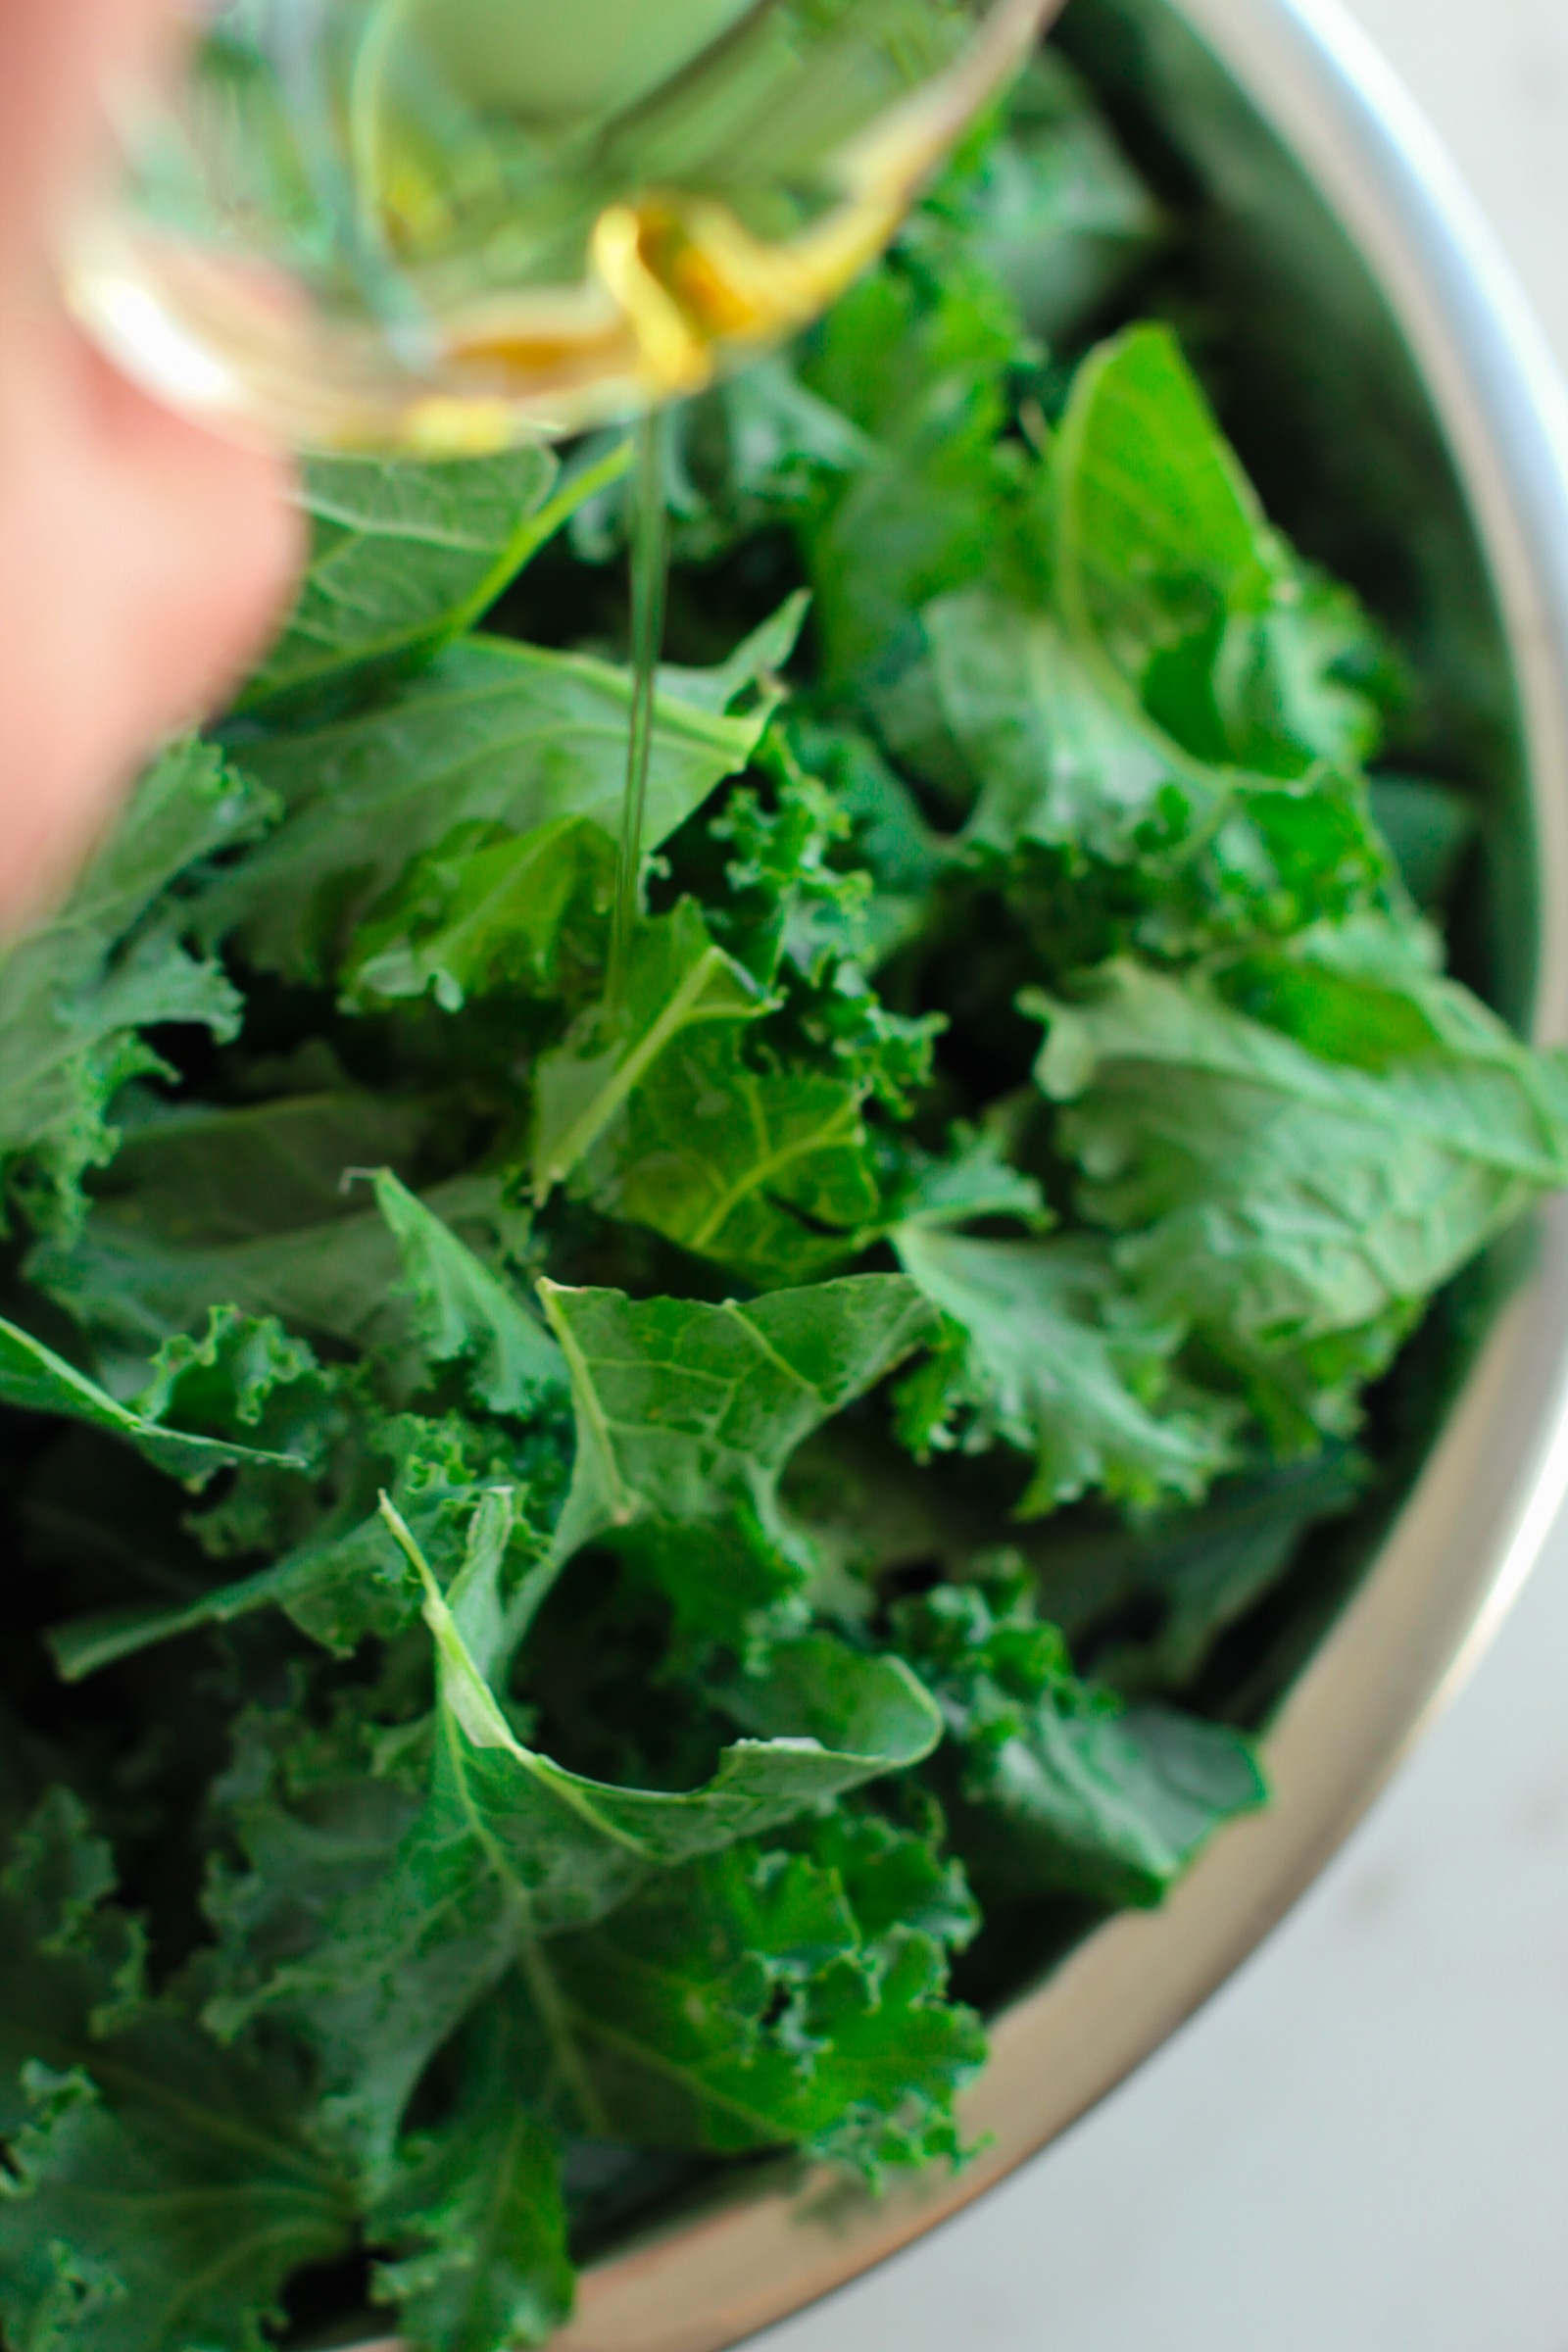
Step 2: Massage the kale leaves. I know it sounds weird but you need to pour avocado oil over the kale and then toss and massage the oil into the leaves. This helps to tenderize kale because it is so fibrous.
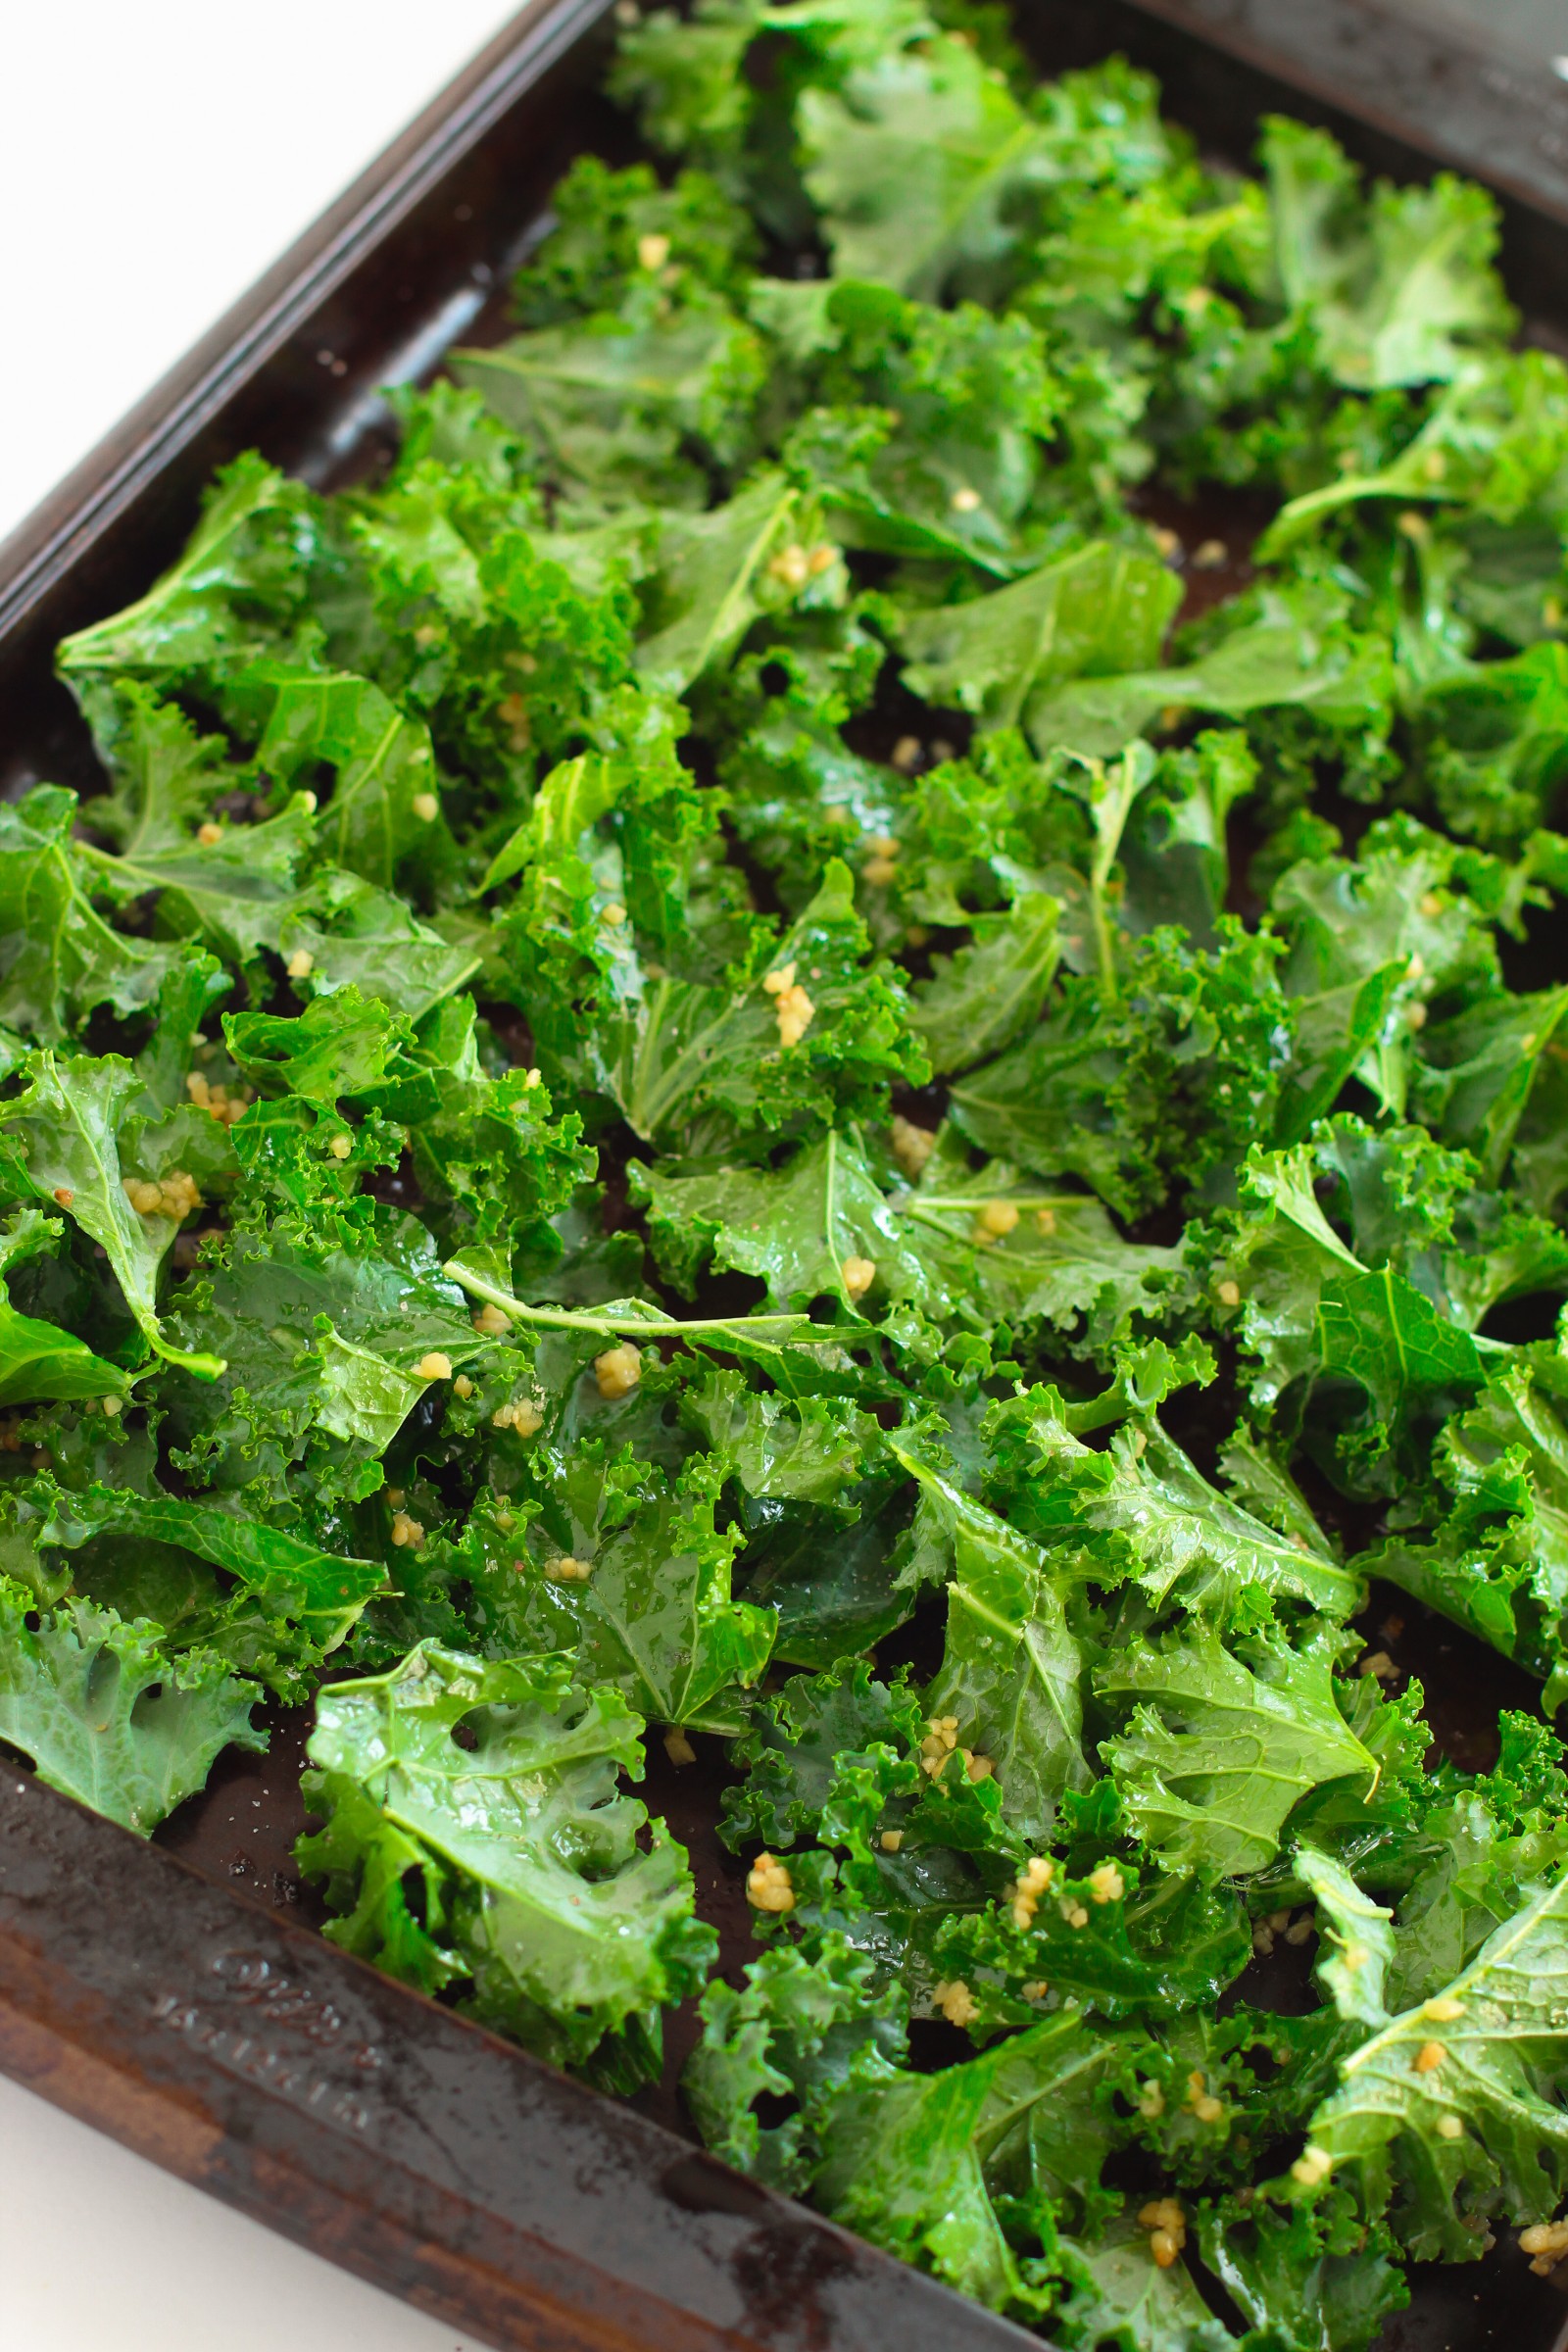
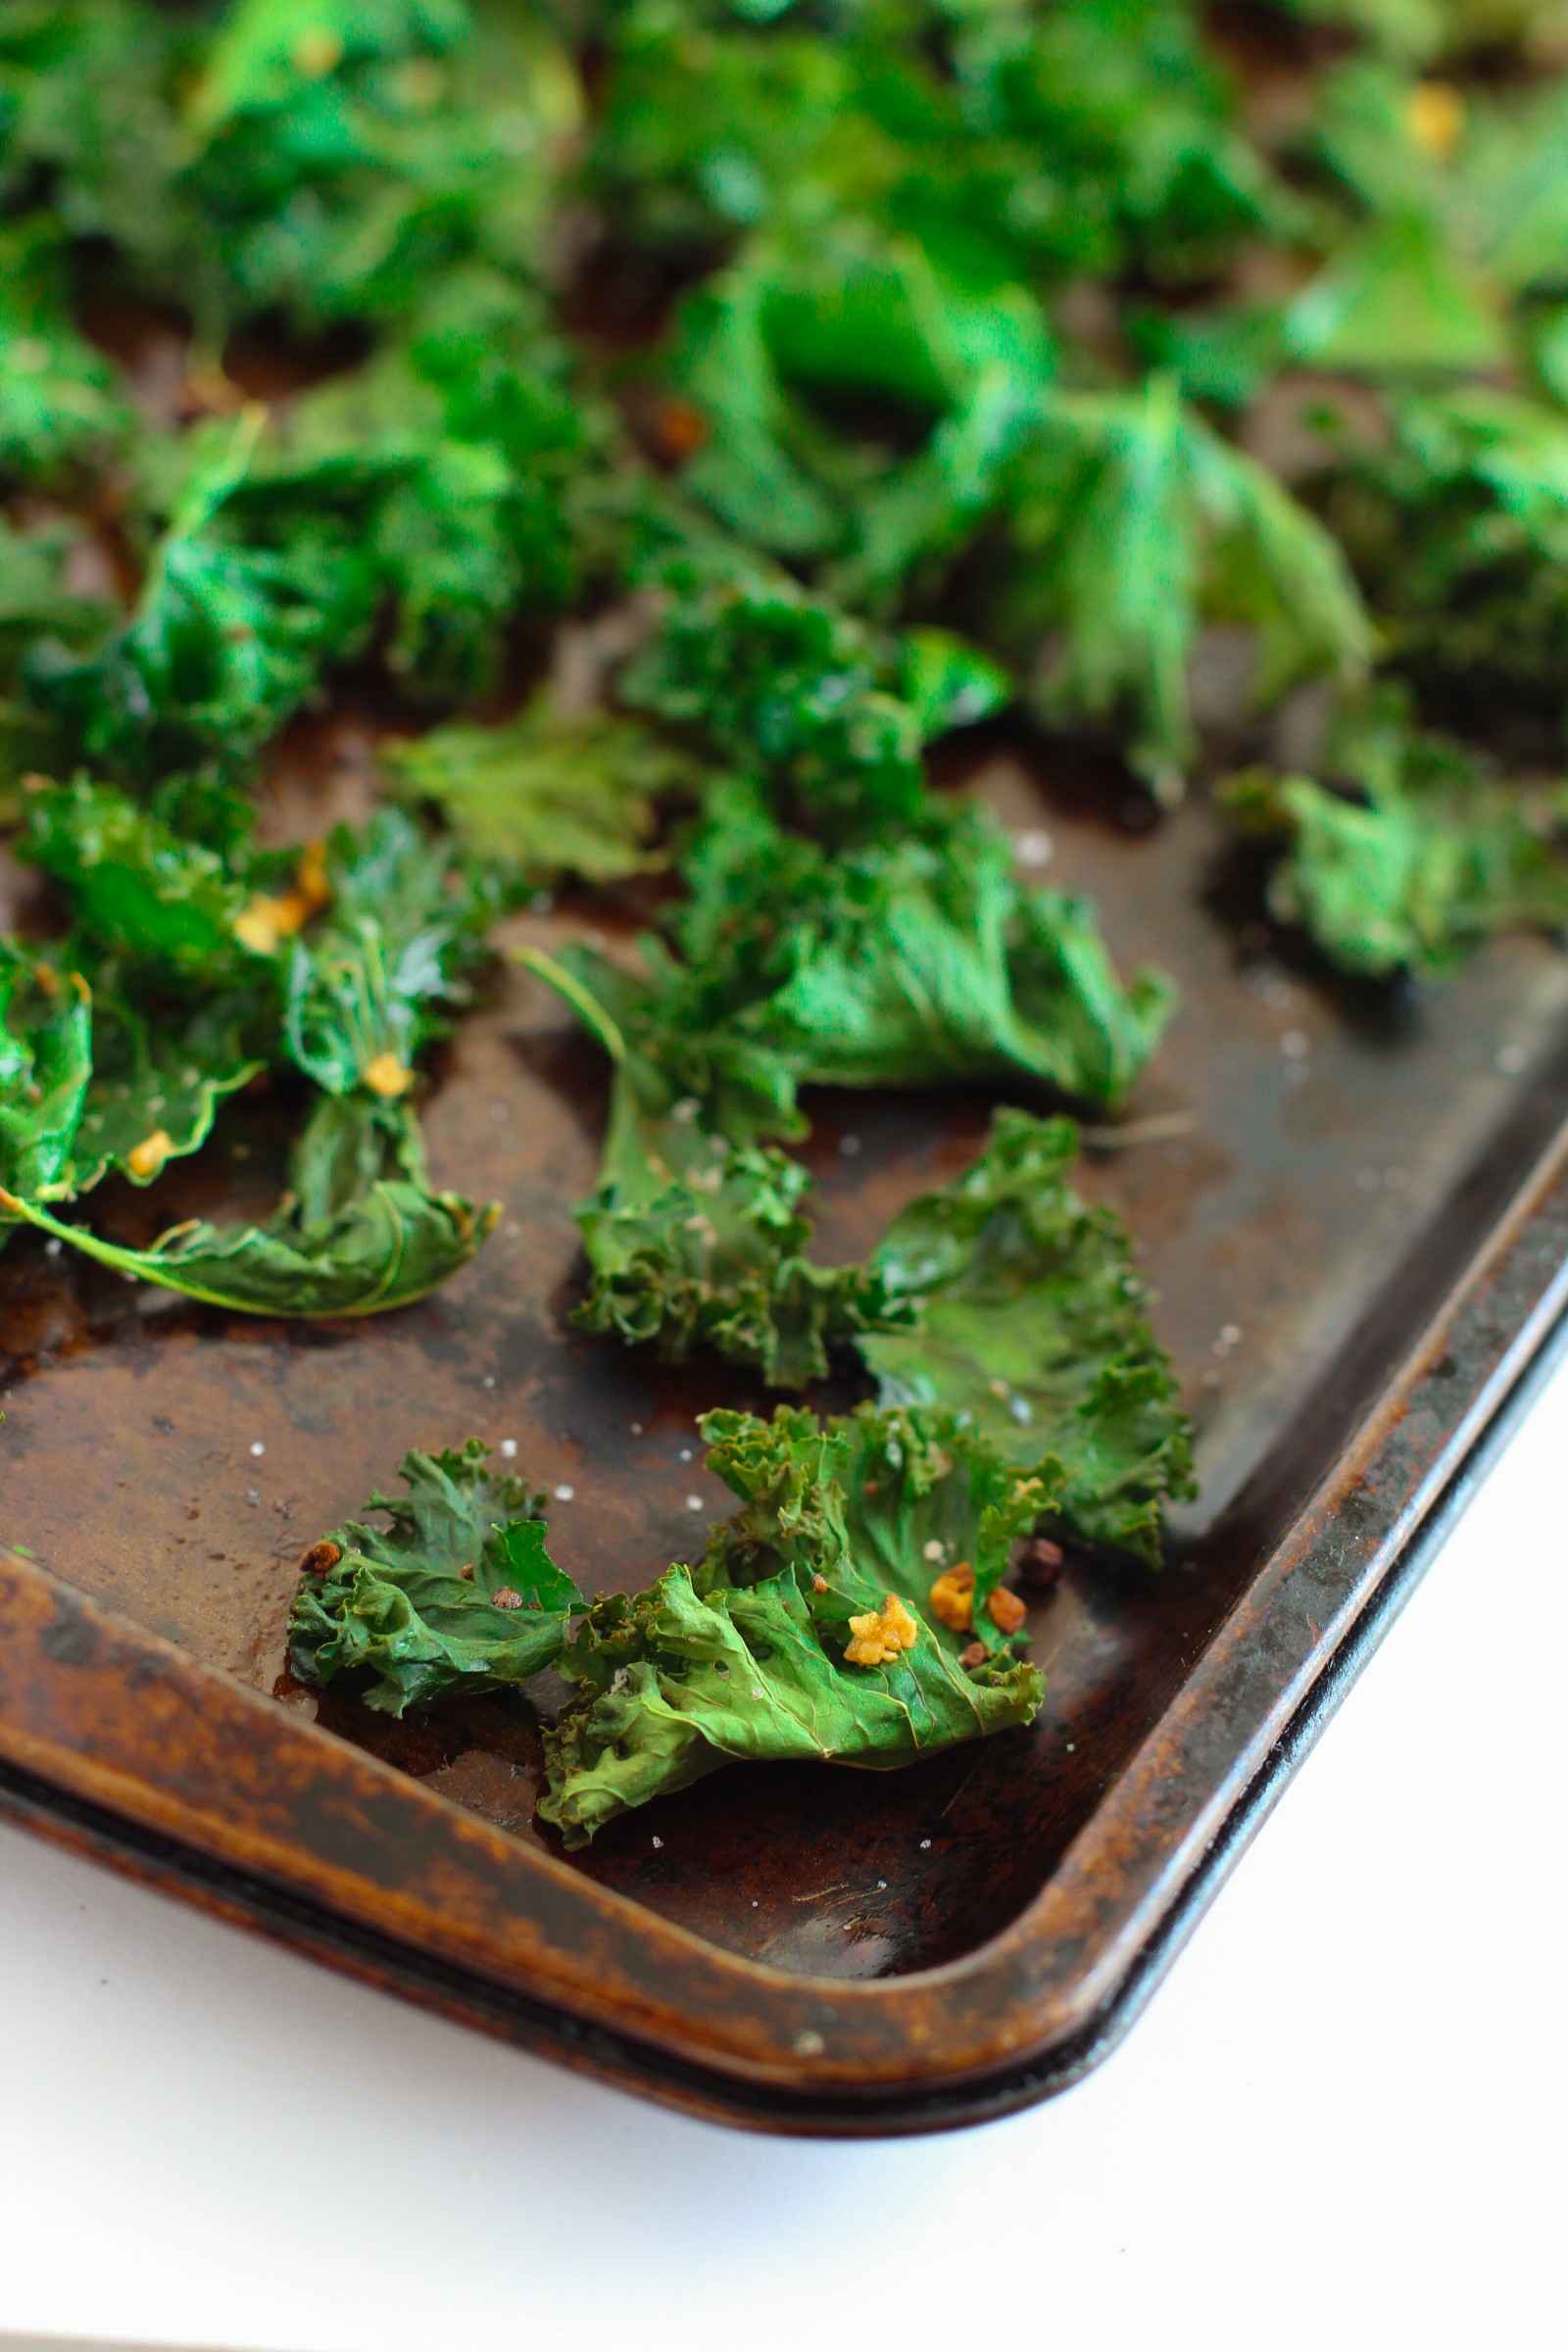
Step 3: Place the kale on baking sheets. Transfer the kale to two baking sheets. Try to give the pieces of kale room so they get crispy. You do not want large clumps of kale. Sprinkle the kale with freshly minced garlic and sea salt.
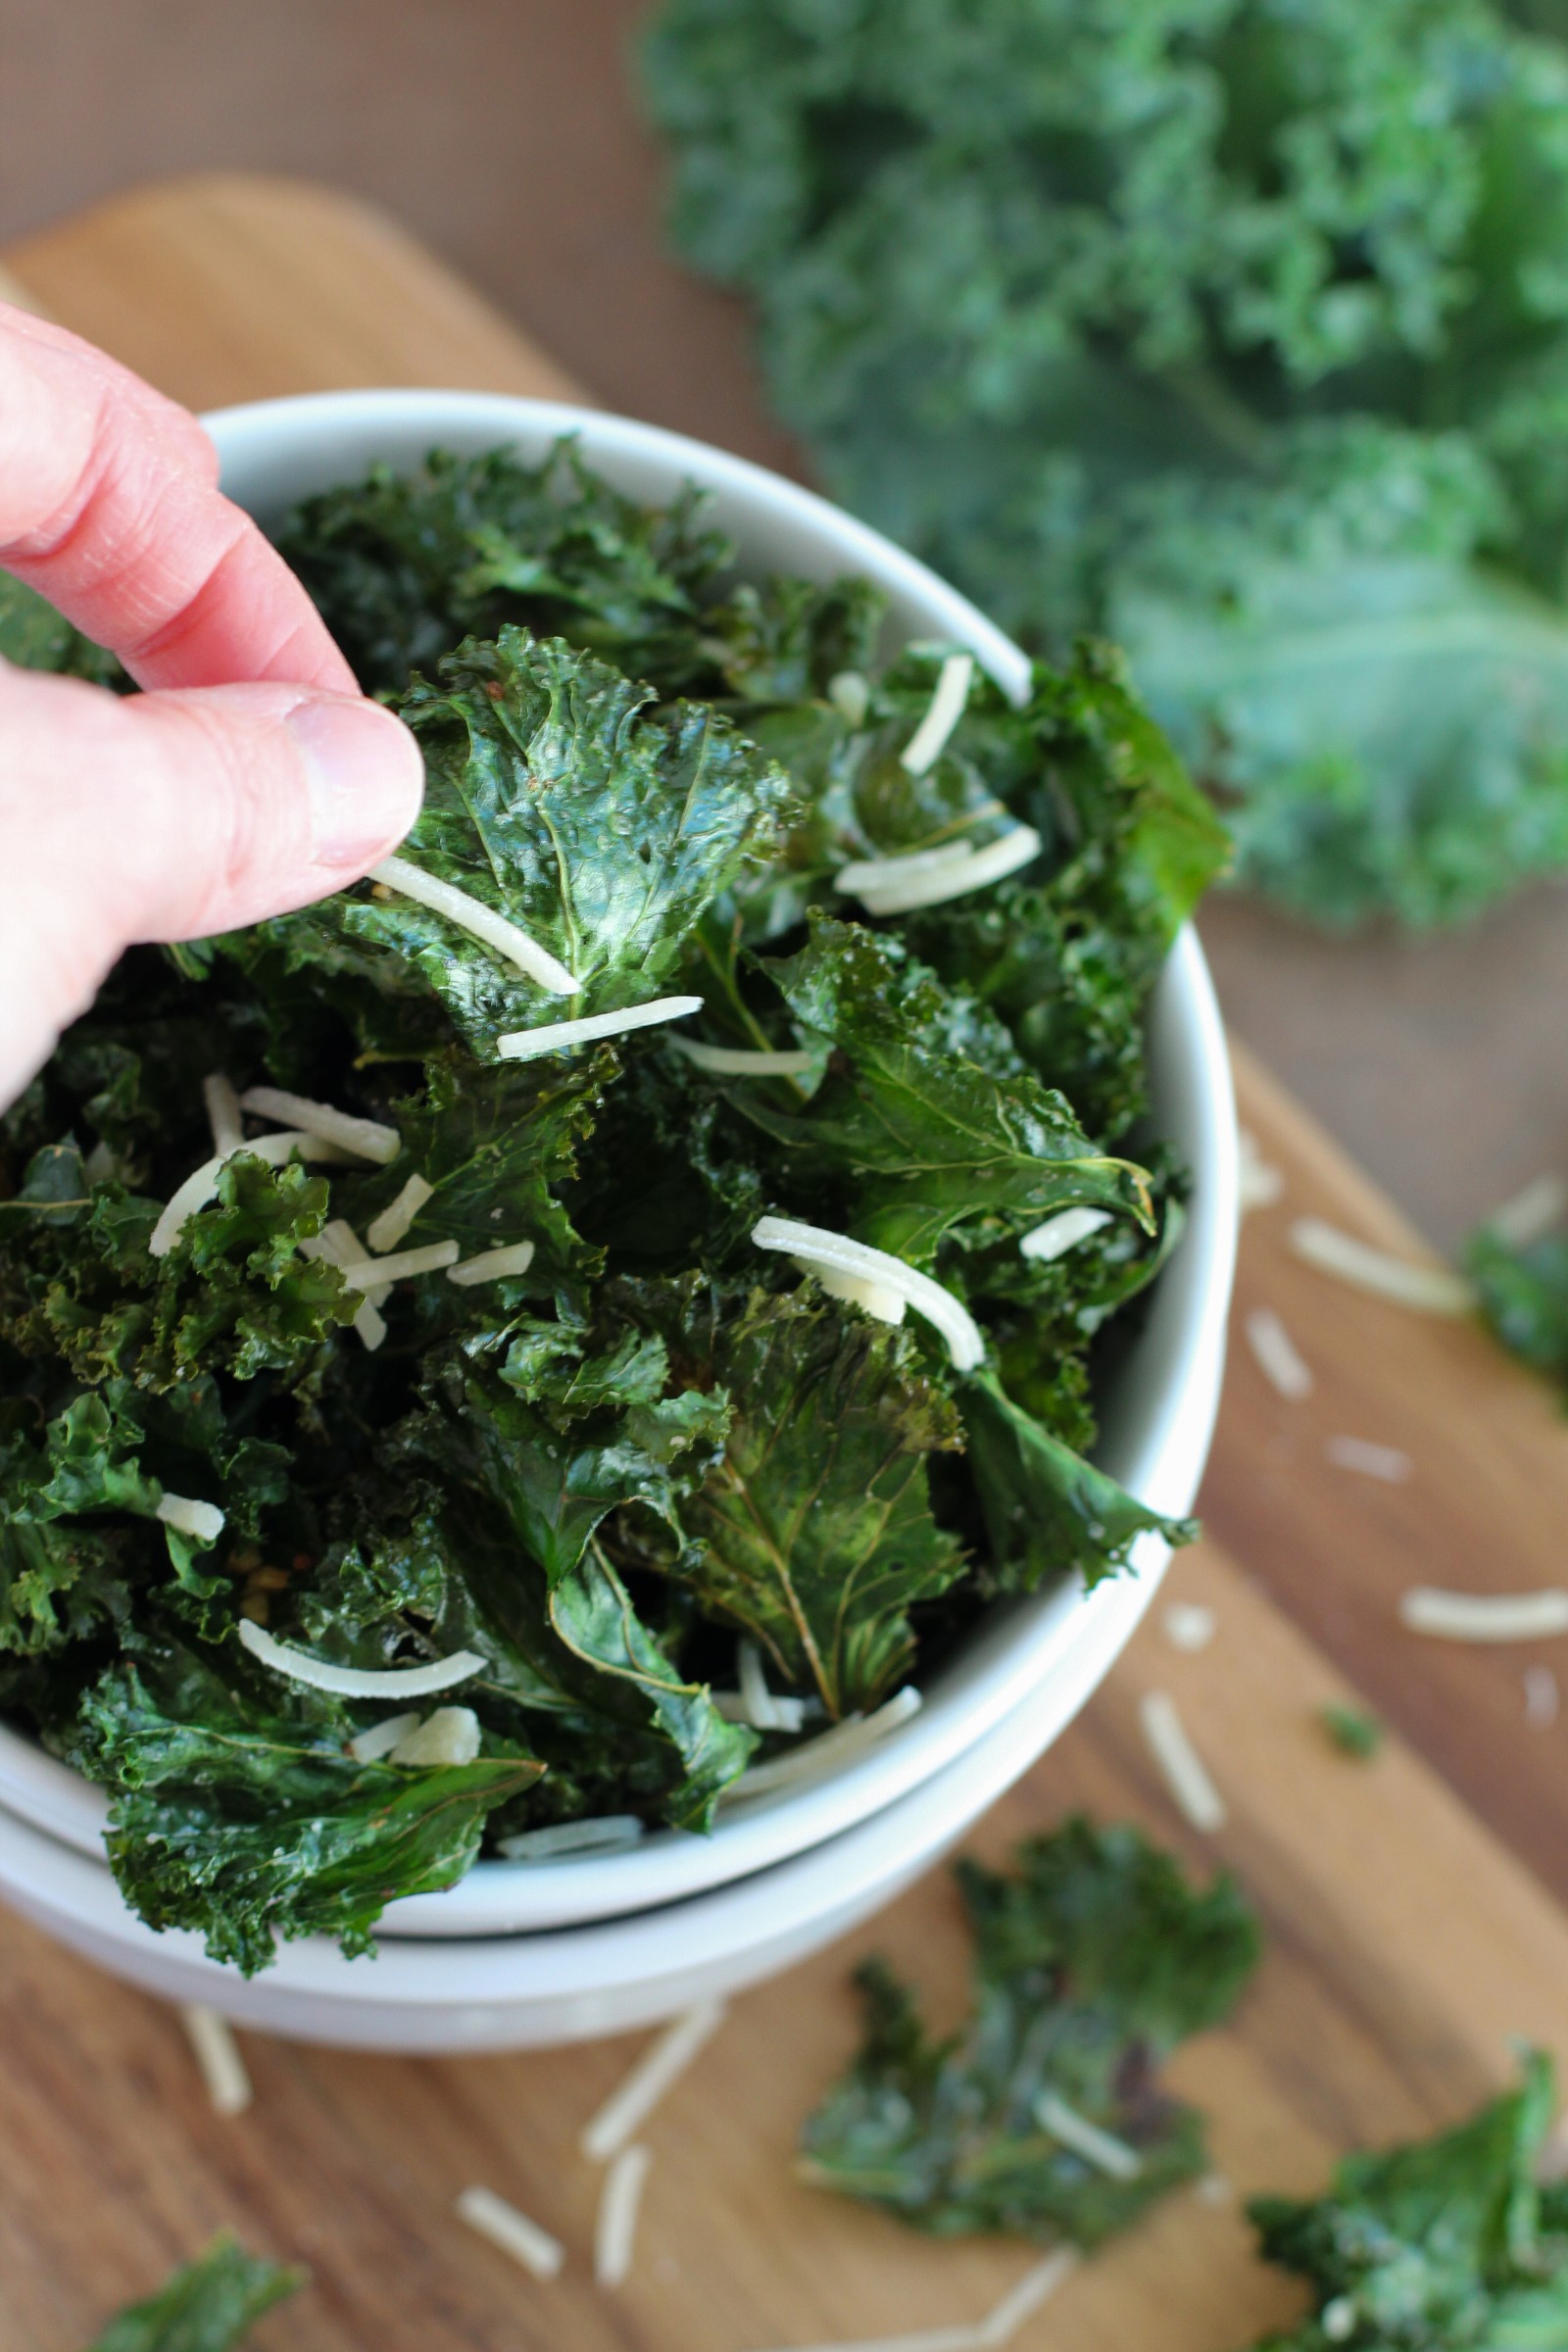
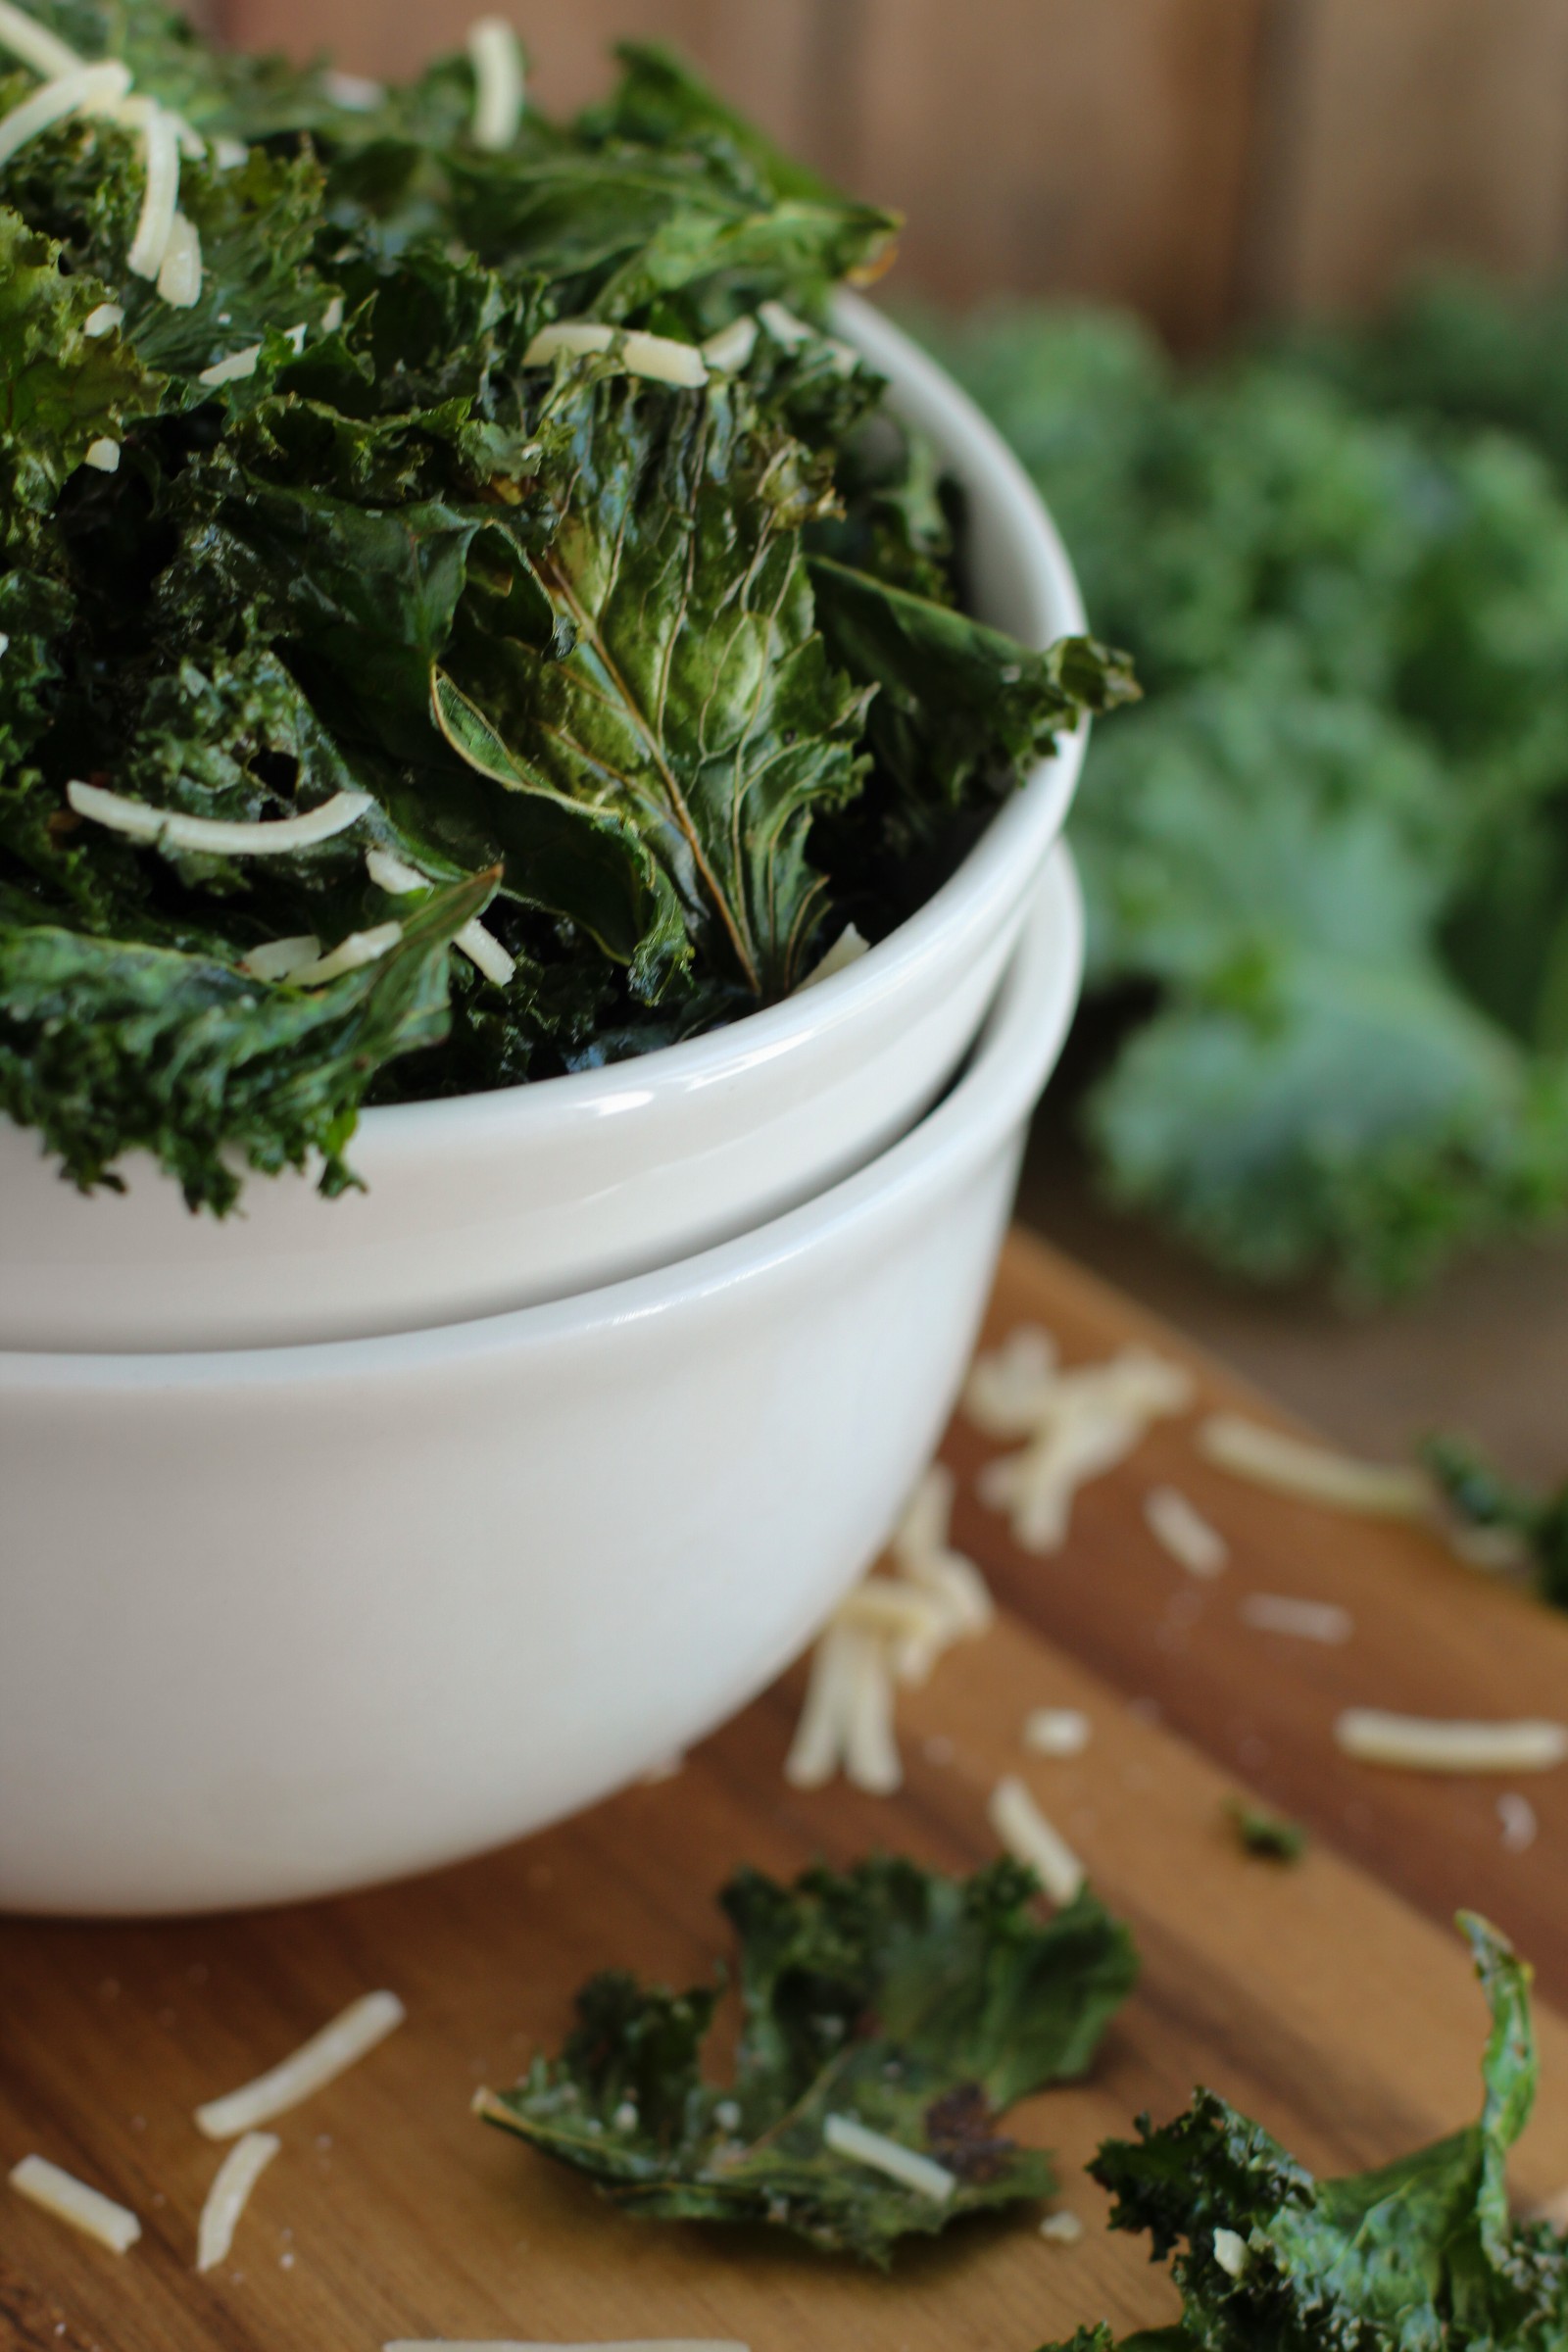
Step 4: Bake the kale. Place the baking sheets in a preheated oven for 10-15 minutes, rotating the baking sheets halfway through. The kale is done baking when it is fully crispy. You do not want soggy kale chips. Allow the baked kale to cool for 3-5 minutes. Sprinkle on shredded parmesan cheese and enjoy!
How to Store Homemade Kale Chips
Store homemade kale chips in an airtight container at room temperature for up to 2 days. Kale chips are best eaten within 2 days.
More gluten free snack recipes to try
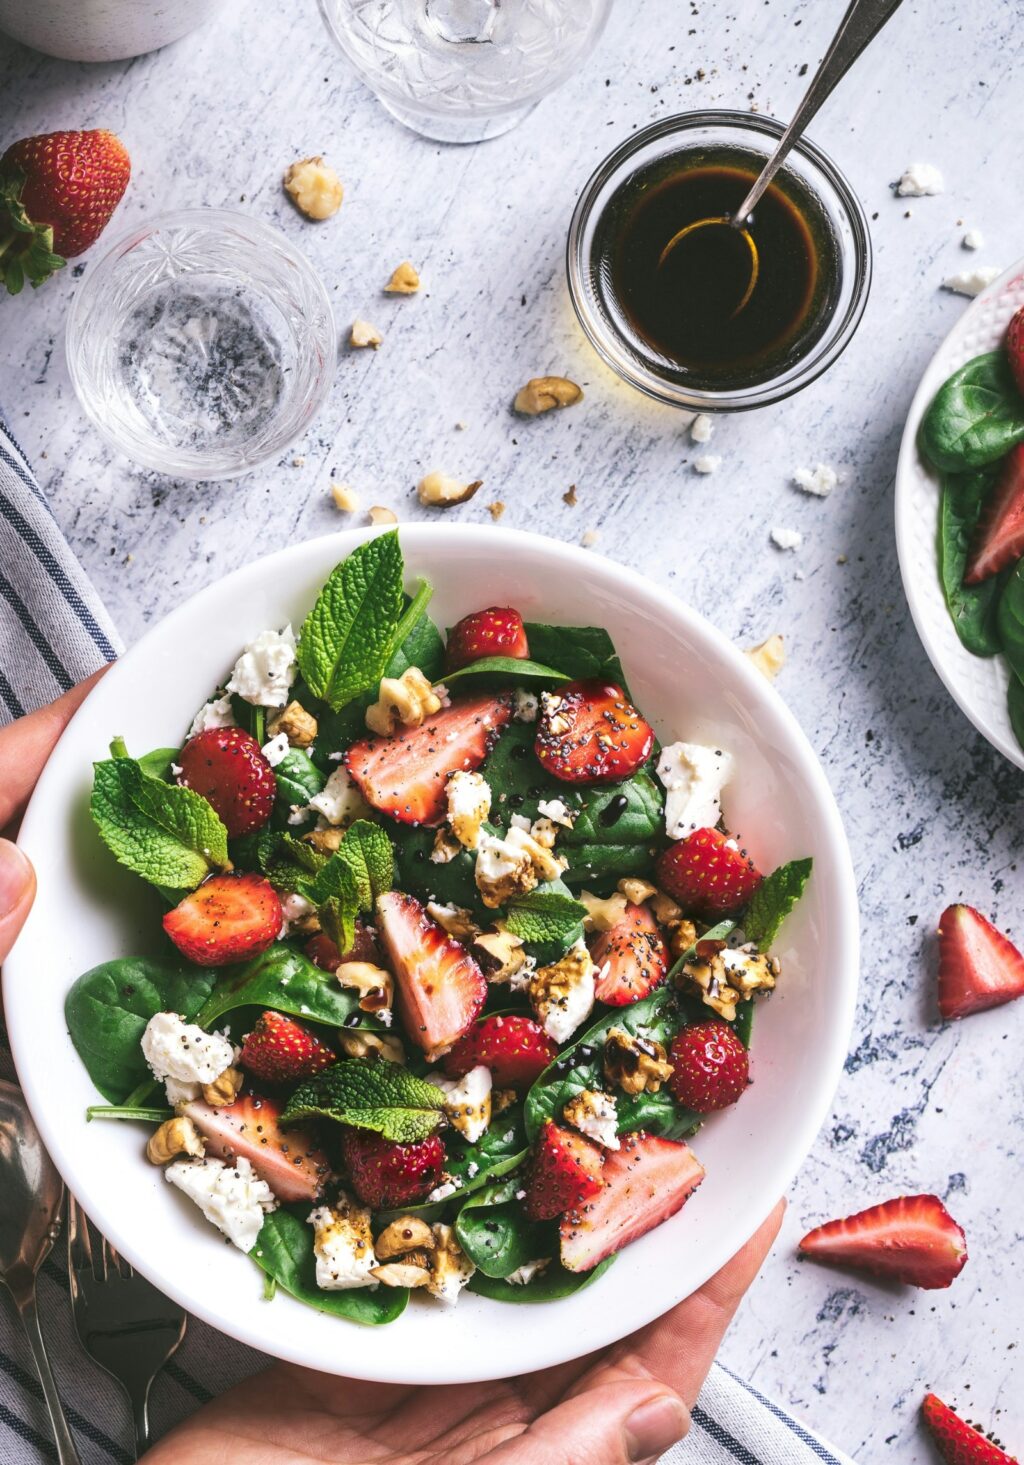
- Flourless Peanut Butter Cookies
- Mini Gluten Free Corn Dog Muffins
- Dairy Free Onion Dip
- Flourless Chocolate Mug Cake
- Plantain Chips
- Sweet Potato Chips
- Parsnip Chips
If you love snacks, here are more desserts and snacks! Make sure to check out my huge collection of dinner recipes.
If you loved this recipe, I would be really grateful if you can rate the recipe card and share any photos you took on Instagram using #ditchthewheat and tag me in your post or story.
Garlicky Kale Chips Recipe
Garlicky Kale Chips

Crispy Garlicky Kale Chips are coated in Parmesan cheese and garlic. They're an easy snack that's ready in 15 minutes and perfect for movie nights.
Ingredients
- 2 bunches of fresh kale
- 3 tablespoons avocado oil
- 5 cloves garlic, peeled & minced
- 1 teaspoon sea salt
- 1/2 cup Parmesan cheese, shredded
Instructions
- Preheat the oven to 300°F.
- Prepare the kale by removing and discarding any large stems from the kale. Tear kale leaves into large bite-size pieces for easy snacking. Rinse the kale and dry thoroughly. I recommend using a salad spinner if you have one.
- In a large bowl, add the kale pieces and pour avocado oil over the kale. Toss and massage the oil into the leaves.
- Transfer the kale to two baking sheets and make sure to keep the leaves in a single layer and not overcrowd the baking sheets.
- Sprinkle the kale with freshly minced garlic and sea salt.
- Place the baking sheets with kale into the preheated oven and bake for 10-15 minutes, rotating the baking sheets halfway through. The kale chips are done when they are crispy.
- Allow the baked kale to cool for 3-5 minutes. Sprinkle on shredded Parmesan cheese and serve.
Notes
Store the homemade kale chips in an airtight container at room temperature for 1-2 days.
Substitutes:
Instead of avocado oil, you can use olive oil or coconut oil. Refined coconut oil will not add a coconutty flavor but regular coconut oil will.
Nutrition Information:
Yield:
6Serving Size:
1Amount Per Serving: Calories: 111Total Fat: 9gSaturated Fat: 2gTrans Fat: 0gUnsaturated Fat: 7gCholesterol: 5mgSodium: 482mgCarbohydrates: 5gFiber: 1gSugar: 1gProtein: 4g
DISCLOSURE: Not intended for the treatment or prevention of disease, nor as a substitute for medical treatment, nor as an alternative to medical advice. Use of recommendations is at the choice and risk of the reader. Ditch the Wheat is a participant in the Amazon Services LLC Associates Program. As an Amazon Associate I earn from qualifying purchases. I may receive monetary compensation or other types of remuneration for my endorsement, recommendation, testimonial and/or link to any products or services from this blog. I only endorse products that I believe in.
Carol Lovett is the founder of Ditch the Wheat and a Globe and Mail bestselling author of the cookbook, Ditch the Wheat. She has been eating gluten free since 2010. She loves all things food, natural living, and spiritual. She's also a reiki master and crystal healer.
Gluten Free Resources
Do you need help with gluten free meals?
I recommend this meal-planning app. It makes cooking gluten free dinners extremely easy and family-friendly.
What gluten free snacks can I eat?
Lots! I have a ton of practical gluten free snack recipes in my cookbook.
How can I eat dessert on a gluten free diet?
You can 100% eat dessert while eating gluten free. Try my dessert cookbook for easy gluten free dessert recipes.
How do I know what is gluten free and what isn’t?
I have a whole section is it gluten free?
How do I make substitutions?
If you need substitution advice I created a ton of resources here.