Learn How to Make Any Nut Butter So You Can Save Money!
This post contains affiliate links including Amazon affiliate links.
With food costs on the rise, pricey store-bought nut butter can be hard to justify, even as a special treat. It’s tempting to forgo higher-quality brands and head right for cheaper processed products. But making nut butter at home is a cost-effective way to create a delicious, high-quality spread without breaking the bank.
Learning how to make nut butter at home is key for anyone looking to take control of their budget without sacrificing quality. Although prices for store-bought nut butter can vary based on region, homemade versions will almost always be cheaper.
To maximize savings, shop sales, and look out for stores that sell nuts in bulk. At the time of writing, a 5-pound bag of almonds costs $3.60 per pound at Costco. That is typically a quarter of the price of almond butter.
The relatively long shelf life of most nut butters means that just a few minutes in the kitchen can create a supply that lasts for months, leading to big savings over time. (Read this for how to store almond butter.)
Nut Butter Basics: A DIY Primer
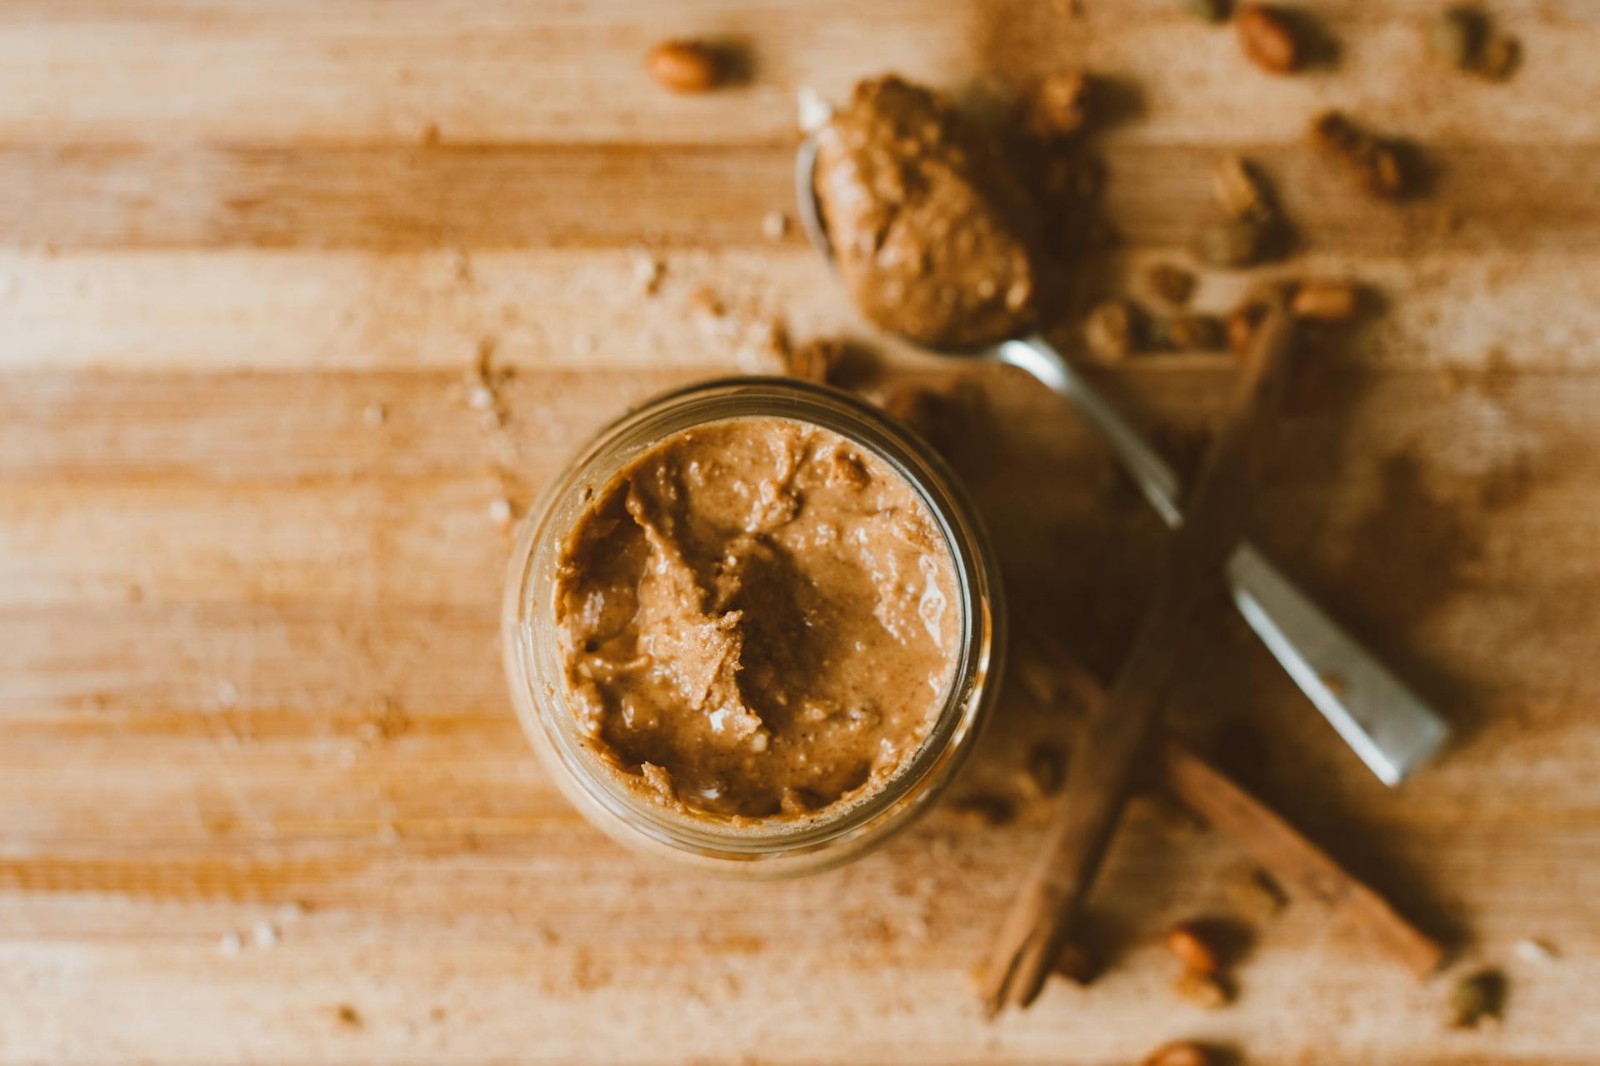
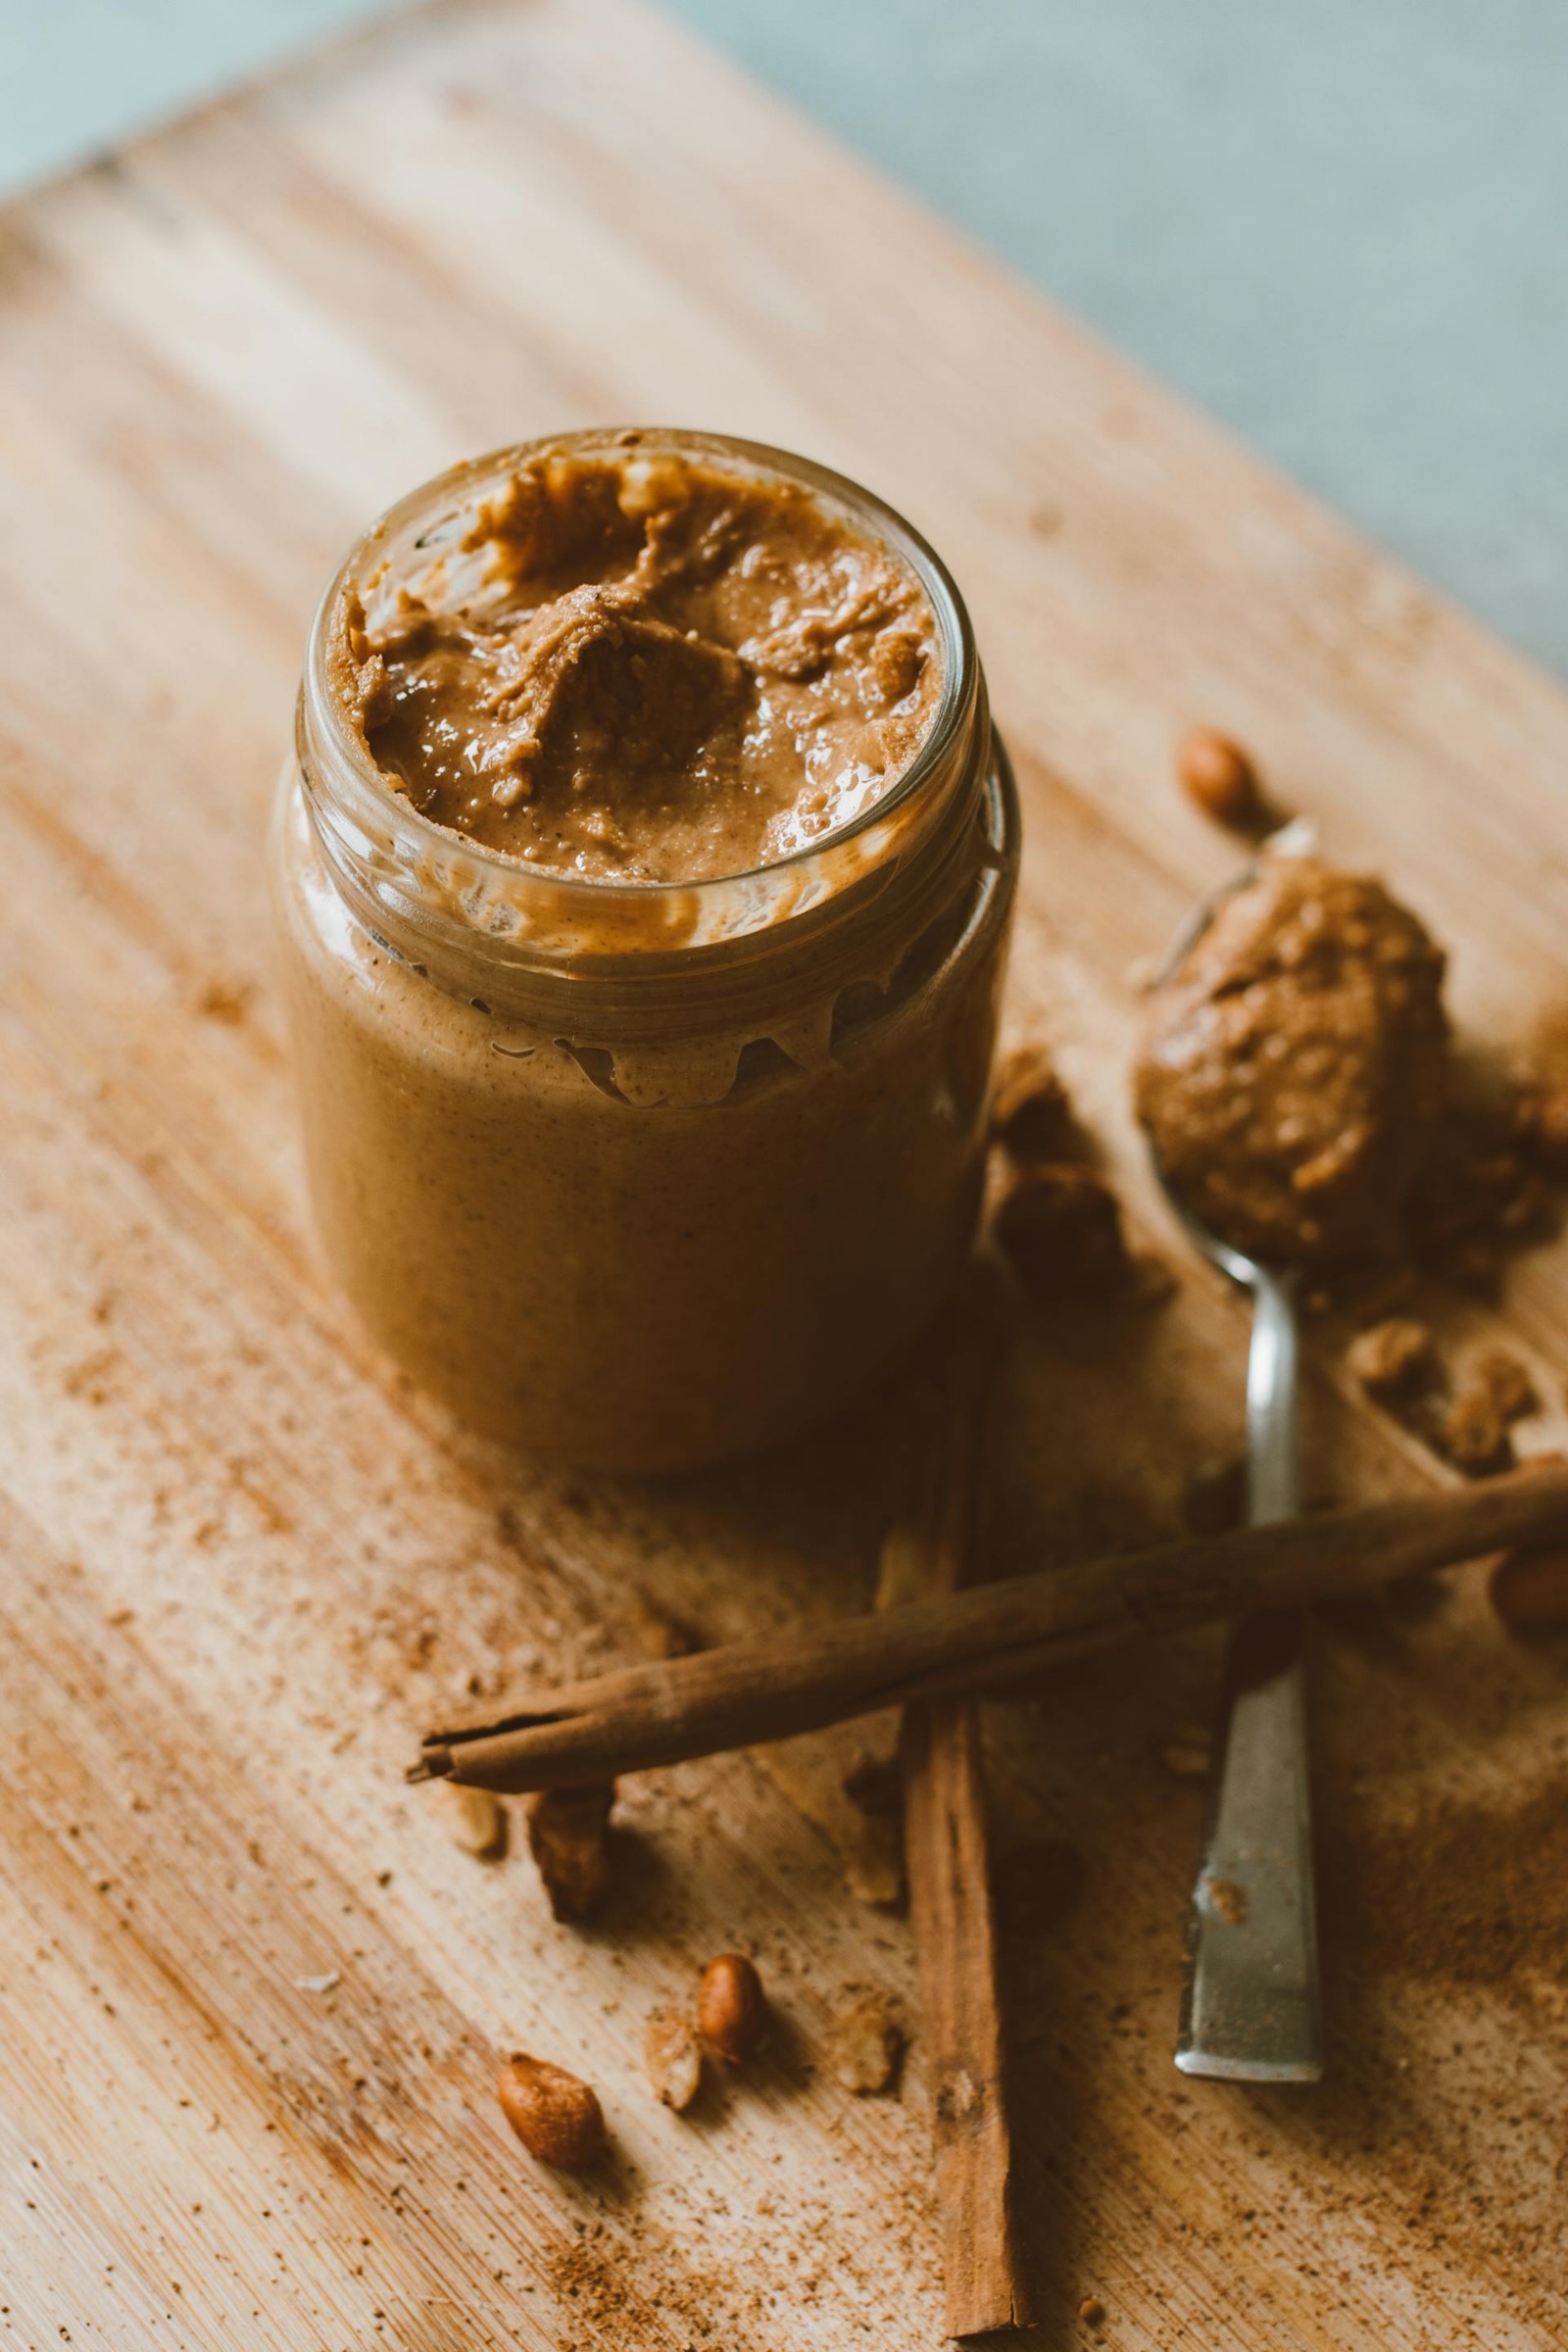
Making nut butter is a simple process that begins with choosing your star ingredient well. Almonds, peanuts, hazelnuts, cashews, and many other nuts can each create a rich, flavorful butter.
Toast the Nuts for Maximum Flavor
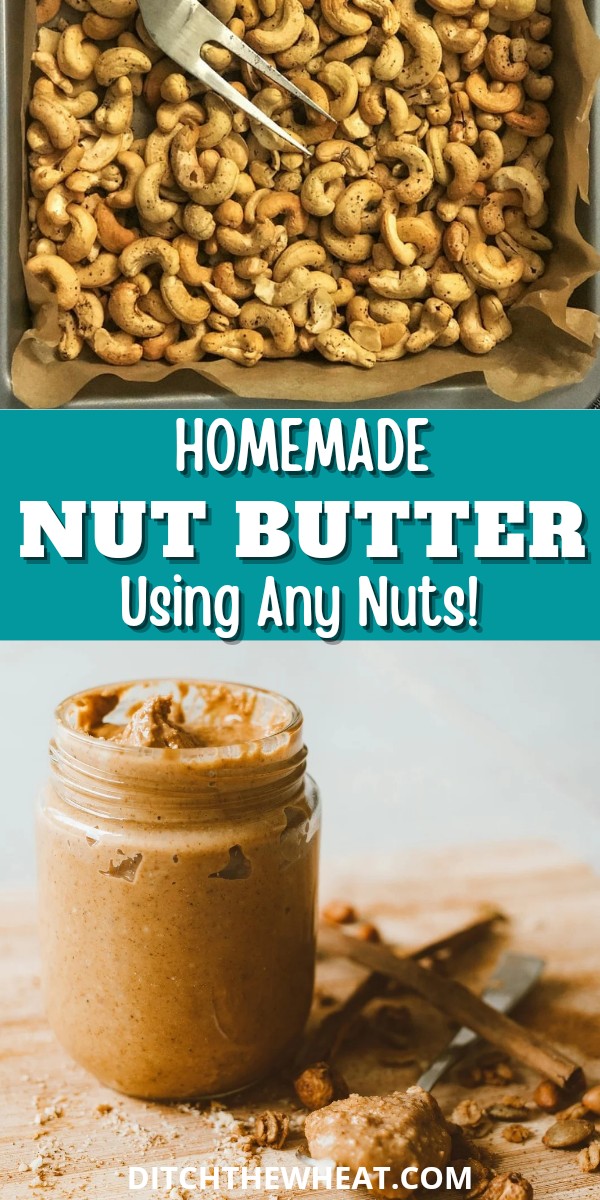
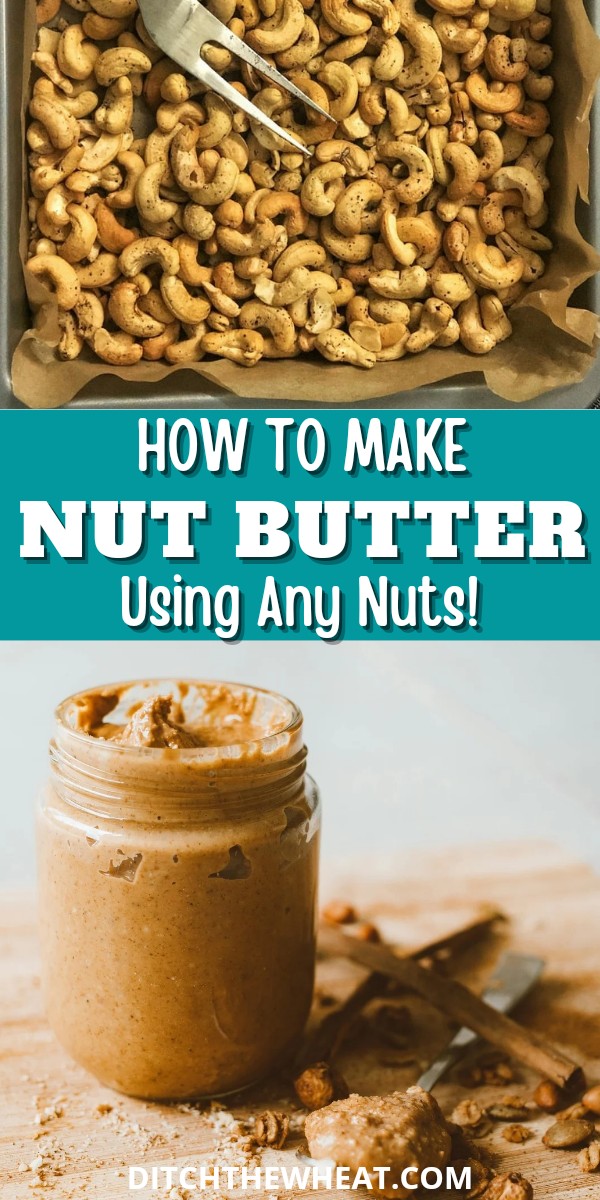
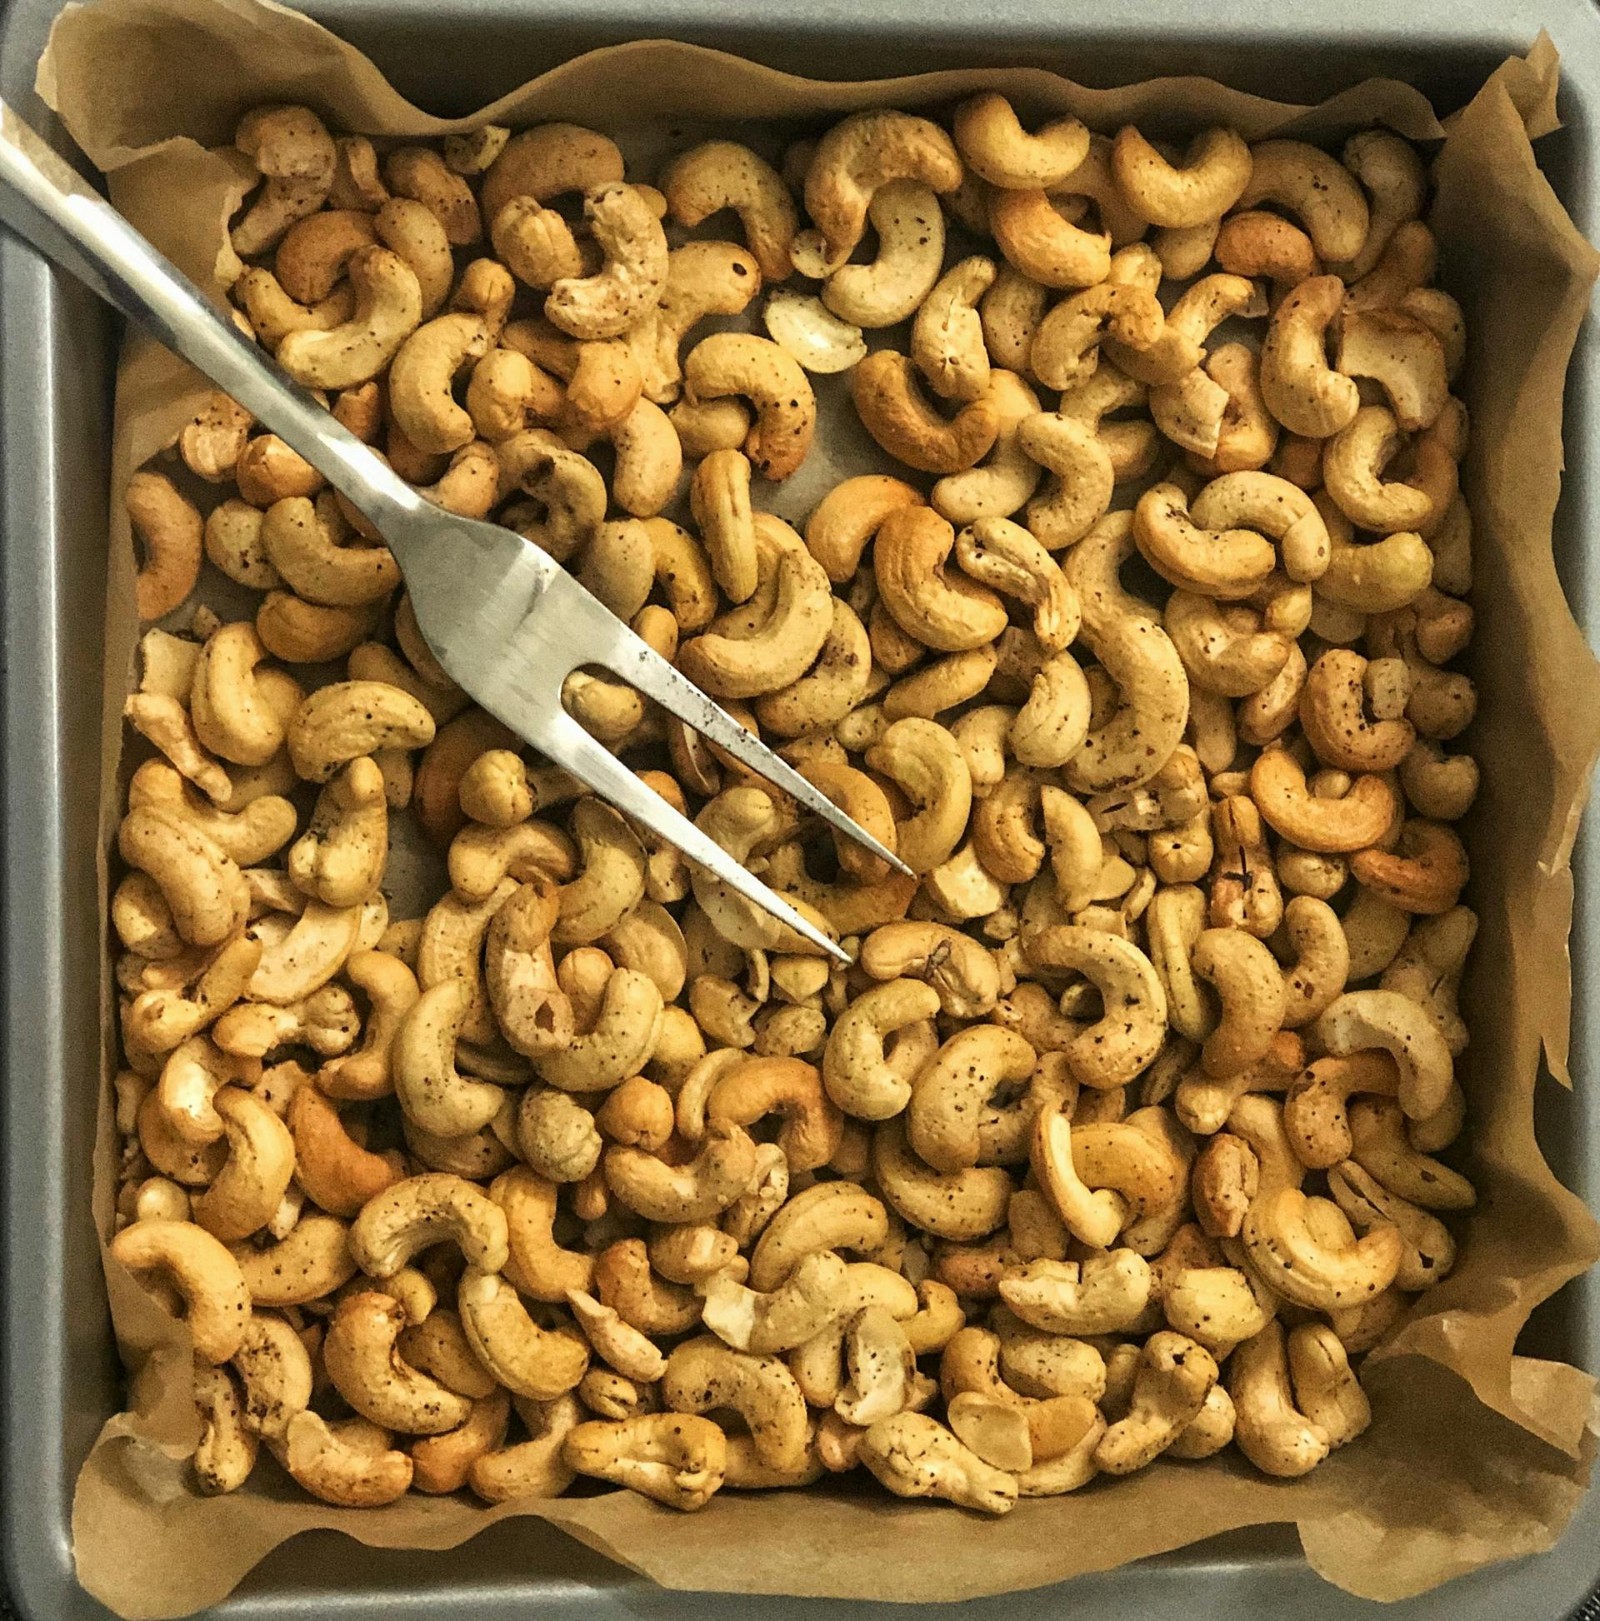
After choosing which type of nut butter to make, the next step in the process is roasting the nuts to deepen their flavor. This step is optional and may be skipped if necessary. For example, individuals following a raw diet can simply use raw nuts.
For anyone else, though, roasting nuts is easy and pays off with a more complex, deeper flavor. The roasting time will vary by nut. Peanuts require 15 to 25 minutes of roasting time at 325°F, while macadamia nuts only need about 8 minutes.
Blend, Blend, Blend
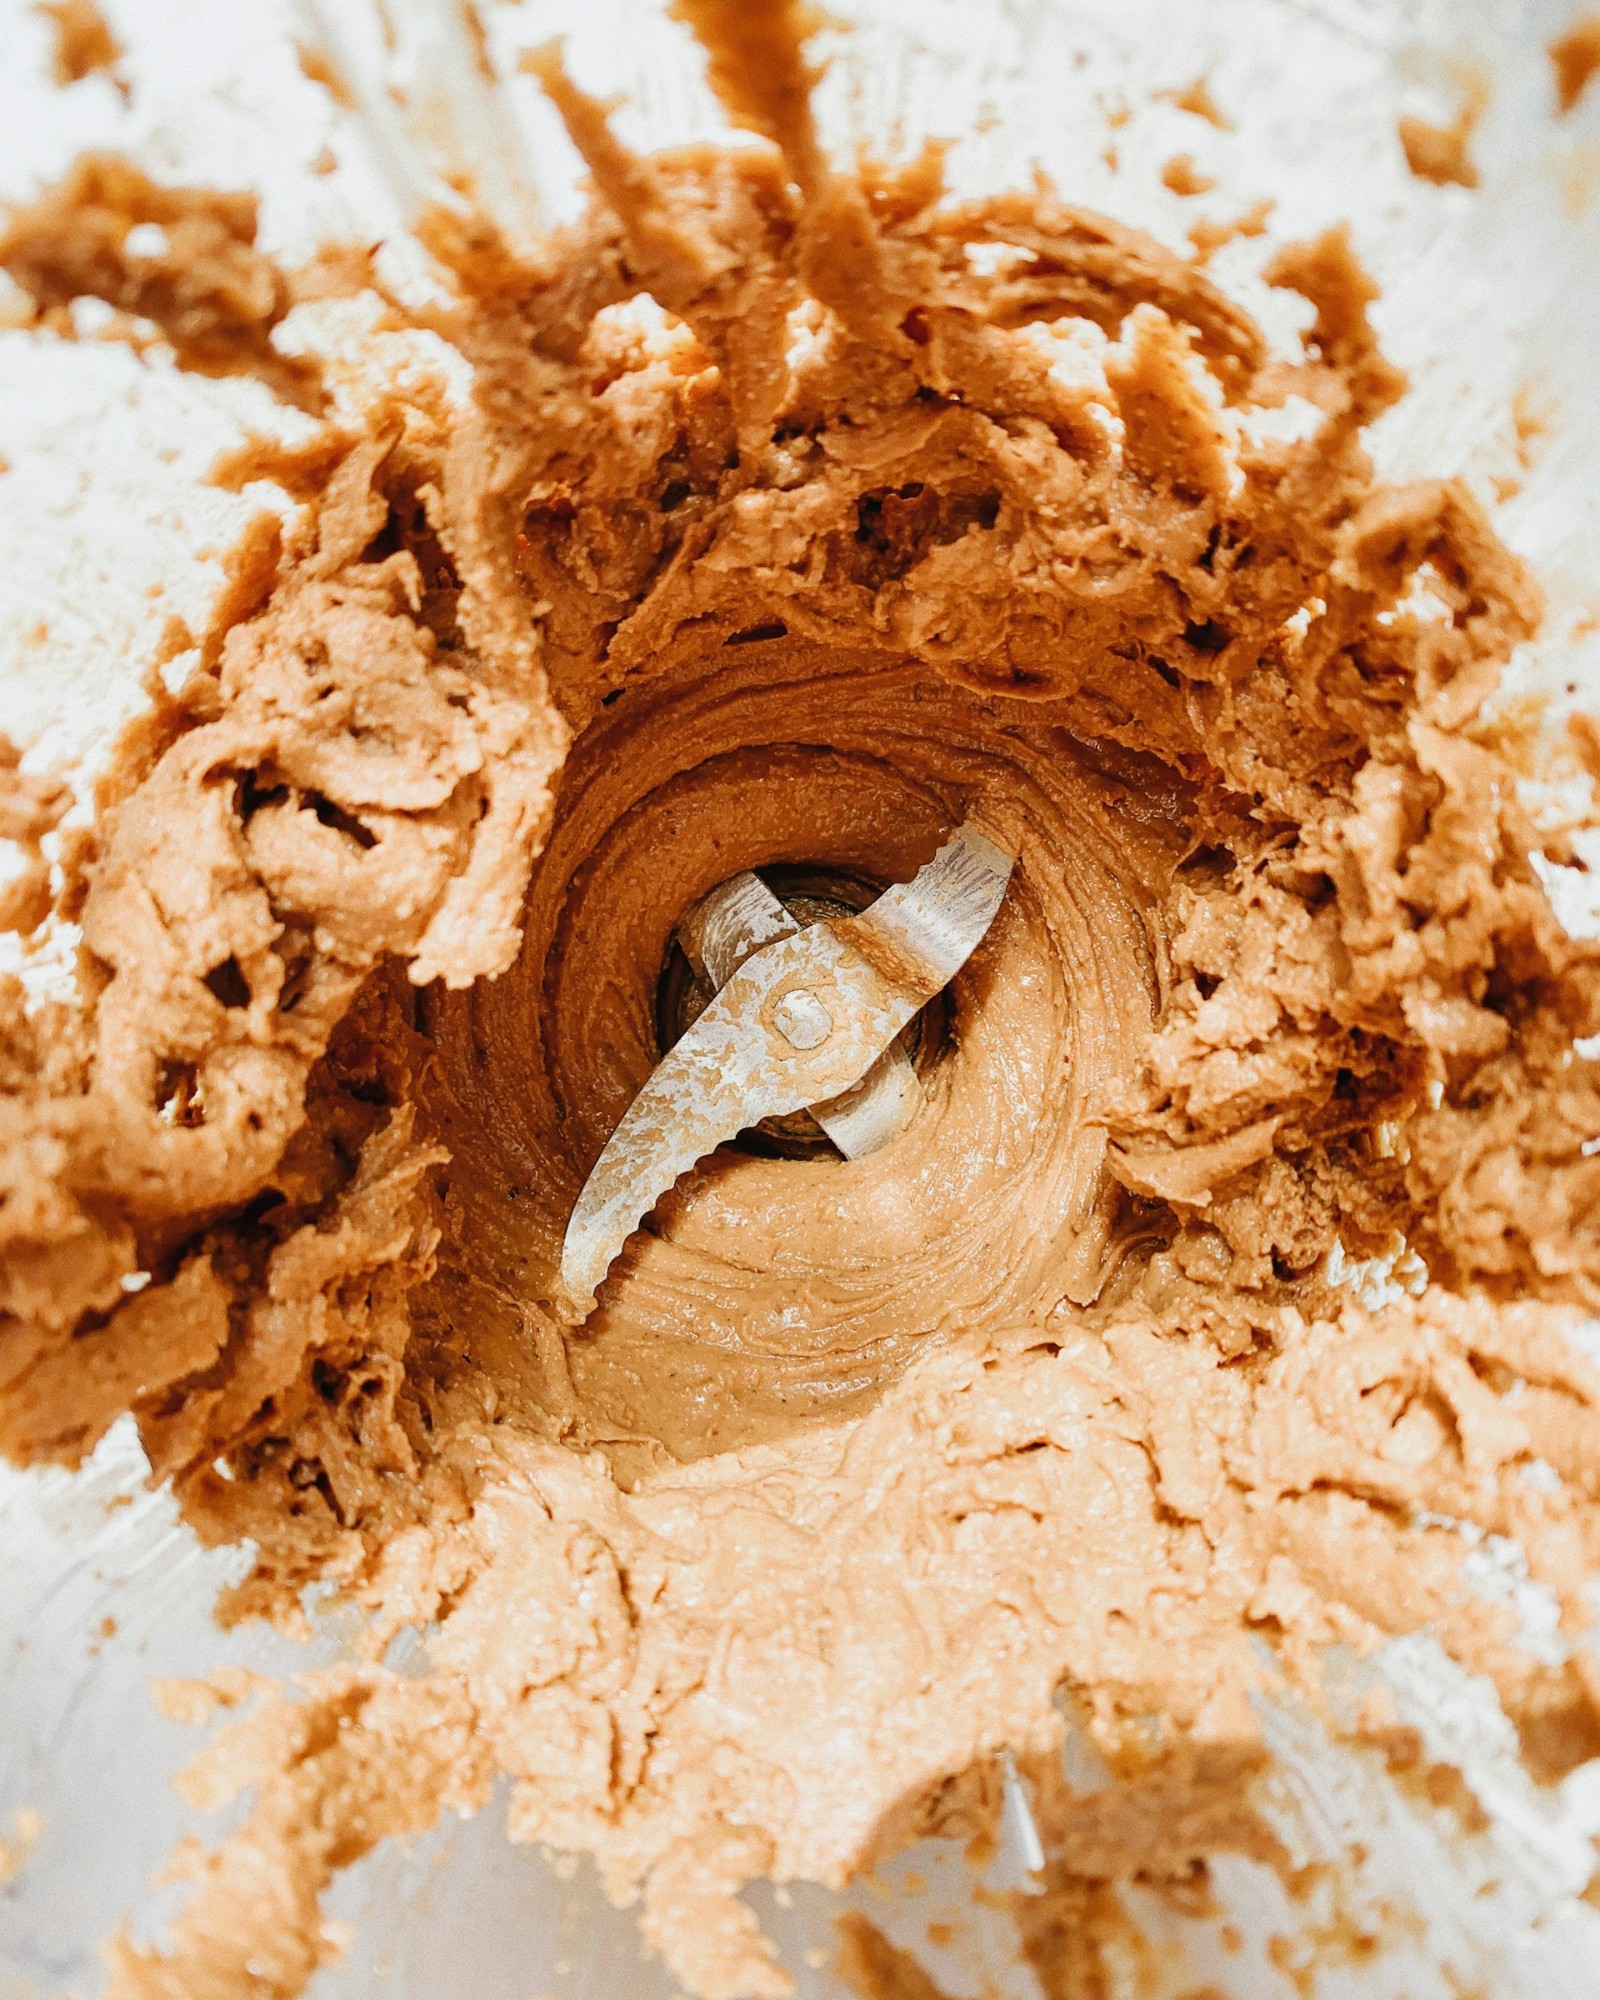
After roasting, let the nuts cool for a few minutes, then add them to a food processor or blender while still warm. Be cautious: some lower-power blenders — like those made primarily for smoothies — may not be able to create nut butter effectively, and blending nuts may actually damage those machines.
A high-speed blender or food processor, such as the Ninja SS351 Foodi Power Blender & Processor System, will do a much better job.
Not sure about a given food processor? Check the product details: if the processor is 1,000 watts or higher, then it should be fine.
Once the nuts have been added to the blender, simply process them until they are totally smooth. If using a proper food processor or a high-speed blender, no oil is needed.
With a less powerful machine, consider drizzling in some oil to help the process along. If the machine feels warm, then take a break — don’t risk overheating.
Use Some Patience
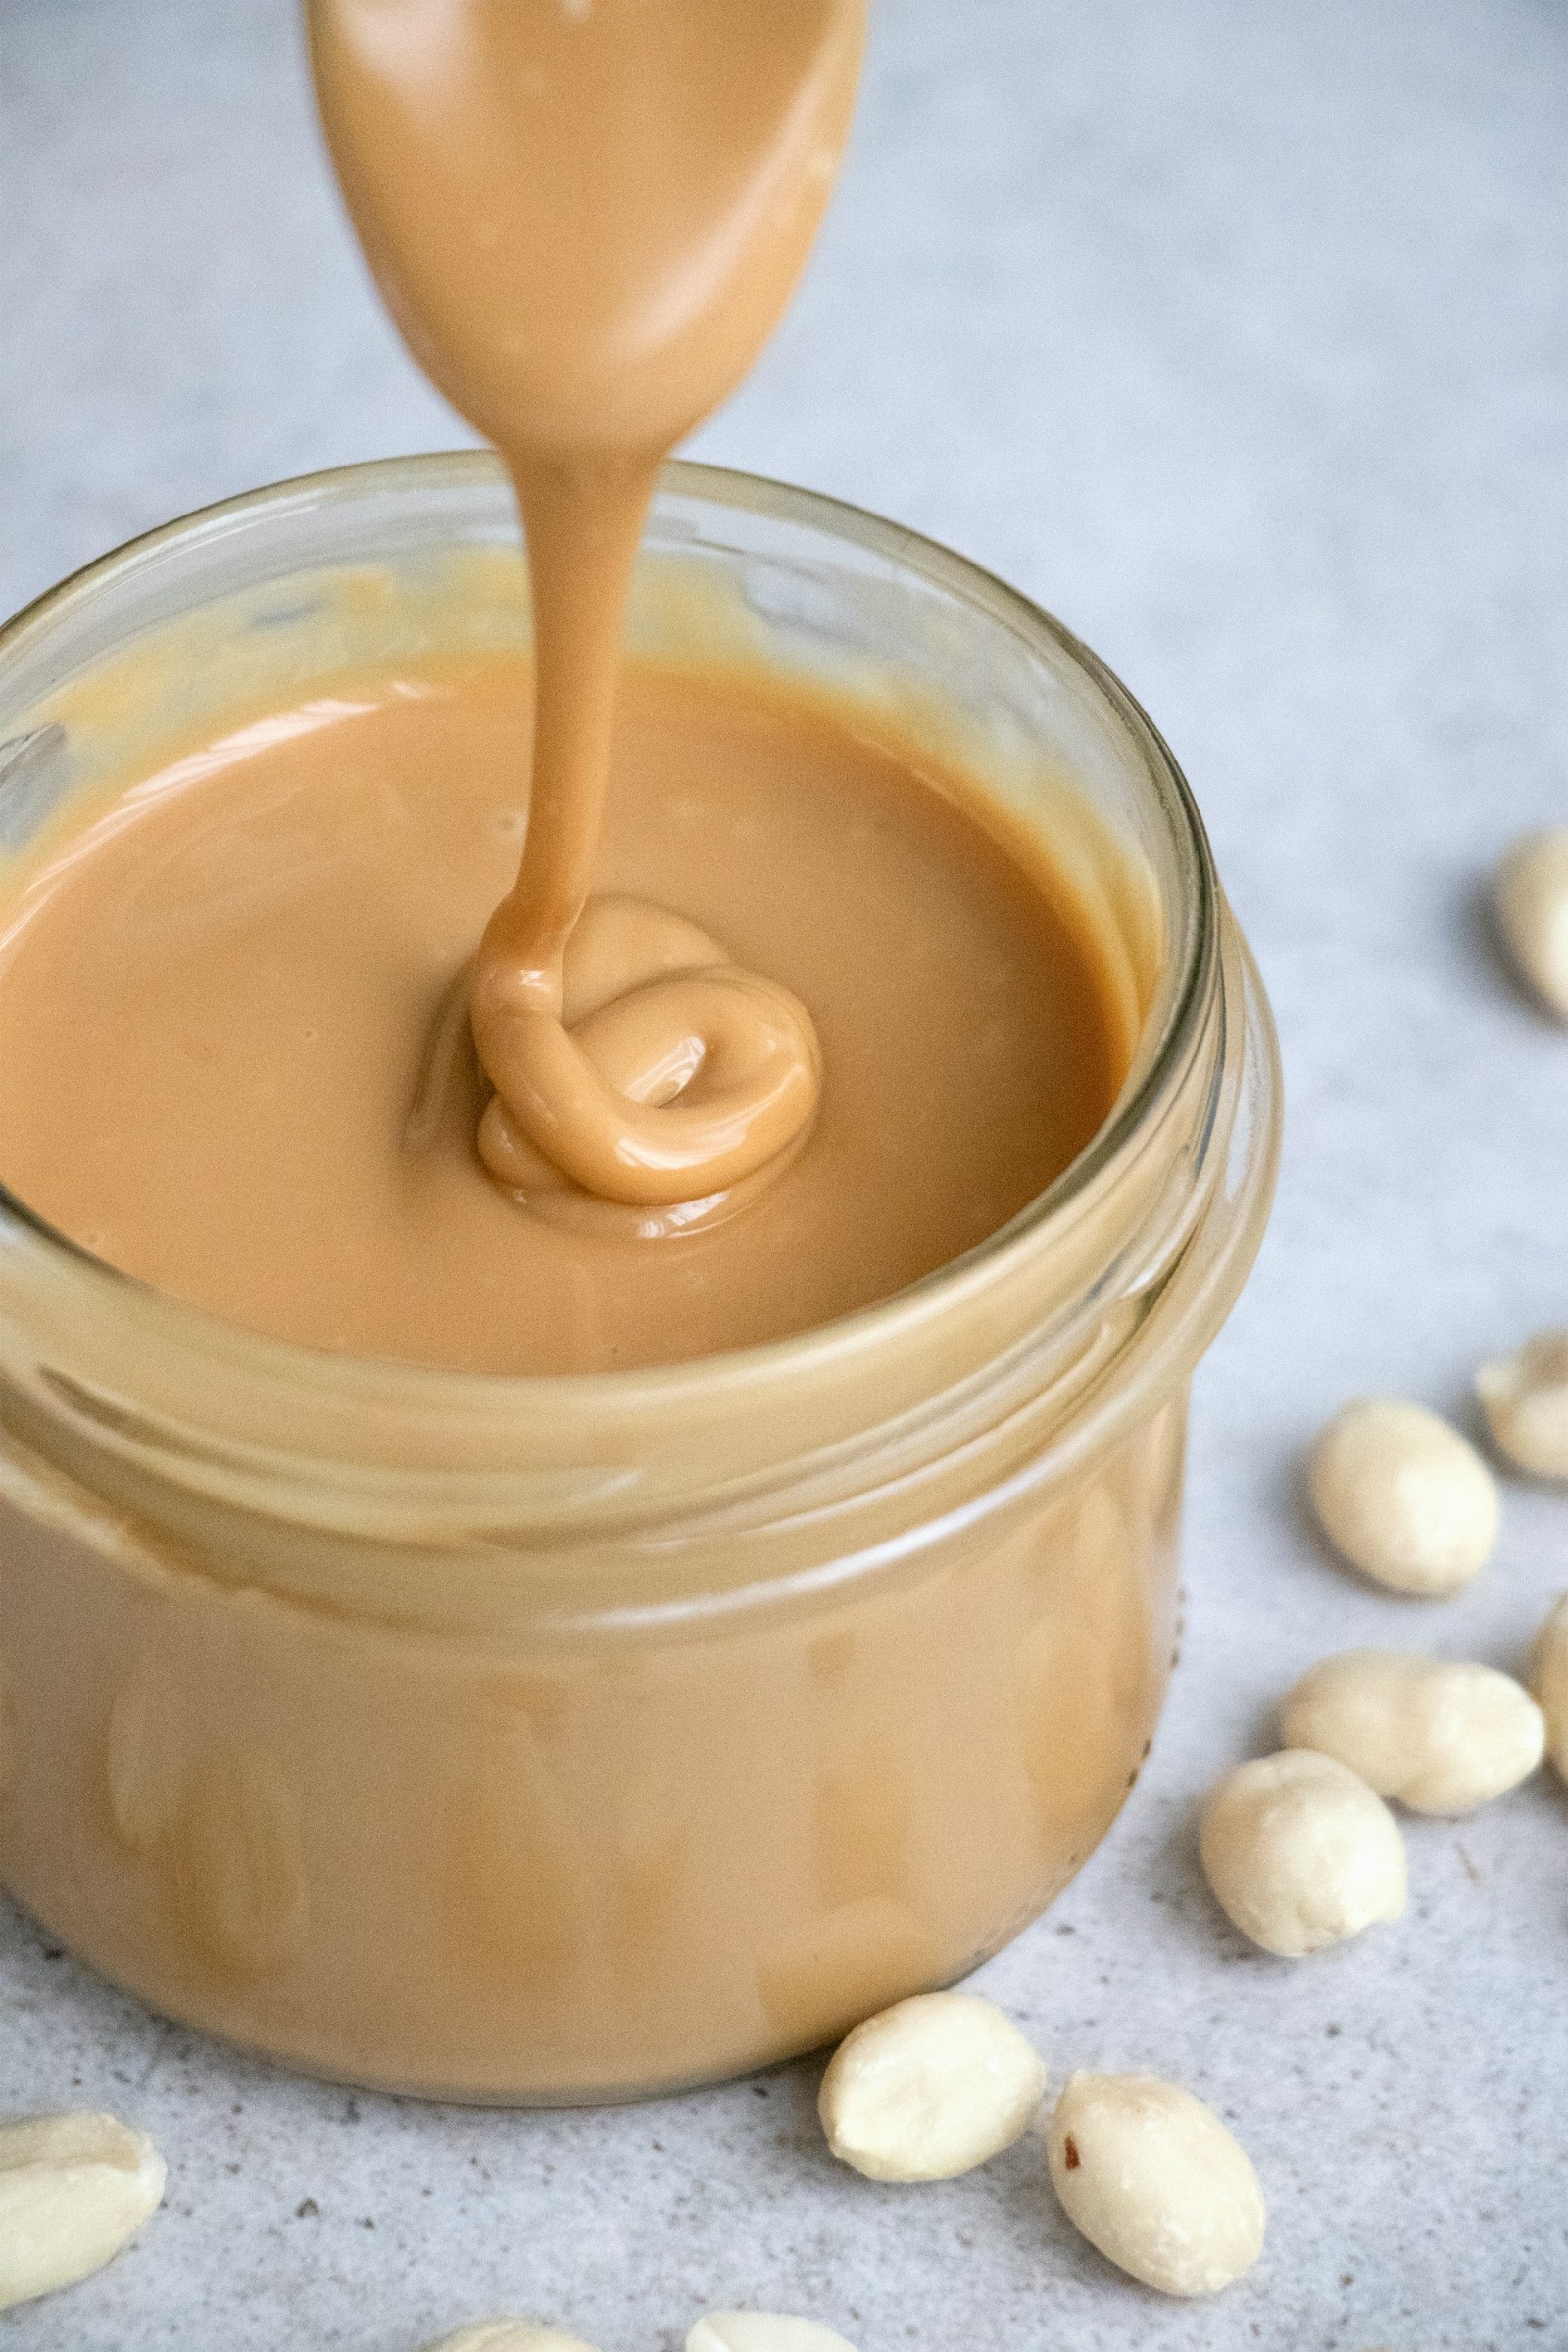
What begins as a clumpy, uneven mix will gradually transform into a runny and creamy butter. The processing time will depend on the nut being used: for example, almond butter requires about 6-12 minutes of blending, so don’t lose hope if the nut butter doesn’t look perfect right away.
If the butter doesn’t eventually come together, the nuts likely weren’t roasted for long enough. One way to fix that problem is by adding a little bit of oil at a time until it becomes runny.
Customizatize Your Nut Butter
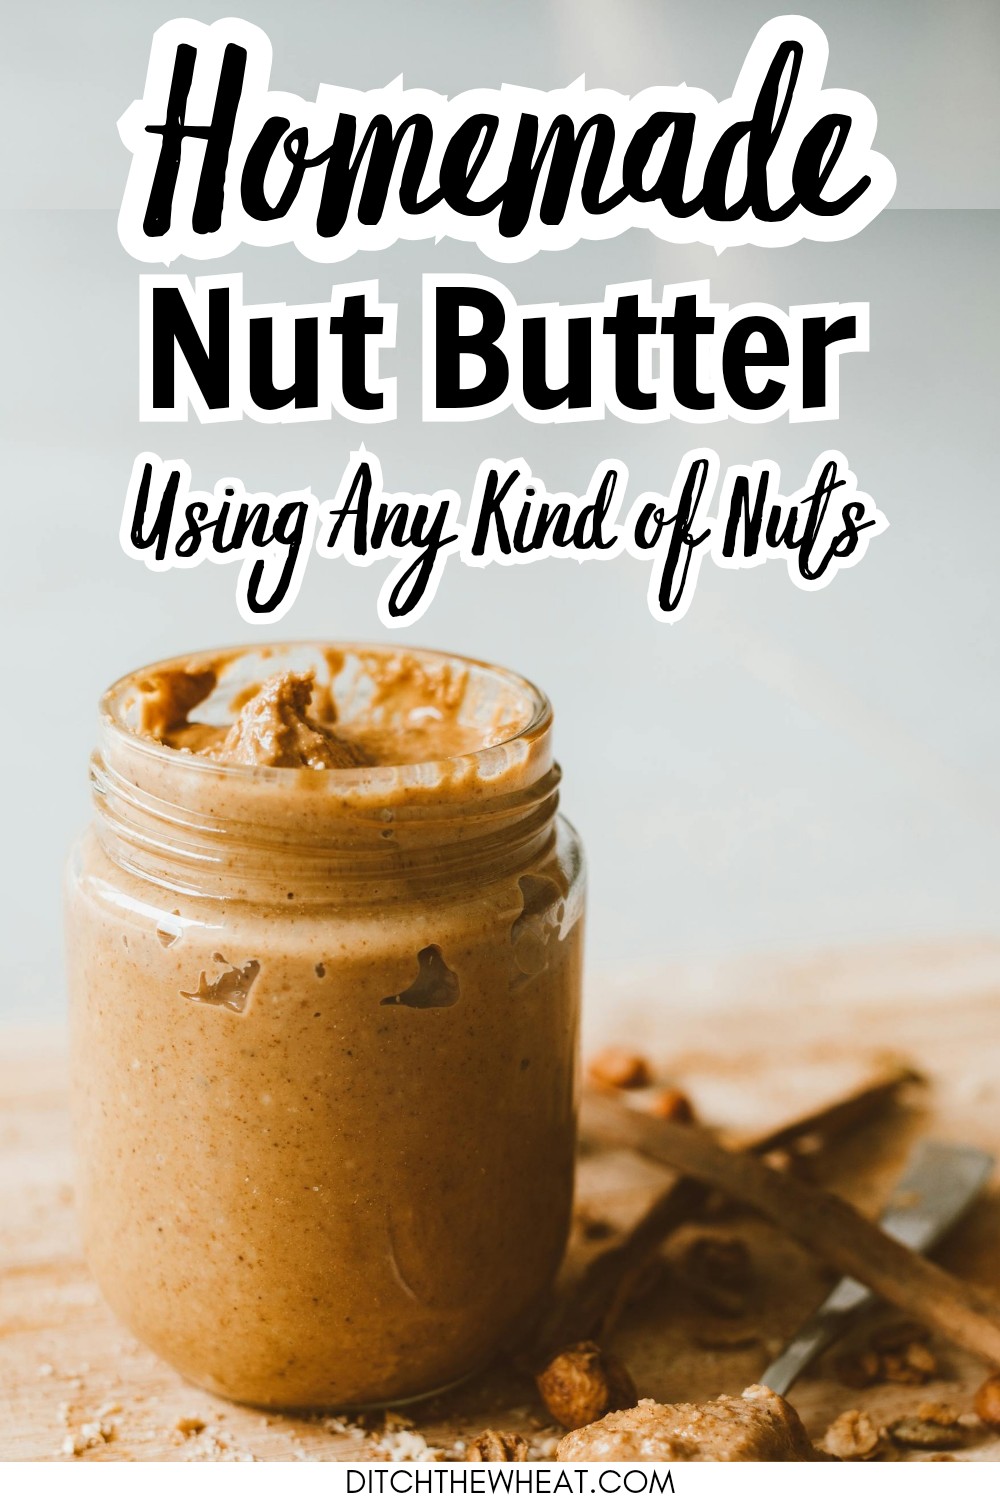
One of the best features of nut butter is its simplicity. Homemade peanut butter, for example, has a velvety and luxurious taste that can be enjoyed without any further modifications. But nut butter also responds well to flavor variation, making it an excellent blank canvas for home cooks looking to one-up store-bought versions.
Don’t Add These to Your Nut Butter
One cautionary note: When assessing add-ins, avoid water-based liquids like maple syrup, honey, and vanilla extract.
These will cause nut butter to seize. “I avoid adding water-based ingredients to nut butter because oils tend to clump together and separate from the water, resulting in a consistency that is challenging to spread,” says chef Gen La Rocca of Two Cloves Kitchen.
With that being said, there is a safer way to add some water-based liquids to nut butter: by drizzling the liquids over the nuts before roasting them. This candies the nuts and removes the liquid, as in the case of roasted almonds covered in maple syrup.
Roasting nuts that are covered in maple syrup results in candied nuts that will not seize when they are processed — assuming they don’t get gobbled up before they make it to the processor.
Another way to add sweetness without causing nut butter to seize is by relying on powdered sweeteners. In contrast to granulated sweeteners, which do not break down completely, powdered sweeteners won’t be noticeable in the final butter.
Of course, many nut butters don’t need additional sweetening; some, like delicate pistachio butter, have a unique taste of their own.
Add Some Texture
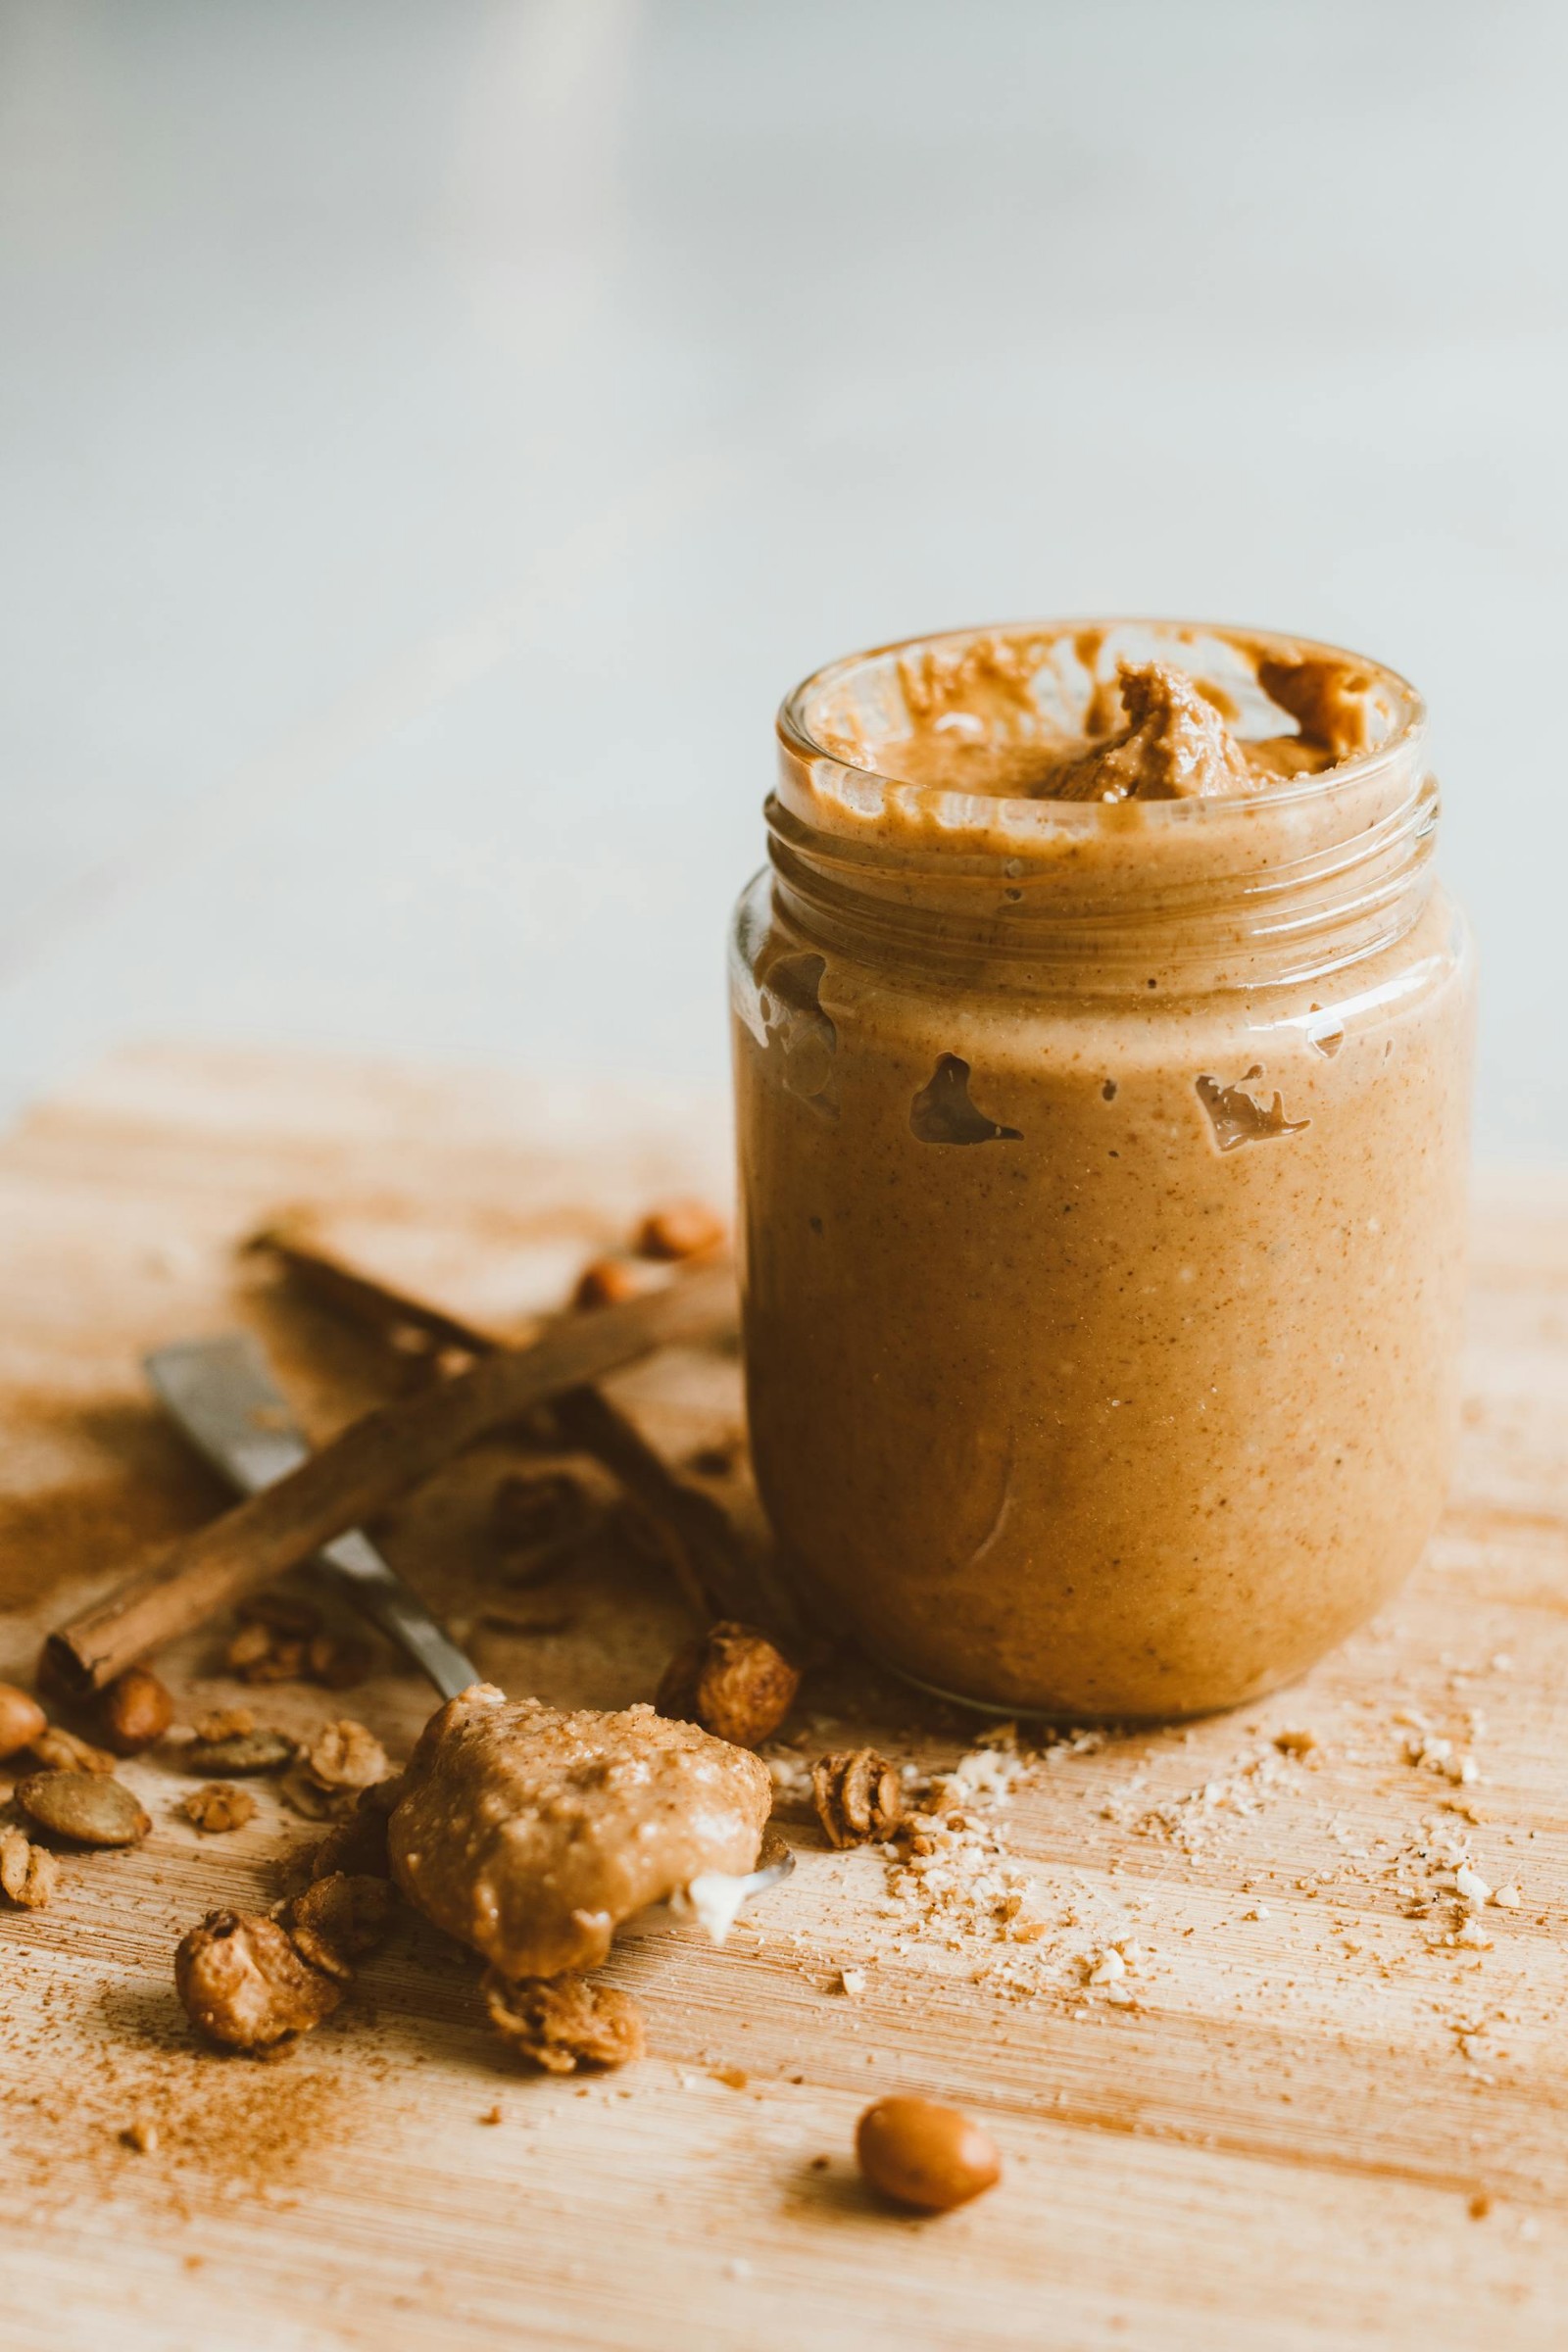
One creative way to set homemade nut butter apart from store-bought versions is by enhancing its texture. Chia seeds, flax seeds, and shredded coconut are all great ways to add some crunch to nut butter.
The final product is a smooth-yet-crunchy spread with different flavor notes: a perfect addition to smoothies and overnight oats.
One Basic Method
Understanding the basic idea behind creating nut butter — which essentially comes down to roasting, blending, and enjoying — can unlock a whole universe of culinary creations. Nut butter can instantly upgrade smoothies, milkshakes, and smoothie bowls.
It’s an excellent base for sauces and dressings. Nut butter also goes well with baked goods: try peanut butter cookies, almond butter brownies or homemade energy bars and it’ll be difficult to look back.
Customizing nut butter with flavor enhancers, like monk fruit powder, or texture enhancers, like chia seeds, will take DIY projects to the next level. Not only is homemade nut butter straightforward and tasty; but it’s also great for staying under budget. So get ready to savor the flavors — and the savings.
Homemade Nut Butter Recipe
Homemade Nut Butter

Master the basics of creating homemade nut butter at home and save money. This recipe is great for making homemade peanut butter, almond butter, macadamia nut butter, and cashew butter!
Ingredients
- 1 3/4 cups peanuts, almonds, cashews, macadamia nuts, or any nuts
- Salt to taste
Instructions
- Preheat your oven to 325°F.
- Spread the nuts in a baking tray. Use a tray that is large enough to spread the nuts evenly.
- Toast the nuts for 8-25 minutes until golden brown. Stir the nuts at least once while roasting.
- Allow the nuts to cool before blending.
- Blend the cooled nuts in either a food processor or a blender until the nuts become smooth like peanut butter. This takes 4-12 minutes. Add salt to taste and any other add-ins like powdered sugar.
Notes
- If you are using a less powerful blender or food processor, consider drizzling in some oil to help the process along.
- If the machine feels warm, then take a break — don’t risk overheating.
Nutrition Information:
Yield:
1Serving Size:
1Amount Per Serving: Calories: 1689Total Fat: 144gSaturated Fat: 22gTrans Fat: 0gUnsaturated Fat: 105gCholesterol: 0mgSodium: 1723mgCarbohydrates: 61gFiber: 24gSugar: 14gProtein: 68g
This article originally appeared on Food Drink Life.
More Must-Have Recipes
- Homemade Heavy Cream
- How to Make Brown Sugar
- How to Dry Herbs
- How to Make An Egg Substitute
- Homemade Buttermilk
DISCLOSURE: Not intended for the treatment or prevention of disease, nor as a substitute for medical treatment, nor as an alternative to medical advice. Use of recommendations is at the choice and risk of the reader. Ditch the Wheat is a participant in the Amazon Services LLC Associates Program. As an Amazon Associate I earn from qualifying purchases. I may receive monetary compensation or other types of remuneration for my endorsement, recommendation, testimonial and/or link to any products or services from this blog. I only endorse products that I believe in.

Erin Dooner
Erin Dooner is the founder of Texanerin Baking, where she has been sharing easy and allergy-friendly recipes since 2011. A Texan now living in Munich, Germany, her passion lies in crafting sweet treats that cater to diverse dietary needs and lifestyles but without sacrificing taste.
Gluten Free Resources
Do you need help with gluten free meals?
I recommend this meal-planning app. It makes cooking gluten free dinners extremely easy and family-friendly.
What gluten free snacks can I eat?
Lots! I have a ton of practical gluten free snack recipes in my cookbook.
How can I eat dessert on a gluten free diet?
You can 100% eat dessert while eating gluten free. Try my dessert cookbook for easy gluten free dessert recipes.
How do I know what is gluten free and what isn’t?
I have a whole section is it gluten free?
How do I make substitutions?
If you need substitution advice I created a ton of resources here.