
How to Bake Better Series: Grain Free Baking Tips
This post contains affiliate links including Amazon affiliate links.
I have a slew of baking recipes to post on the blog but first I wanted to make sure you know some basic baking techniques. I did not invent these techniques. They have been used in baking for a long time and are used for a reason. A lot of paleo bloggers often write recipes that require you to take the dry ingredients and mix with the wet ingredients and bake. That’s more of a quick bread technique and there is nothing wrong with that I just don’t bake that way. When you bake my recipes please follow my directions and you will find the texture of your coconut flour baked goods more smooth verses grainy. I also give these instructions in my cookbook, Indulge.
When I launched my dessert cookbook, Indulge, I had an inbox full of questions on how to bake better. One question I remember vividly came from a man who made the coconut flour coffee cake. He asked, “is it supposed to look like this?” He went on to describe to me how the finished coffee cake looked, and it was very flat and dense not like the picture in the cookbook. I asked him to walk me through how he baked the cake. He said, first he whipped the egg whites, with a fork, and they looked kind of bubbly, then he added more ingredients and baked it. I had made the mistake of assuming that people knew how to take egg whites and whip them to stiff peaks and also I assumed they would use a mixing machine and not do it by hand. Since then I have been wanting to put together a baking series that will help you become a better grain free baker.
Always Sift Your Coconut Flour
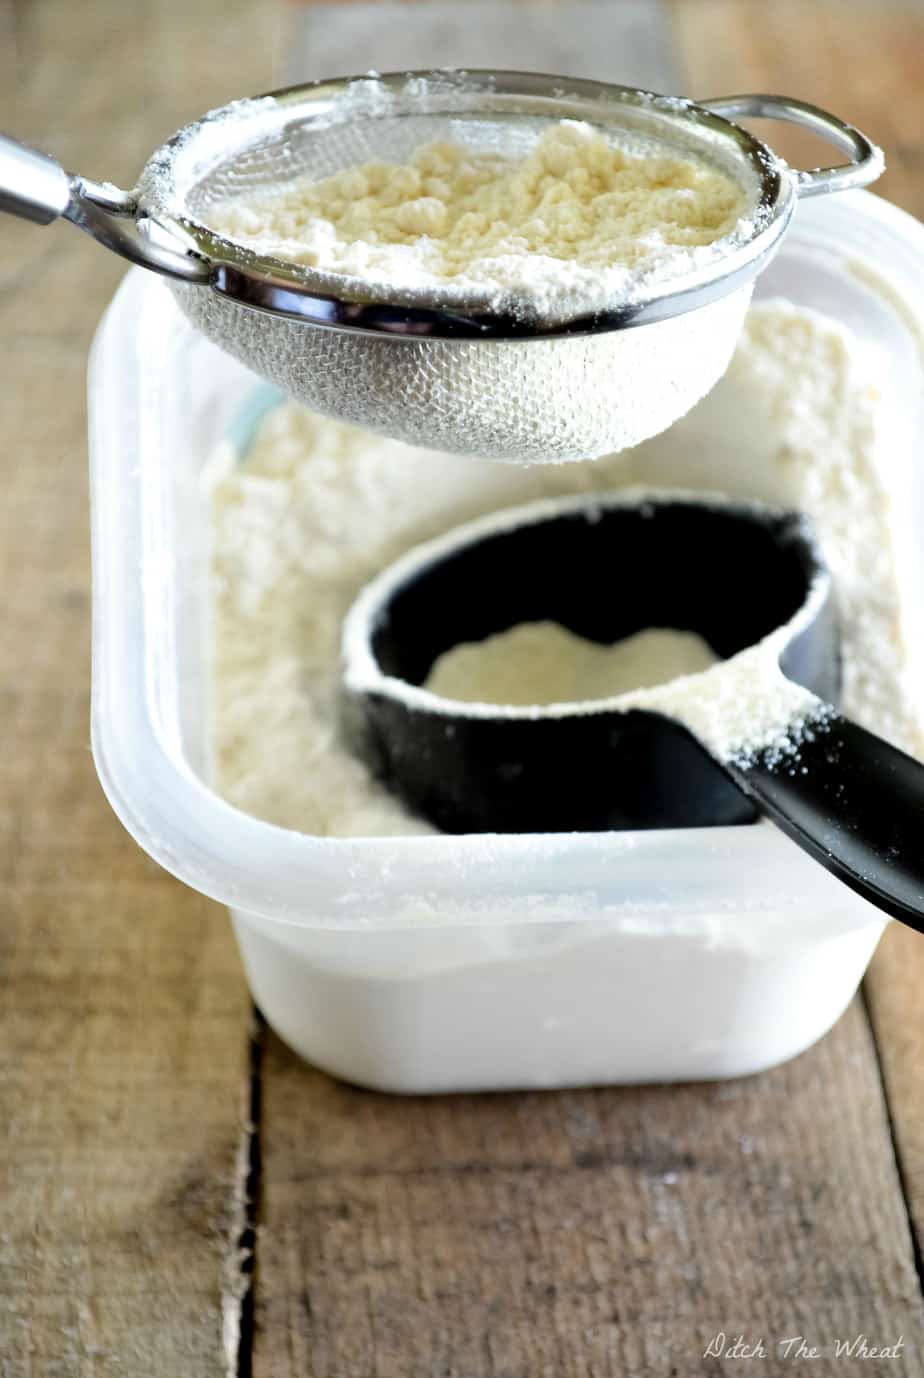
This is what it looks like when I sift my coconut flour. I take my small mesh strainer (like this one) and I scoop coconut flour into it and hold it over my container of coconut flour. I place my measuring cup underneath, for example if I want 1/2 cup of coconut flour, I place a 1/2 cup measuring cup underneath and I start gently shaking my strainer. This stops any hard lumps of coconut flour from getting into your baked goods.
Cream together the Fat + the Sugar
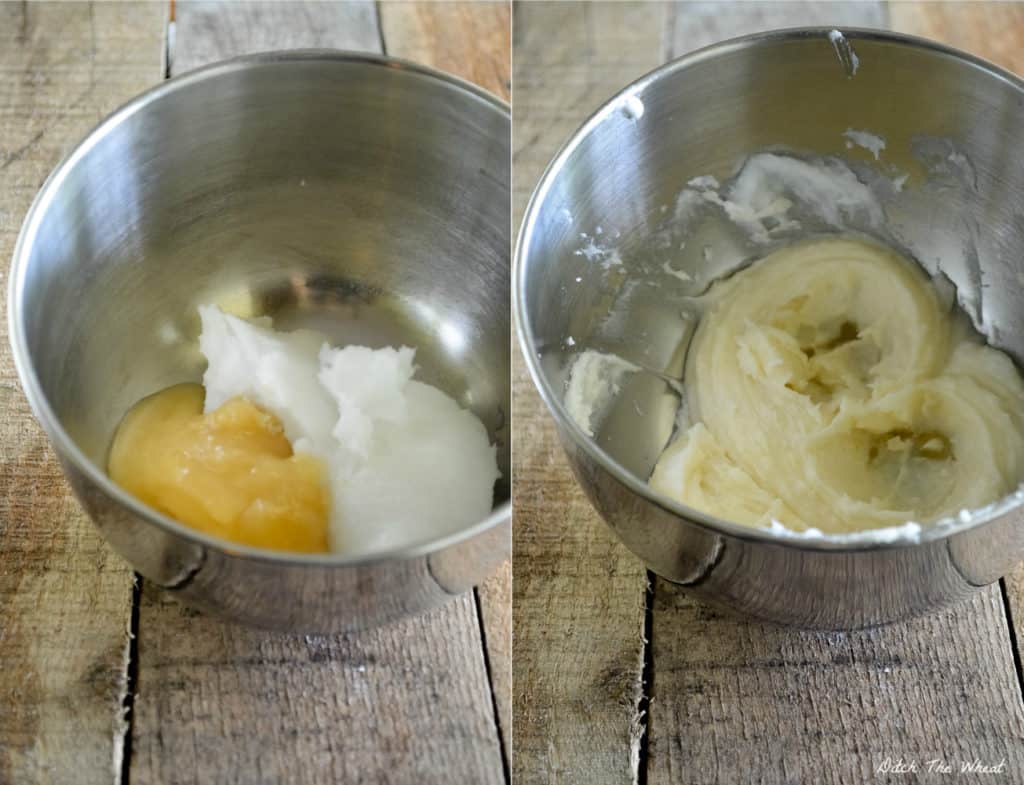
Many paleo bloggers ask you to melt the coconut oil when baking. I never ask you do that and then some people automatically do that to my recipes and I cringe. Instead I want you to cream the fat, in this case coconut oil, with the sugar which I usually use raw honey. Creaming is not simply mixing it together. Creaming means to take your time to mix the ingredients together. It will look like ribbons in the bowl or another way I like to think of it, it looks like a bowl of icing. It takes a few minutes using a mix master (like this one) set on medium speed.
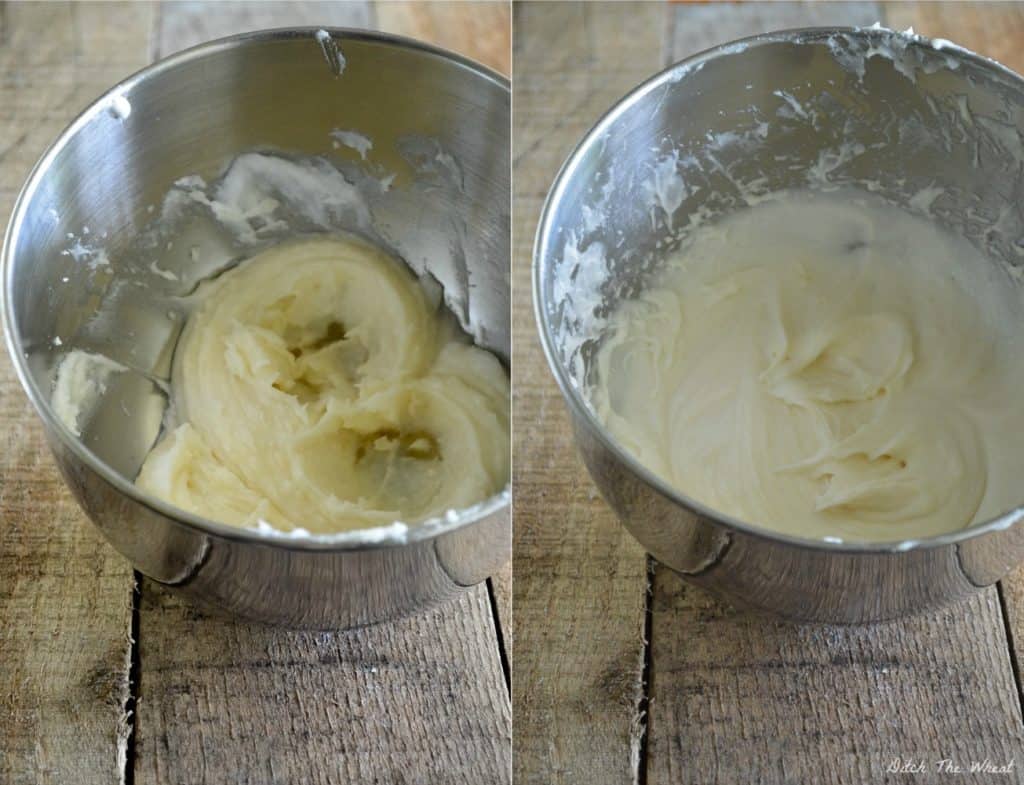
The technique of creaming will incorporate air into the batter and since we do not have gluten to work with we must try to put as much air into the batter to create a light product. The resulting cake, muffins and cupcakes will have a finer velvety texture you didn’t even realize was possible with coconut flour. If you just used liquid fat you would miss out on all benefits.

Add Eggs to the Creamed Fat and Sugar
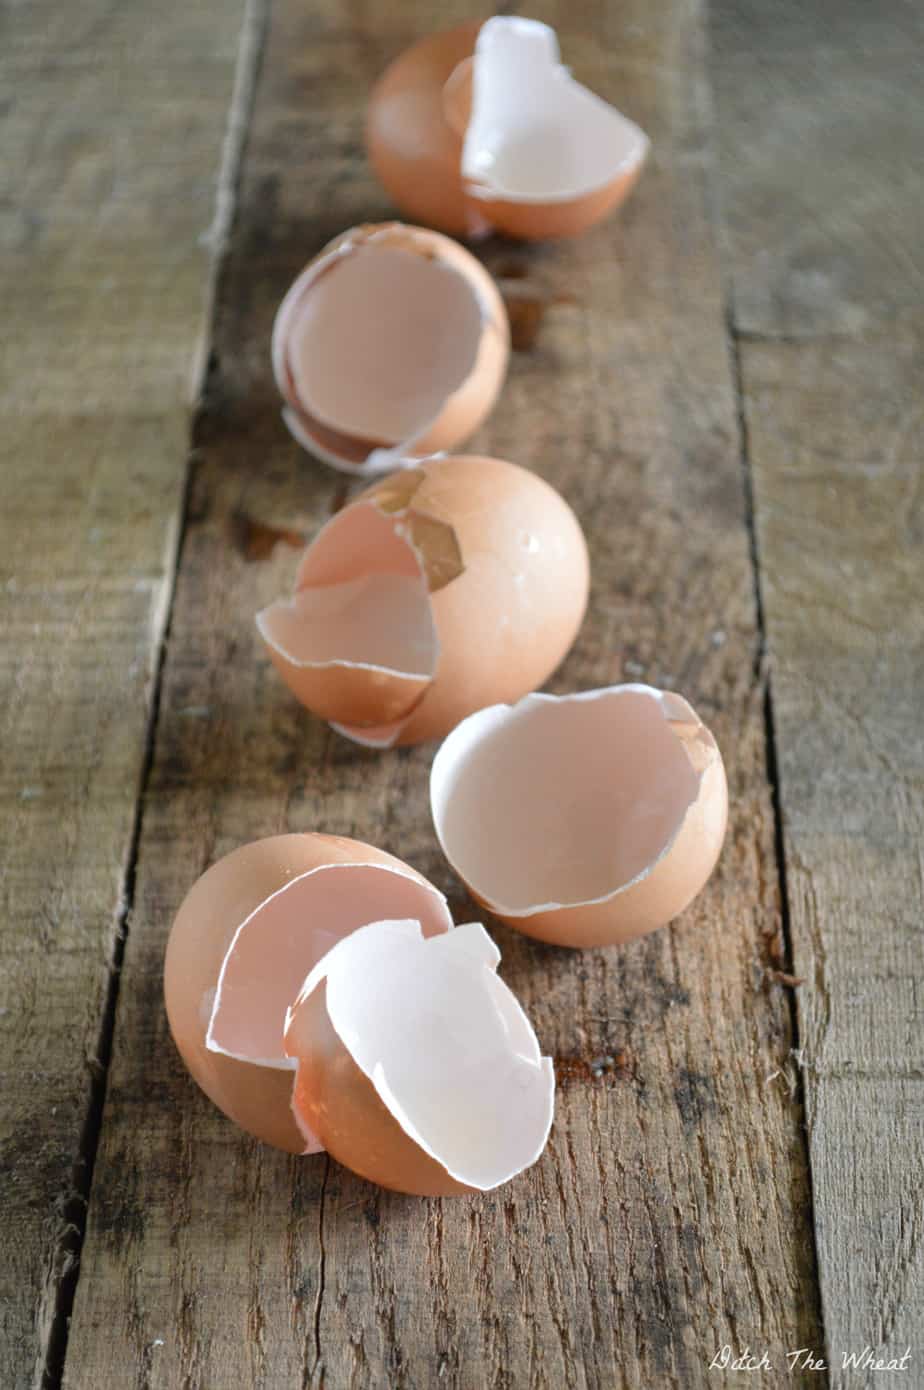
Ideally your eggs should be at room temperature. You do this by taking your eggs out of the fridge a few hours before you are going to bake. Even I skip this most of the time. Eggs at room temperature expand wider when baked, adding to a lighter end product. I always ask you to separate the egg whites from the egg yolks. I have you add the egg yolks to the creamed mixture. This is because the egg yolks are fat and when the fat is added to the creamed mixture the fat envelopes the mixture. It is best to add one egg yolk at a time but I skip this most of the time too. Then the recipe will usually ask you to add vanilla extract, baking soda, salt etc.
Whip the Egg Whites and Stabilize Them
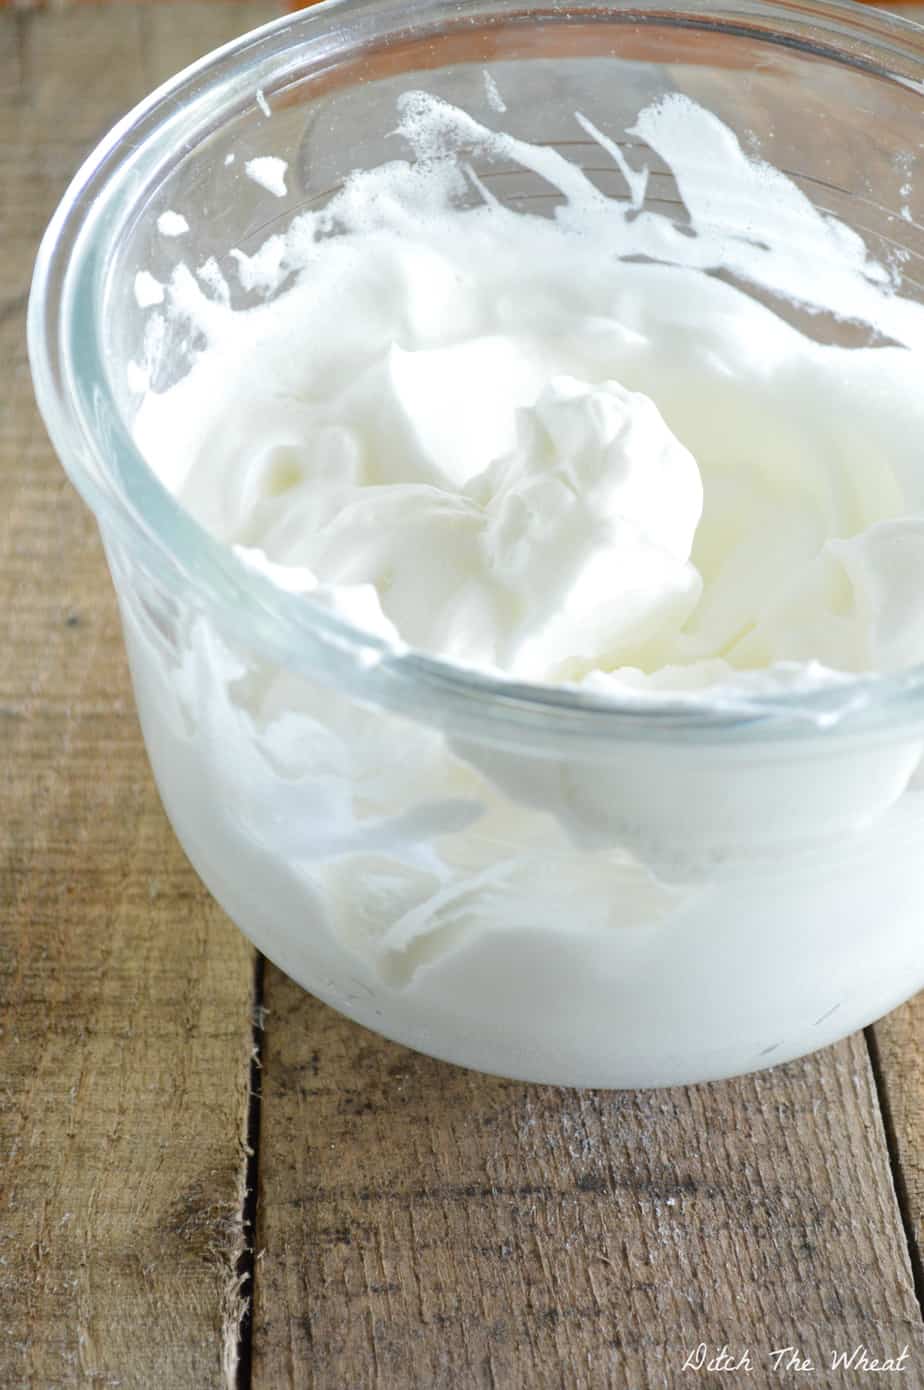
Not only do I suggest you to whip the egg whites to stiff peaks using a mixing machine (like this one) but I also believe you should use cream of tartar to stabilize those egg whites. By whipping the egg whites you have once again added more air to the batter. You are going to keep as much of that air as you can by stabilizing it with cream of tartar. If cream of tartar sounds weird to you, you’ve actually been using it a long time. Cream of tartar is part of baking powder. I ask you to use cream of tartar + baking soda as a homemade version of baking powder. Baking powder is made with cream of tartar + baking soda + cornstarch to keep the other two ingredients dry so they do not react. Cream of tartar also neutralizes the taste of baking soda. Have you ever baked paleo goods that only call for baking soda and then tasted them and said to yourself all you can taste is baking soda? That’s usually because they didn’t use an acid to neutralize the taste of baking soda in the recipe. In my recipe I use cream of tartar. In GAPS focused recipes where cream of tartar is not allowed you would use lemon juice in a 1:1 ratio. Warning, I have tried lemon juice as a replacement in a few of my recipes and it works fine but I have always noticed a slight baking soda aftertaste.
Slowly add the Whipped Egg Whites to the other Batter
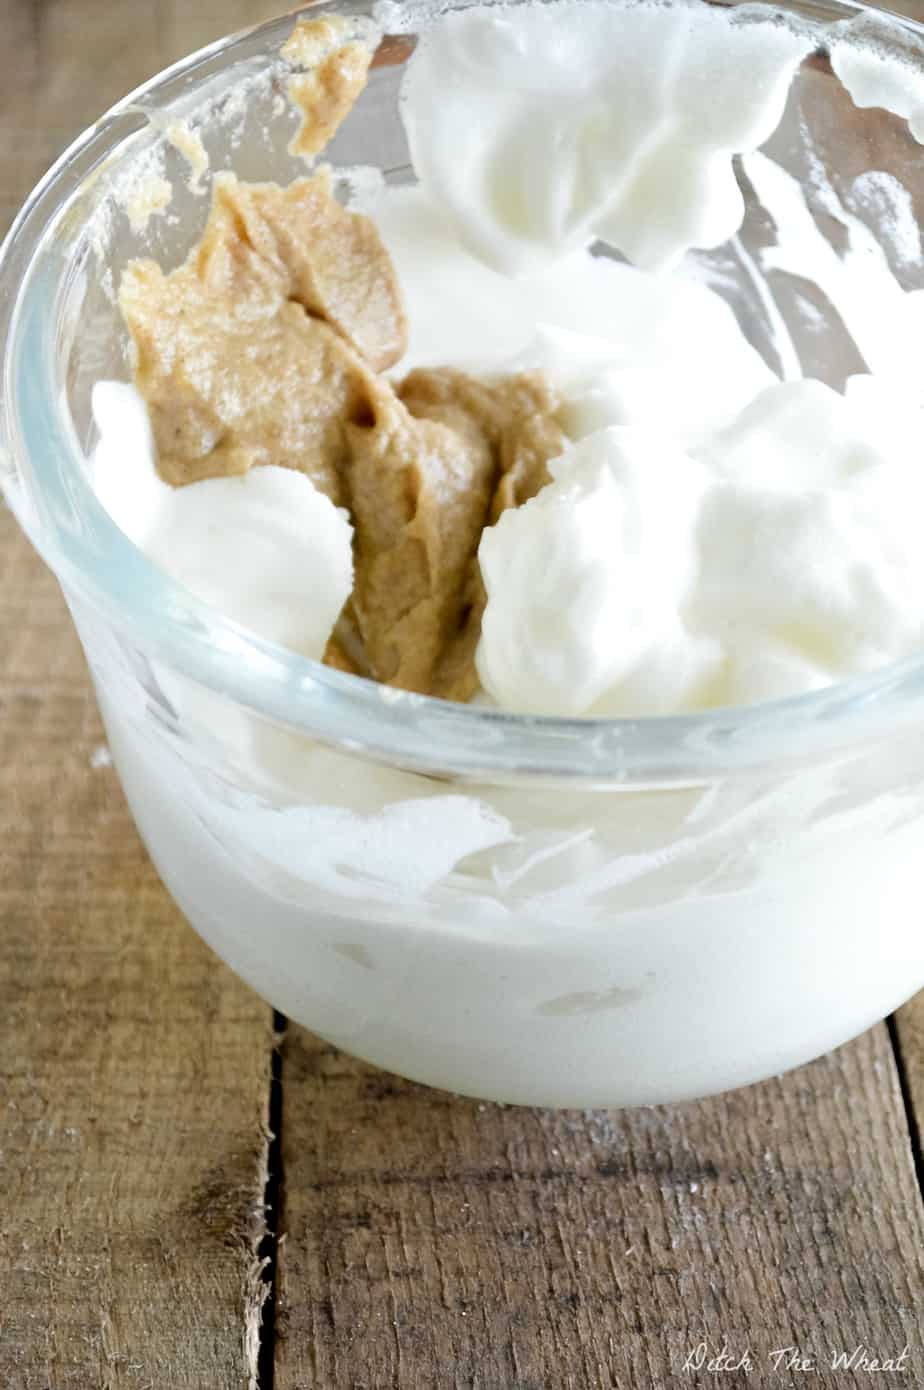
I start by adding a little bit of the other batter (creamed fat, sugar, eggs etc) to the egg whites. I fold them over once or twice and start adding more of the other batter. I don’t do this by hand. I turn my mix master (like this one) to a low speed such as 1 and slowing add more and more of the other batter until it is fully mixed. Once it is stop! At this point in the recipe you would have already added baking soda to the other mixture. The baking soda will immediately react to the cream of tartar and start forming bubbles. This is good and we do not want to ruin this process. The downside is the chemical reaction only happens once and we want it to happen when it is baking not mixing. Only mix until both batters are mixed together and then transfer immediately to a baking dish and into a preheated oven.
I hope this lesson helps you become a better grain free baker!
DISCLOSURE: Not intended for the treatment or prevention of disease, nor as a substitute for medical treatment, nor as an alternative to medical advice. Use of recommendations is at the choice and risk of the reader. Ditch the Wheat is a participant in the Amazon Services LLC Associates Program. As an Amazon Associate I earn from qualifying purchases. I may receive monetary compensation or other types of remuneration for my endorsement, recommendation, testimonial and/or link to any products or services from this blog. I only endorse products that I believe in.
Carol Lovett is the founder of Ditch the Wheat and a Globe and Mail bestselling author of the cookbook, Ditch the Wheat. She has been eating gluten free since 2010. She loves all things food, natural living, and spiritual. She's also a reiki master and crystal healer.
Gluten Free Resources
Do you need help with gluten free meals?
I recommend this meal-planning app. It makes cooking gluten free dinners extremely easy and family-friendly.
What gluten free snacks can I eat?
Lots! I have a ton of practical gluten free snack recipes in my cookbook.
How can I eat dessert on a gluten free diet?
You can 100% eat dessert while eating gluten free. Try my dessert cookbook for easy gluten free dessert recipes.
How do I know what is gluten free and what isn’t?
I have a whole section is it gluten free?
How do I make substitutions?
If you need substitution advice I created a ton of resources here.

Enjoyed reading this – Great Tips!
Thank you for this! I’ve been trying to make my gluten free baked goods more fluffy forever now! Will be trying this tonight. I haven’t seen a good article on helping gluten free bakers, until now. Thanks again!
Thank you for this! Super helpful for me to get a full understanding of baking with coconut flour. My muffins and breads were seperating with a heavy egg consistency at the bottom. Once I used your method they were perfect and fluffy.
Awww awesome!!!
Thank you for sharing this! Are you able to explain why some recipes with coconut flour shrink when they cool? Is there an explanation, or am I just being unlucky. Thanks again for a fantastic article.
I’ve noticed that some of your recipes have cream of tartar in them. What would I used in place of that, as I typically don’t have that in my pantry. 🙁
Thanks for any advice you may have. You have ONE awesome blog!
You have to use it. You can buy it in the spice section at your grocery store. It’s provides structure for your baked goods.
Thank you so much! A very informative post! I usually have great success in the kitchen yet have never understood the scientific background behind it. Now I want to bake some more!
At this time I only have a good blender. Will this work instead of a mixer or do I need to obtain a mixer? I don’t have a lot of money so it would either need to be borrowed or a less expensive hand held type.
A handheld mixer costs like $25 or you can buy a used one from a thrift store. You can’t whip egg whites in a blender. That’s my style of baking with coconut flour and lots of people skip that step.
Do you weigh your ingredients for anything?
Thank you for these tips. I can not wait to try this out. My baking with gluten free flours has been lacking and now I know why!
Carol, can I sub honey for Truvia or the like? I am going low carb.
no. Those don’t bake like sugar. You would be better to use less honey etc.
Wonderful article, thank you so much. I’ve just started baking gluten free and I was beginning to think it wasn’t for me.
I recently signed up to receive your emails and the very first one is awesome! Thank you for the baking tips, I can’t wait to try them out!
Great article – thank you!
But coconut oil is liquid at some temperature, though you say “Many paleo bloggers ask you to melt the coconut oil when baking. I never ask you do that and then some people automatically do that to my recipes and I cringe”! And “If you just used liquid fat you would miss out on all benefits.”
Which means in hot weather we will “miss the benefits” of having a right texture cake?!
Great advice. But I’ve reread your instructions and cannot determine when to add the flour and do I add it to the fat/sugar mixture or fold it into the egg whites?
Looks exactly the same way I used to make cookies. Exactly. I can see why it would work better.
Excellent tips! I’m sorry, but I am not underst adding when to mix in the flour. Thanks for this great information!
Hi there! When you use cream of tartar how much do you use? 1 : 1 ratio of baking soda? Thank you!
Thank you so much for this article. You explain things so clearly. I appreciate it a lot. In the past my coconut flour recipes have not had a texture I have enjoyed. I am excited to try your recipes and methods.
Thanks for these tips. I am always short on time. Is there no way to use my bread maker on the gluten cycle with one of your recipes?
I don’t think any of my bread recipes would work in a bread maker. Sorry.